⚖️ License & Terms of Use
This project is licensed under CC BY-NC-ND 4.0. Commercial use, redistribution, or sale of STL files and printed parts is strictly prohibited.
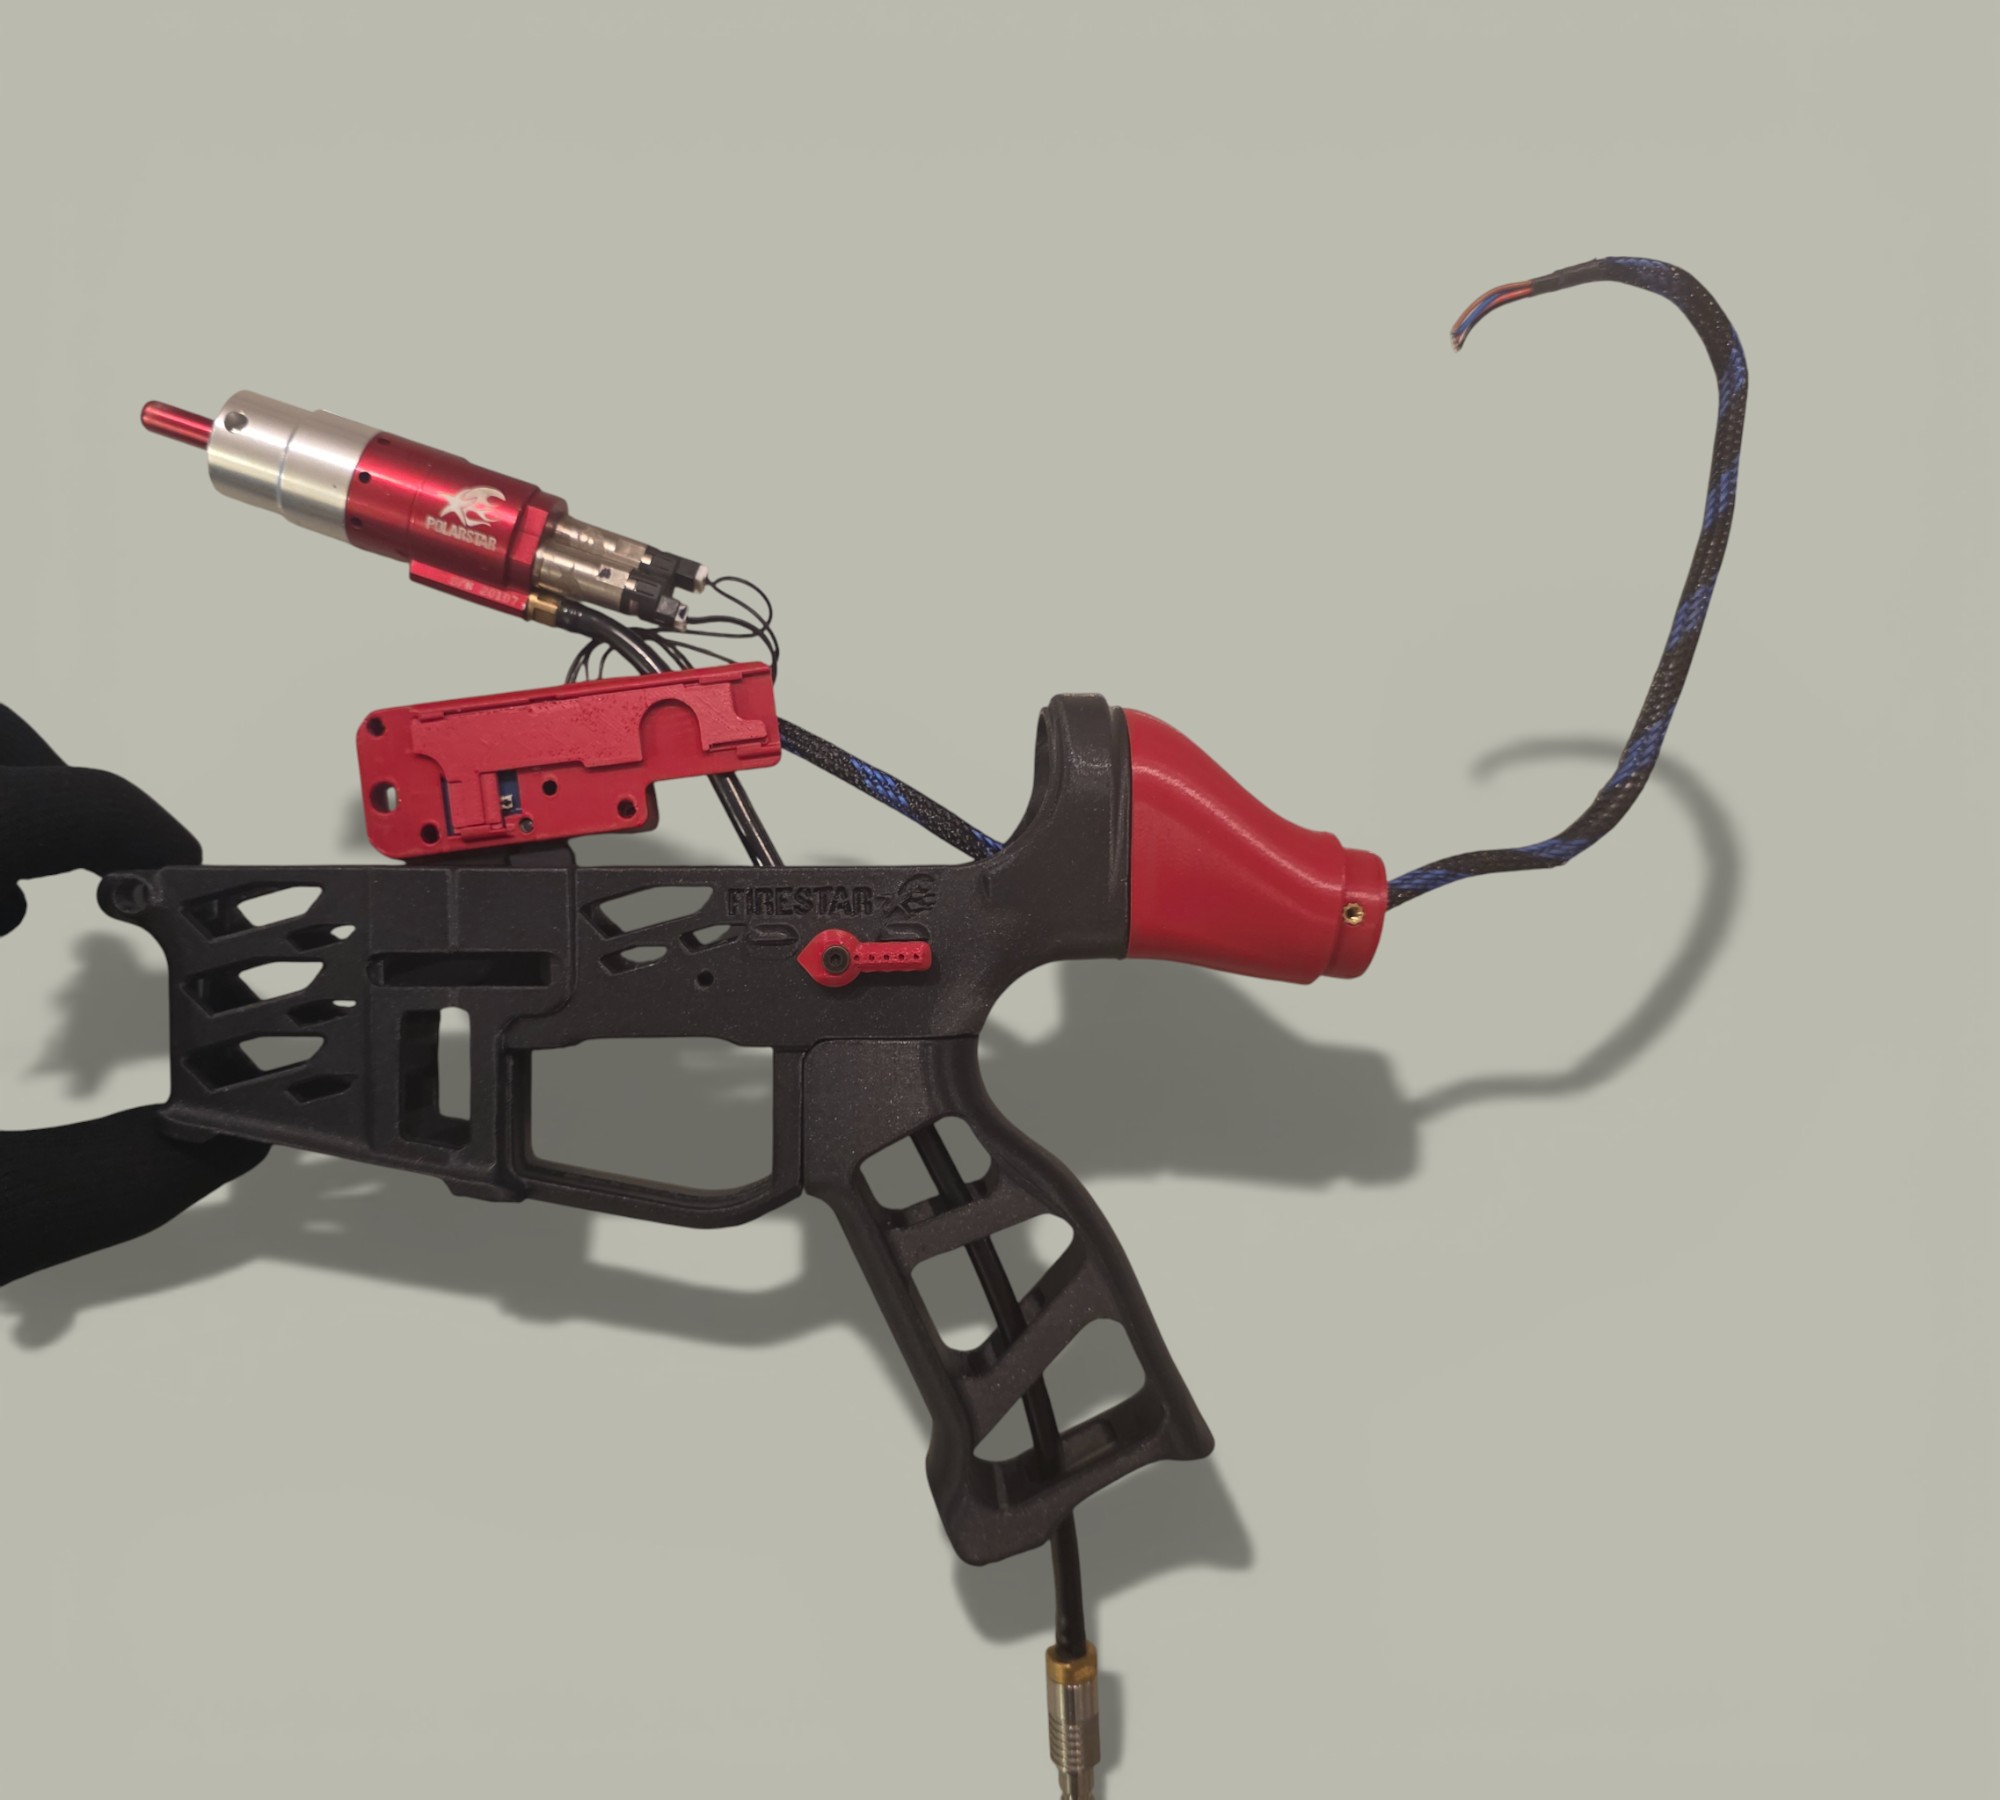
🚀 Meet Firestar
Forget Gearboxes. Embrace Innovation.
The Firestar was developed by ClutchFire in collaboration with Polarstar Airsoft. Designed from the ground up to extract maximum performance from the F2™ and Jack™ HPA engines, this platform eliminates the headache of nozzle alignment and gearbox shimming.
❤️ Support the Mission (Keep the Fire Burning)
The Firestar is an open-source project. If you find this project valuable, please consider supporting our work.
🛠 Recommended Print Settings
To ensure the structural integrity of your Firestar, follow these guidelines:
| Parameter | Recommended Setting |
|---|---|
| Material | ASA or ABS (Required for impact resistance and durability) |
| Wall Line Count | 4 layers (Crucial for thread and insert strength) |
| Infill Density | 50% or higher |
| Support | Required (Tree supports recommended for cleaner surfaces) |
| Layer Height | 0.12mm |
⚠️ Warning: Do not use standard PLA for structural parts, as it may become brittle or warp under heat and mechanical stress.
🧰 Prerequisites & Bill of Materials
📋 Prerequisites
- Previous experience with 3D printing.
- Basic knowledge of airsoft components and assembly.
- Familiarity with HPA systems.
🧰 Tools Required
| Tool | Description |
|---|---|
| Hex Key Set | Metric keys (specifically for M3 screws). |
| Soldering Iron | Essential for installing M3 brass inserts. |
| Sandpaper/Files | For smoothing surfaces and fitting parts. |
| Rotary Tool | Dremel or similar for fine-tuning tolerances. |
🛒 Bill of Materials (BOM)
Commercial Components
| Component | Specification / Note |
|---|---|
| HPA Engine | Polarstar F2 |
| Hopup Unit | Maxx Model or Polarstar "Hopup Thing" |
| Inner Barrel | 160mm precision barrel |
| Trigger | Adjustable trigger blade |
| Thread Adapter | 12mm to 14mm CCW (for tracer/suppressor) |
| Stock Tube | Carbon Fiber Tube (28mm ID x 30mm OD) |
Hardware
| Item | Details |
|---|---|
| M3 Brass Inserts | Heat-set type |
| M3 Screws | Set from 5mm to 15mm |
| M5 Screw & Nut | 1 set |
| Springs | Mag Catch spring |
🖨️ Printed Parts
| Group | Parts |
|---|---|
| Receiver & Front | Lower Receiver, Upper Receiver, Handguard, Outer Barrel |
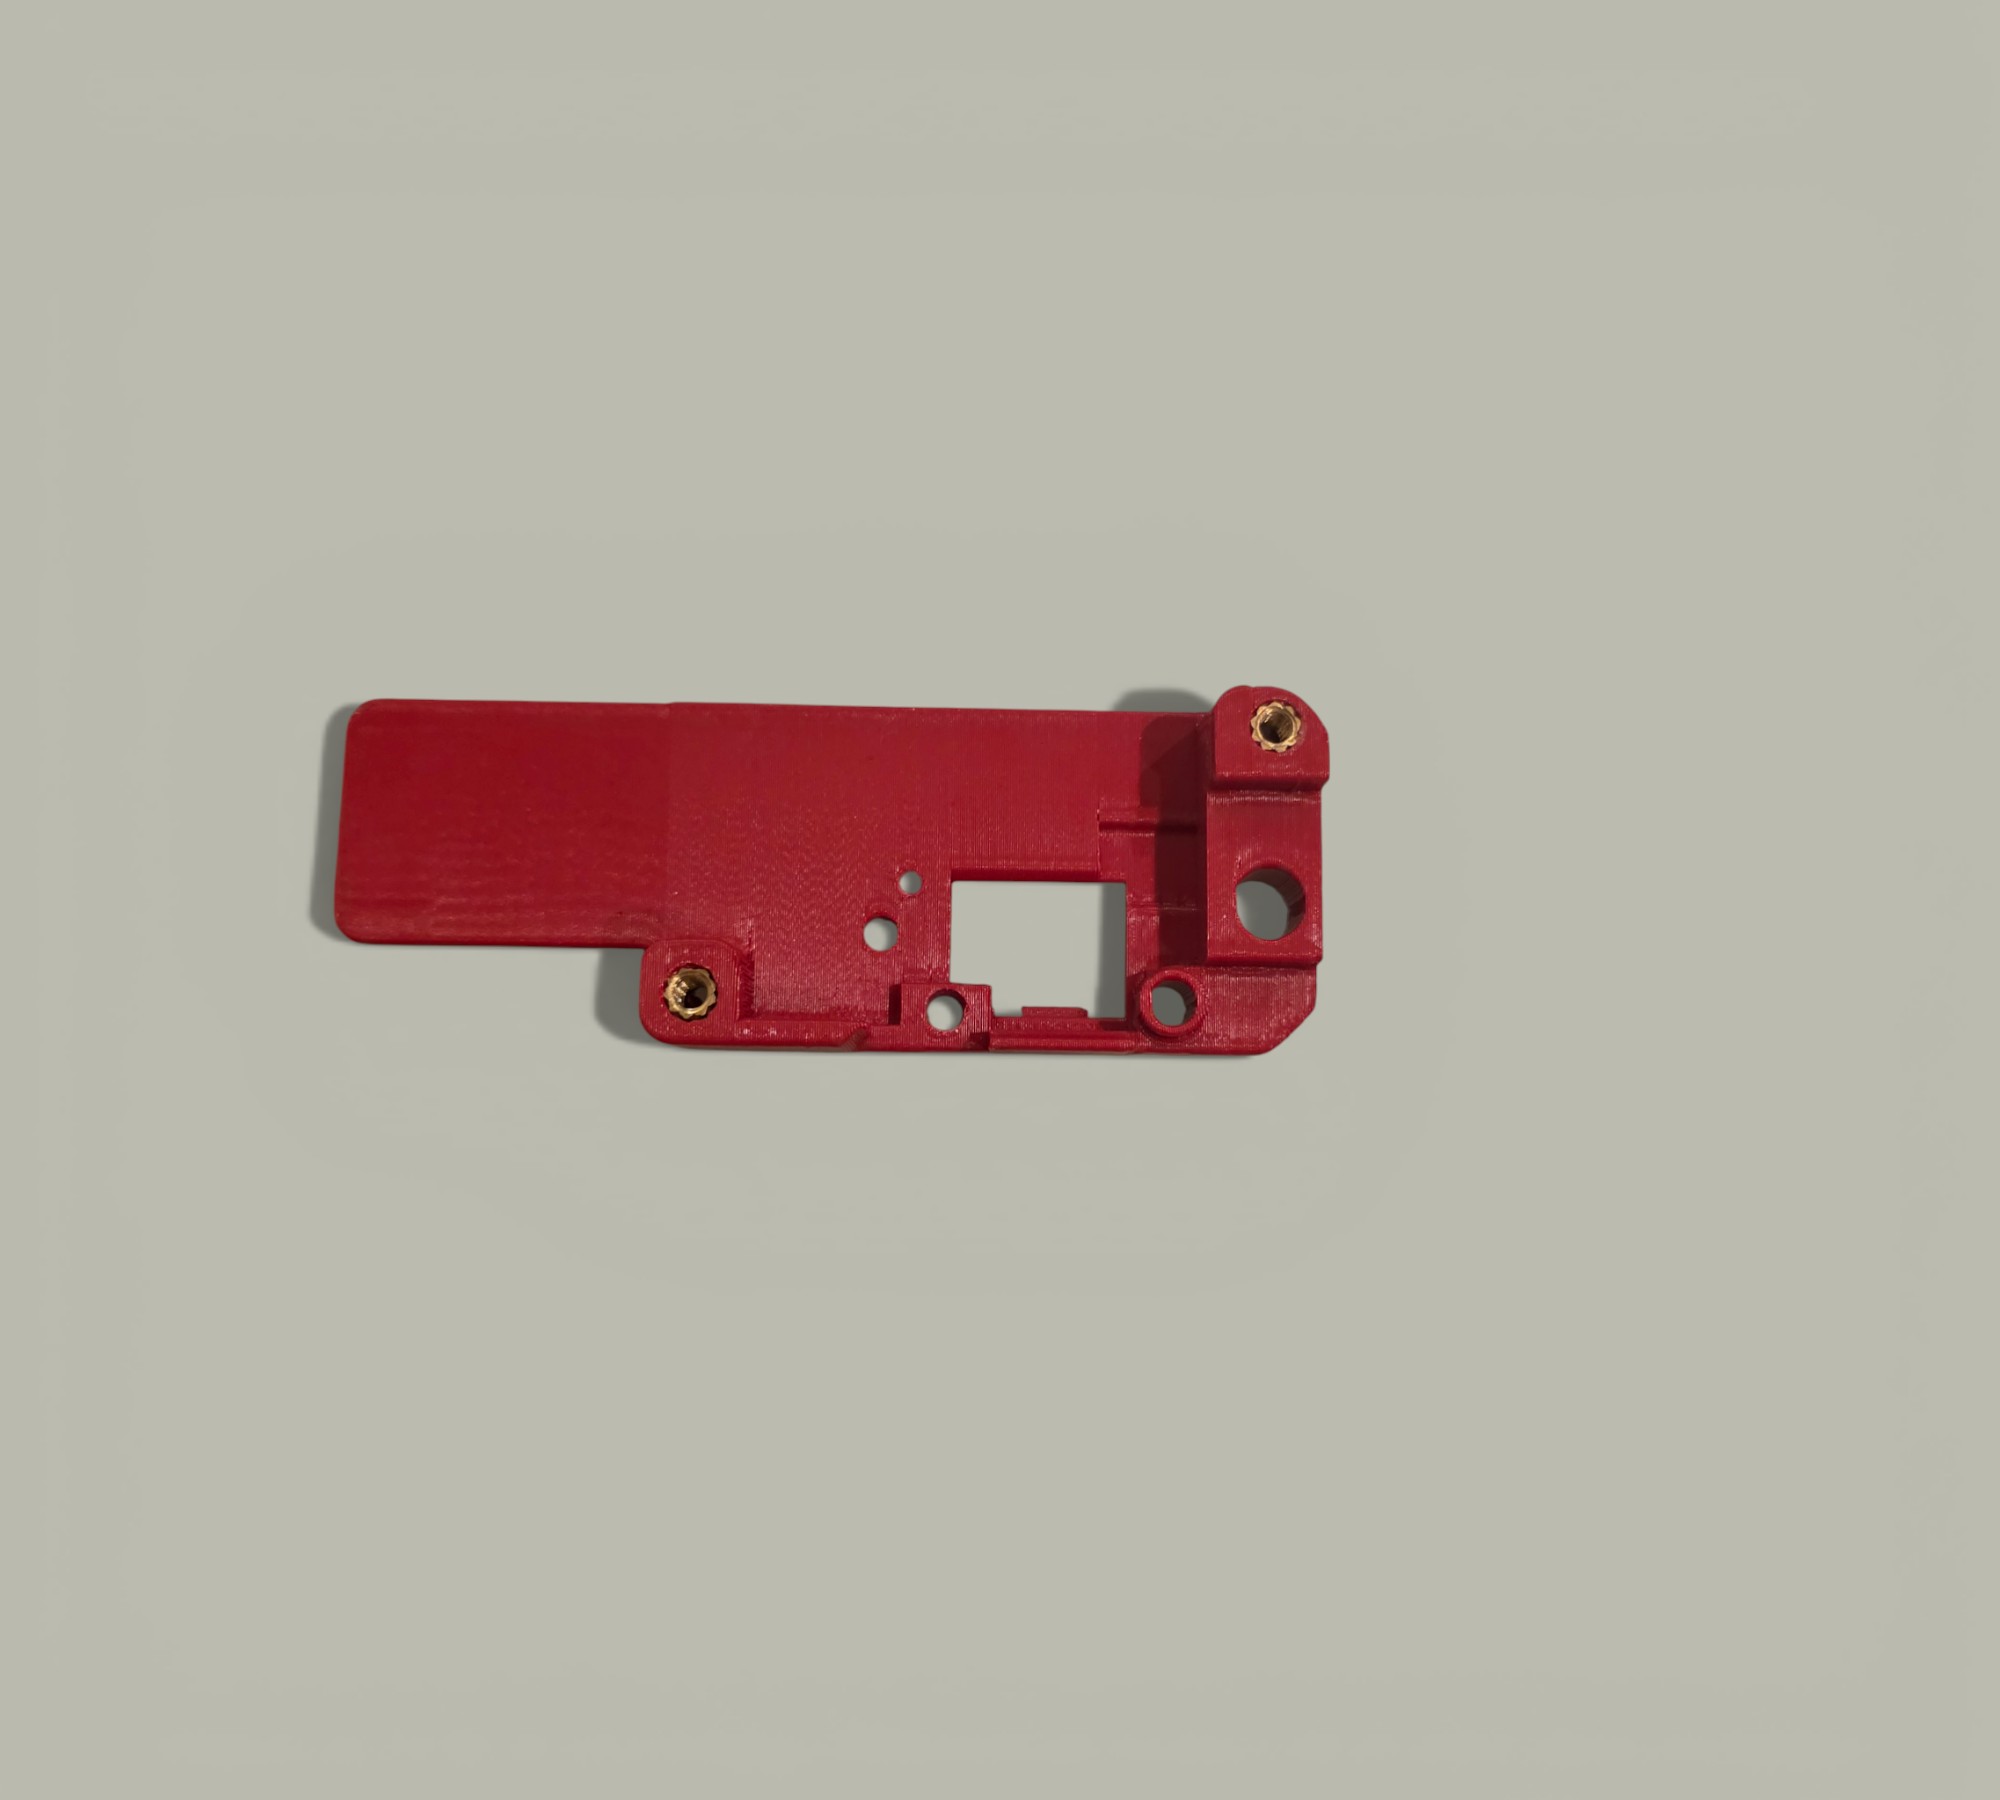
| Controls | Trigger Housing, Fire Selector, Selector Plate, Pistol Grip, Mag Release |
| Stock | Stock Adapter, Stock |
🔩 Assembly Guide
Step 1: Lower Receiver Preparation
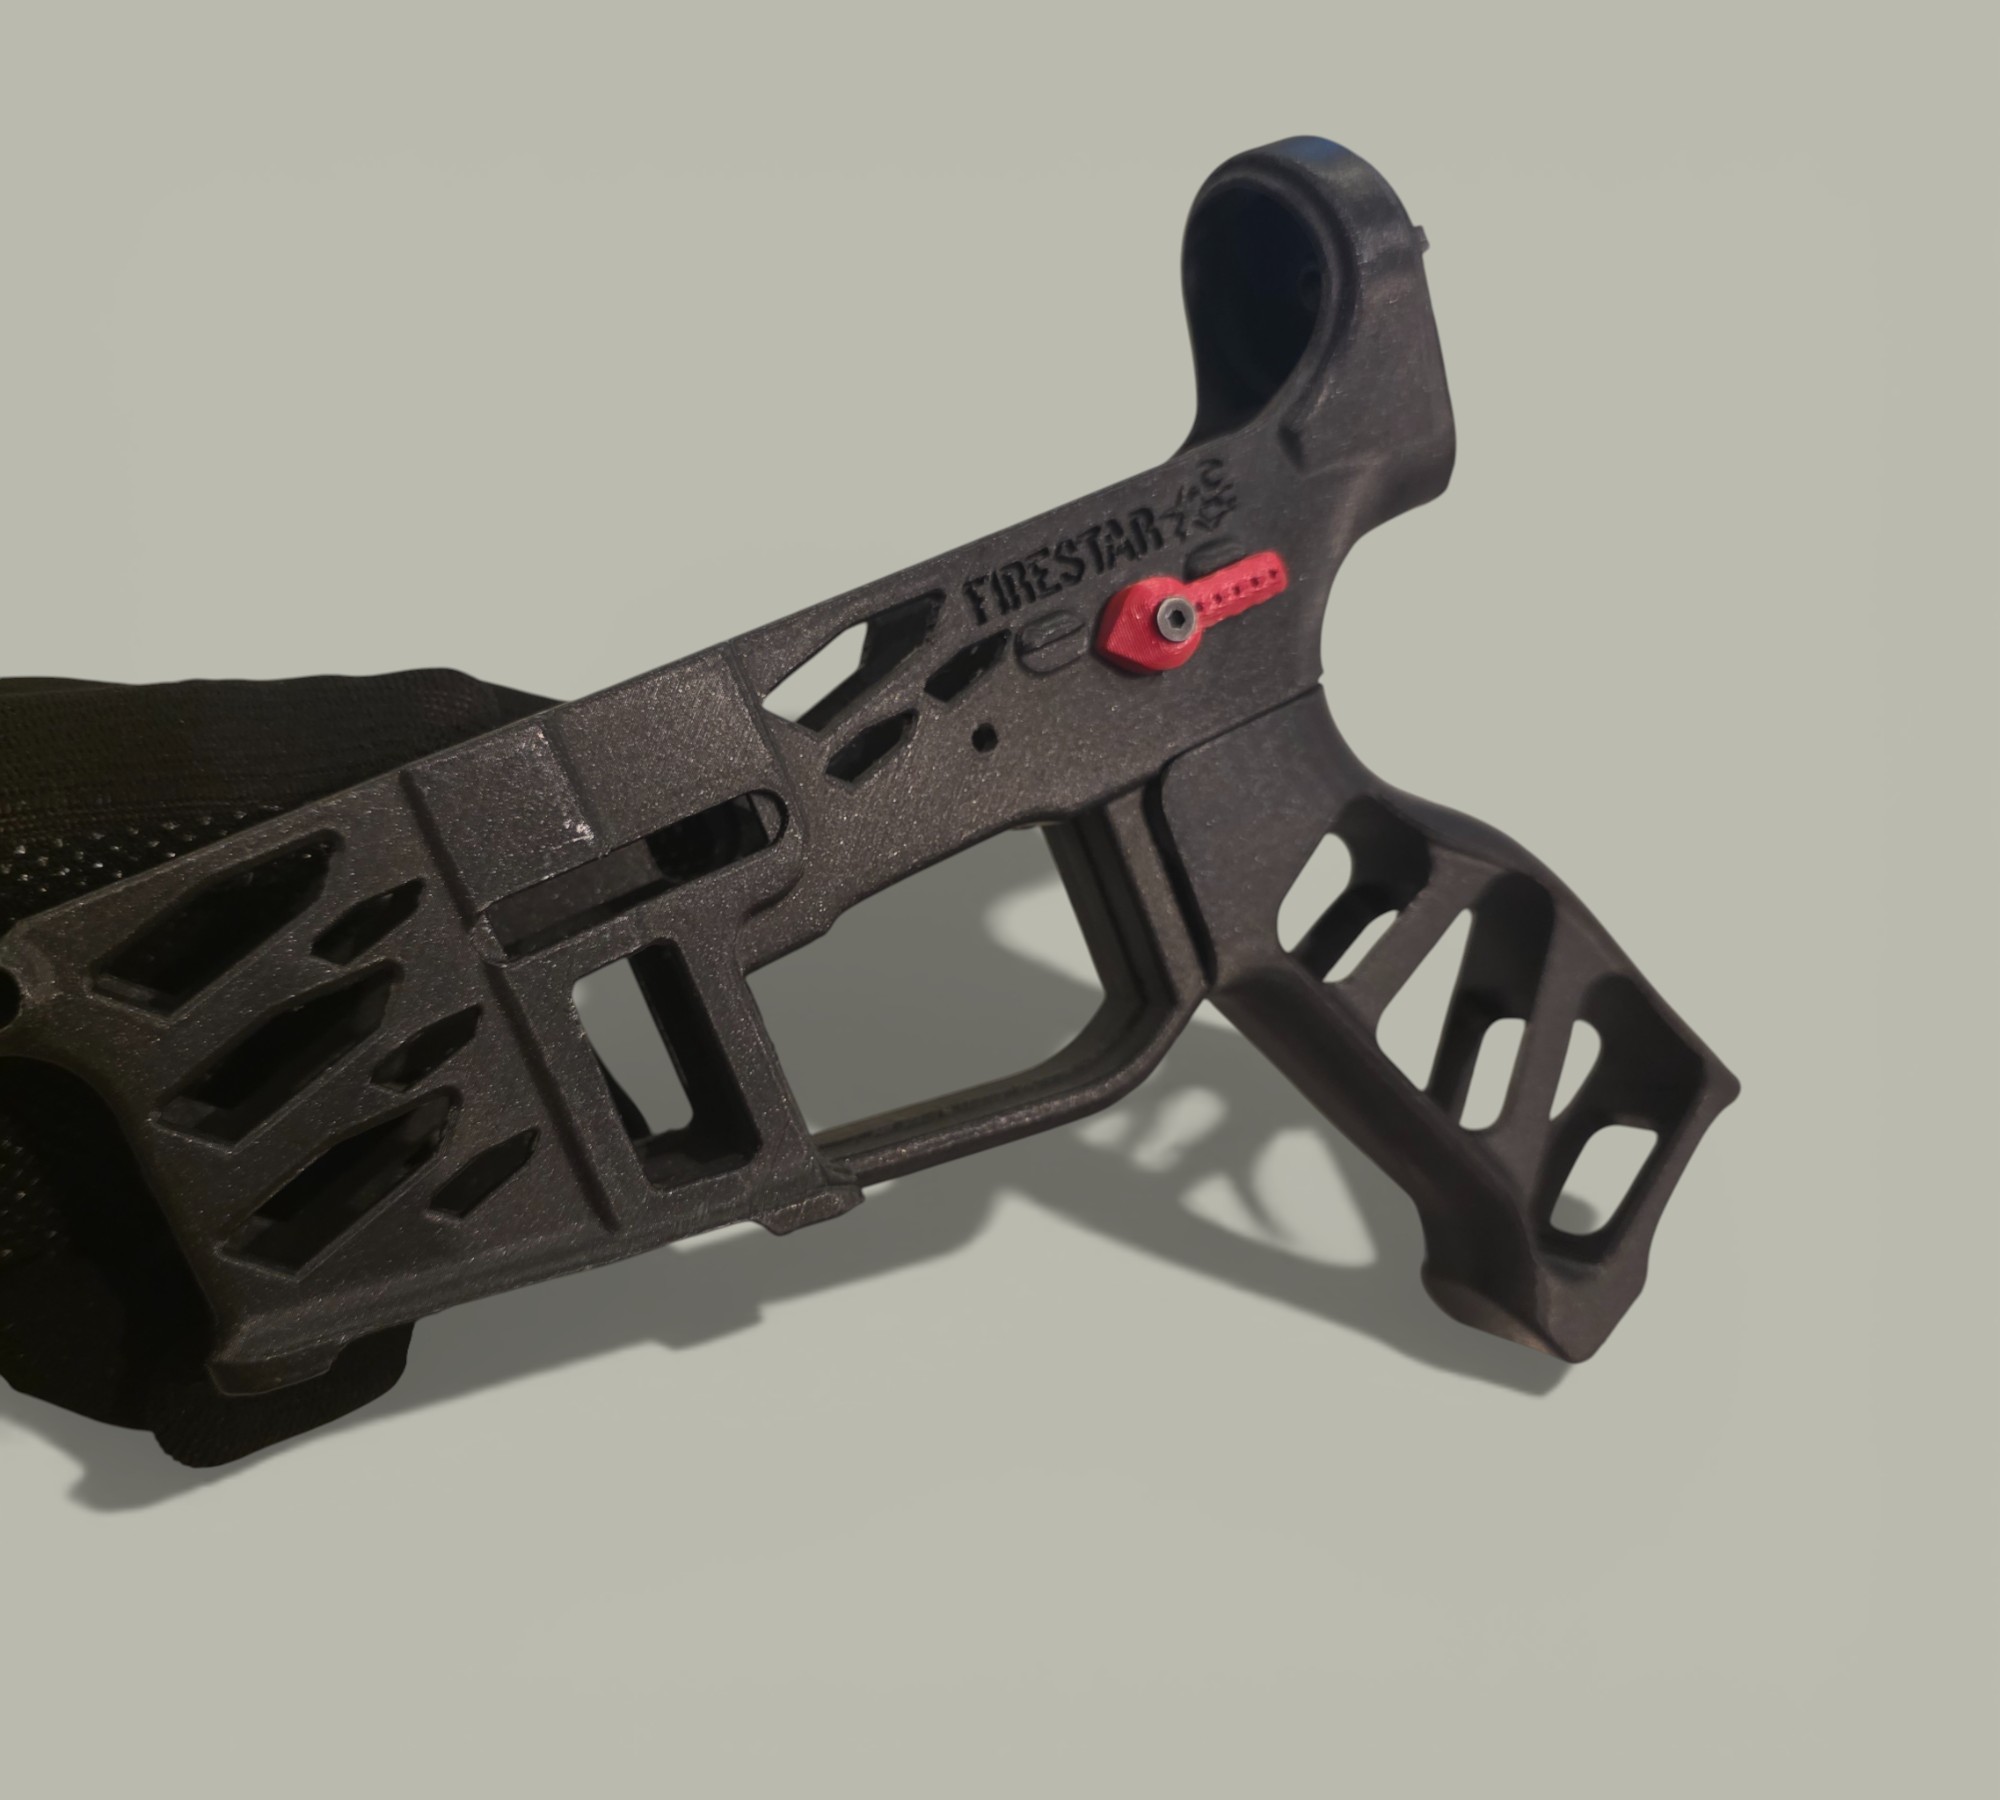
Fire Selector
Install the Fire Selector. Note the specific slot to prevent the selector from over-rotating. Install an M3 insert into the base of the Fire Selector. Secure with an M3 screw.
Grip Inserts
Using a soldering iron, install the M3 brass inserts into the Pistol Grip mounting holes.
Grip
Bolt the Pistol Grip to the body using M3 screws.
 |
 |
Step 2: Upper Receiver & Handguard
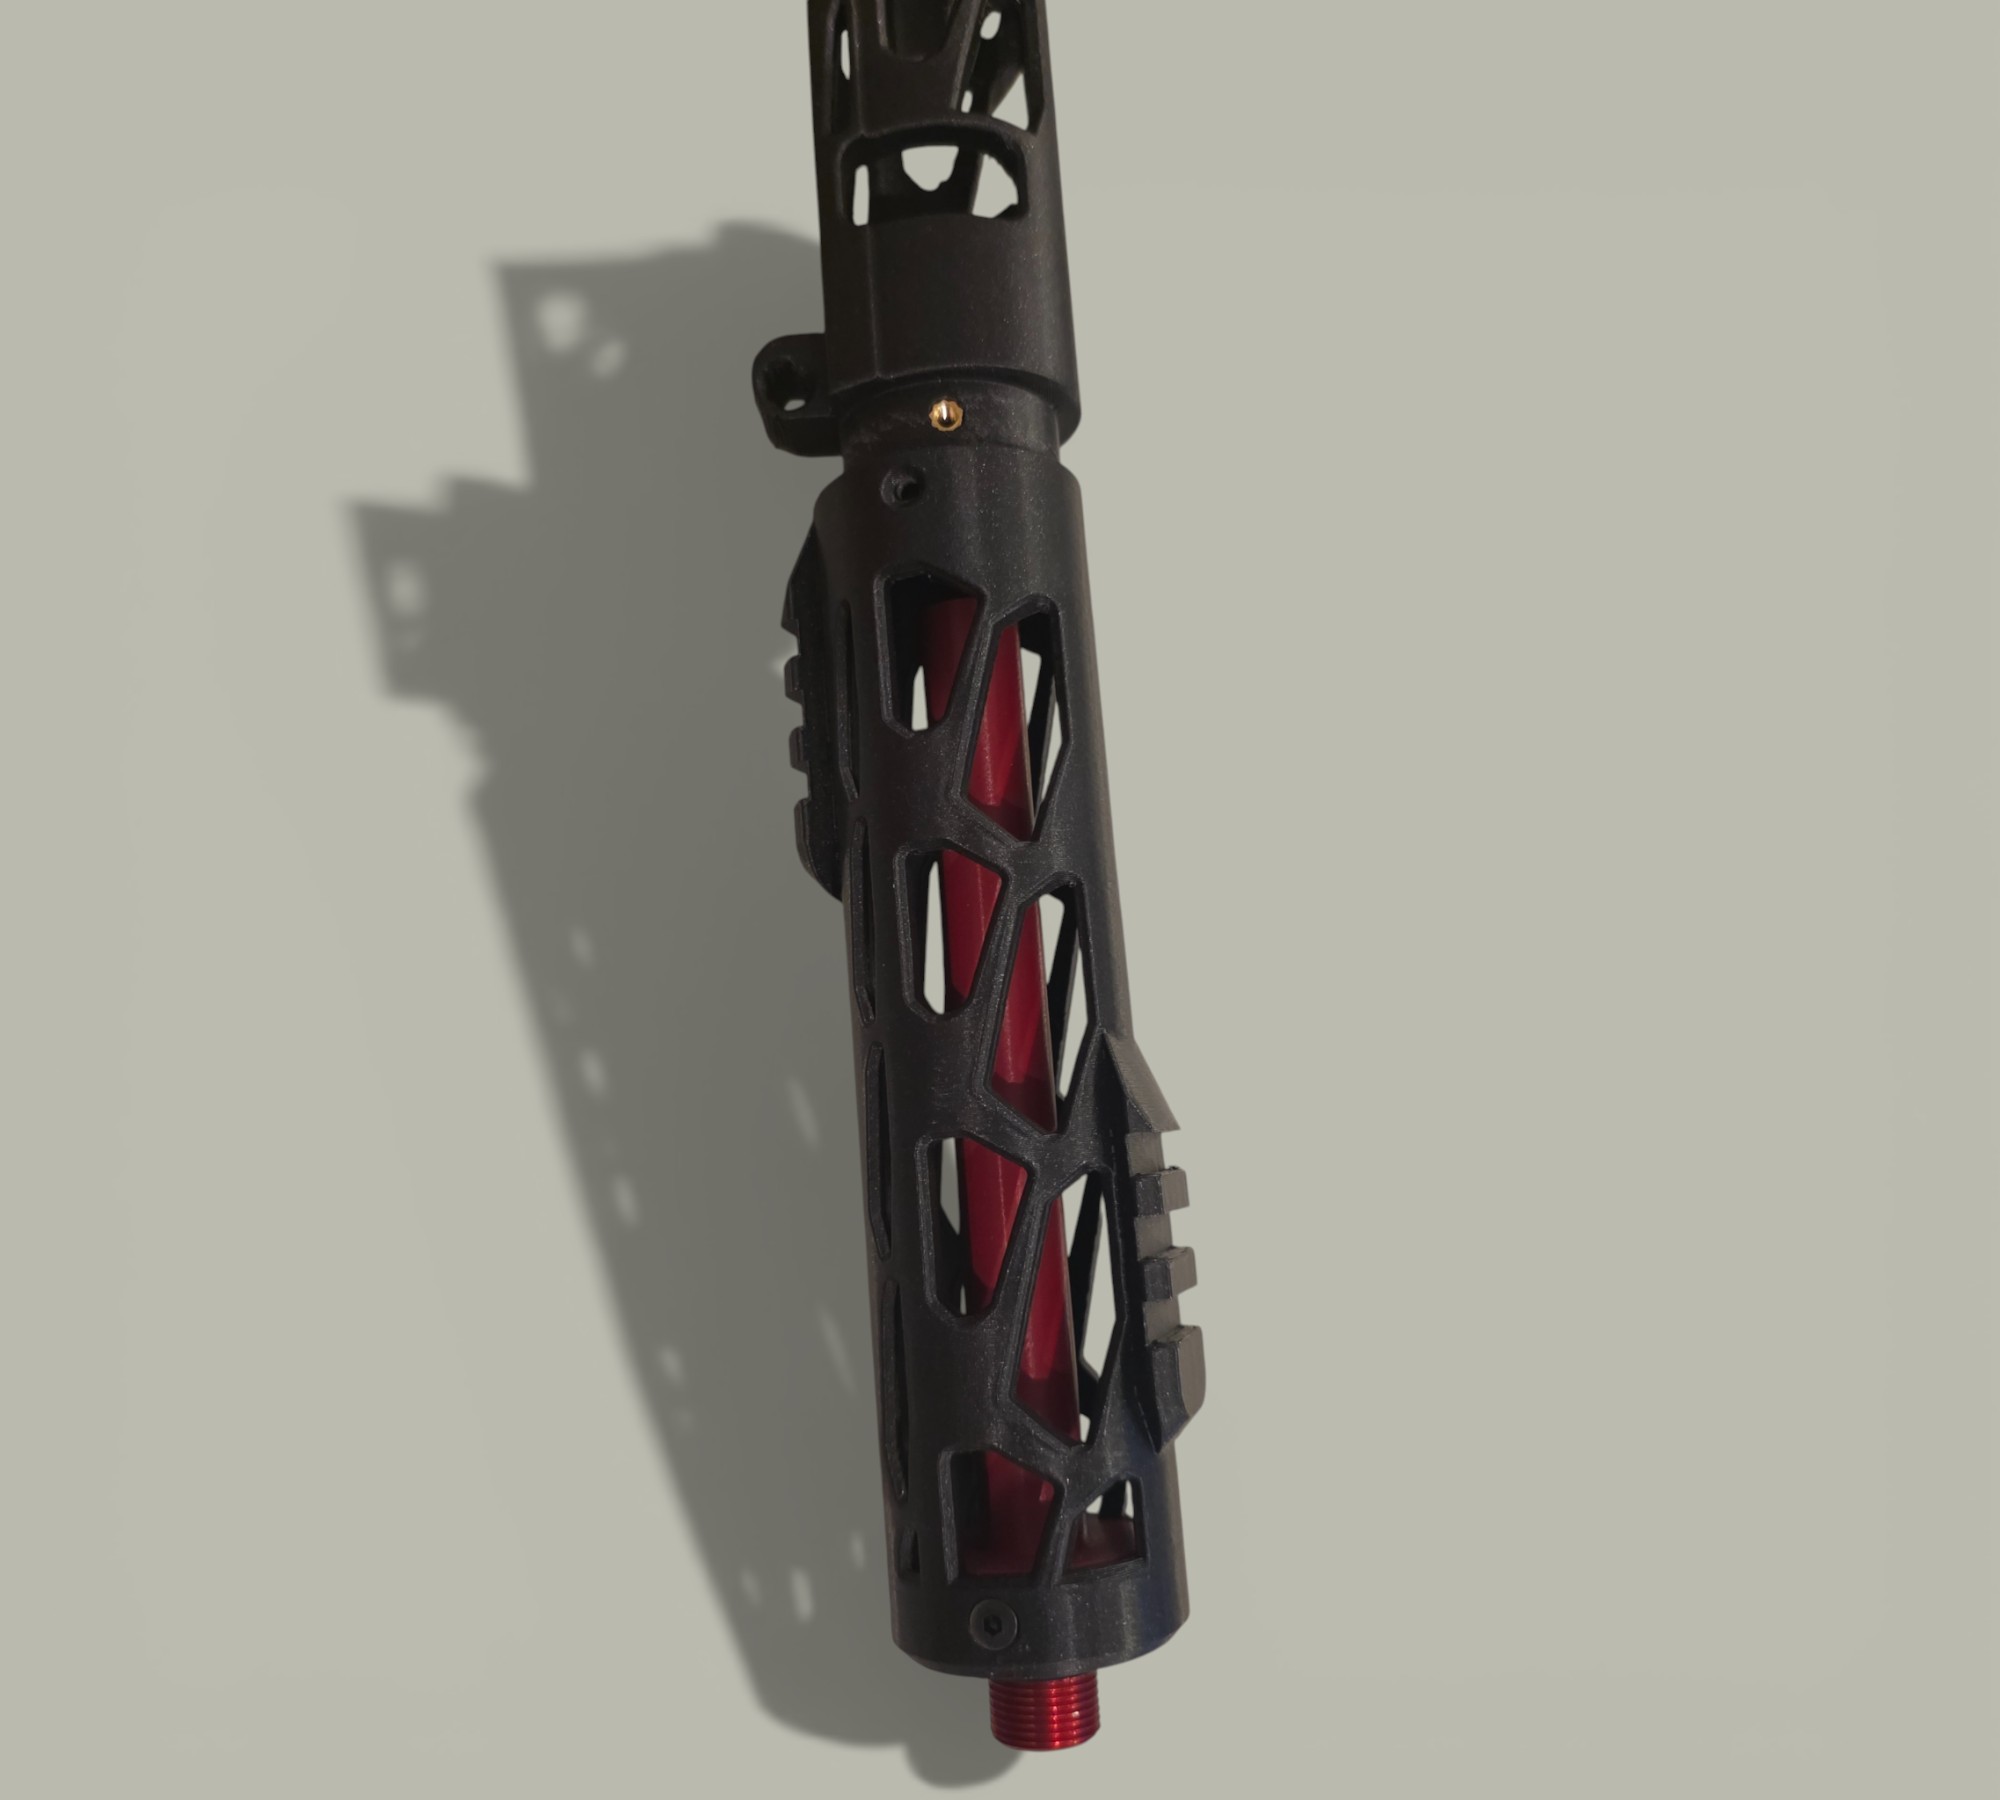
Inserts
Install M3 inserts into both sides of the Upper Receiver and the Outer Barrel.
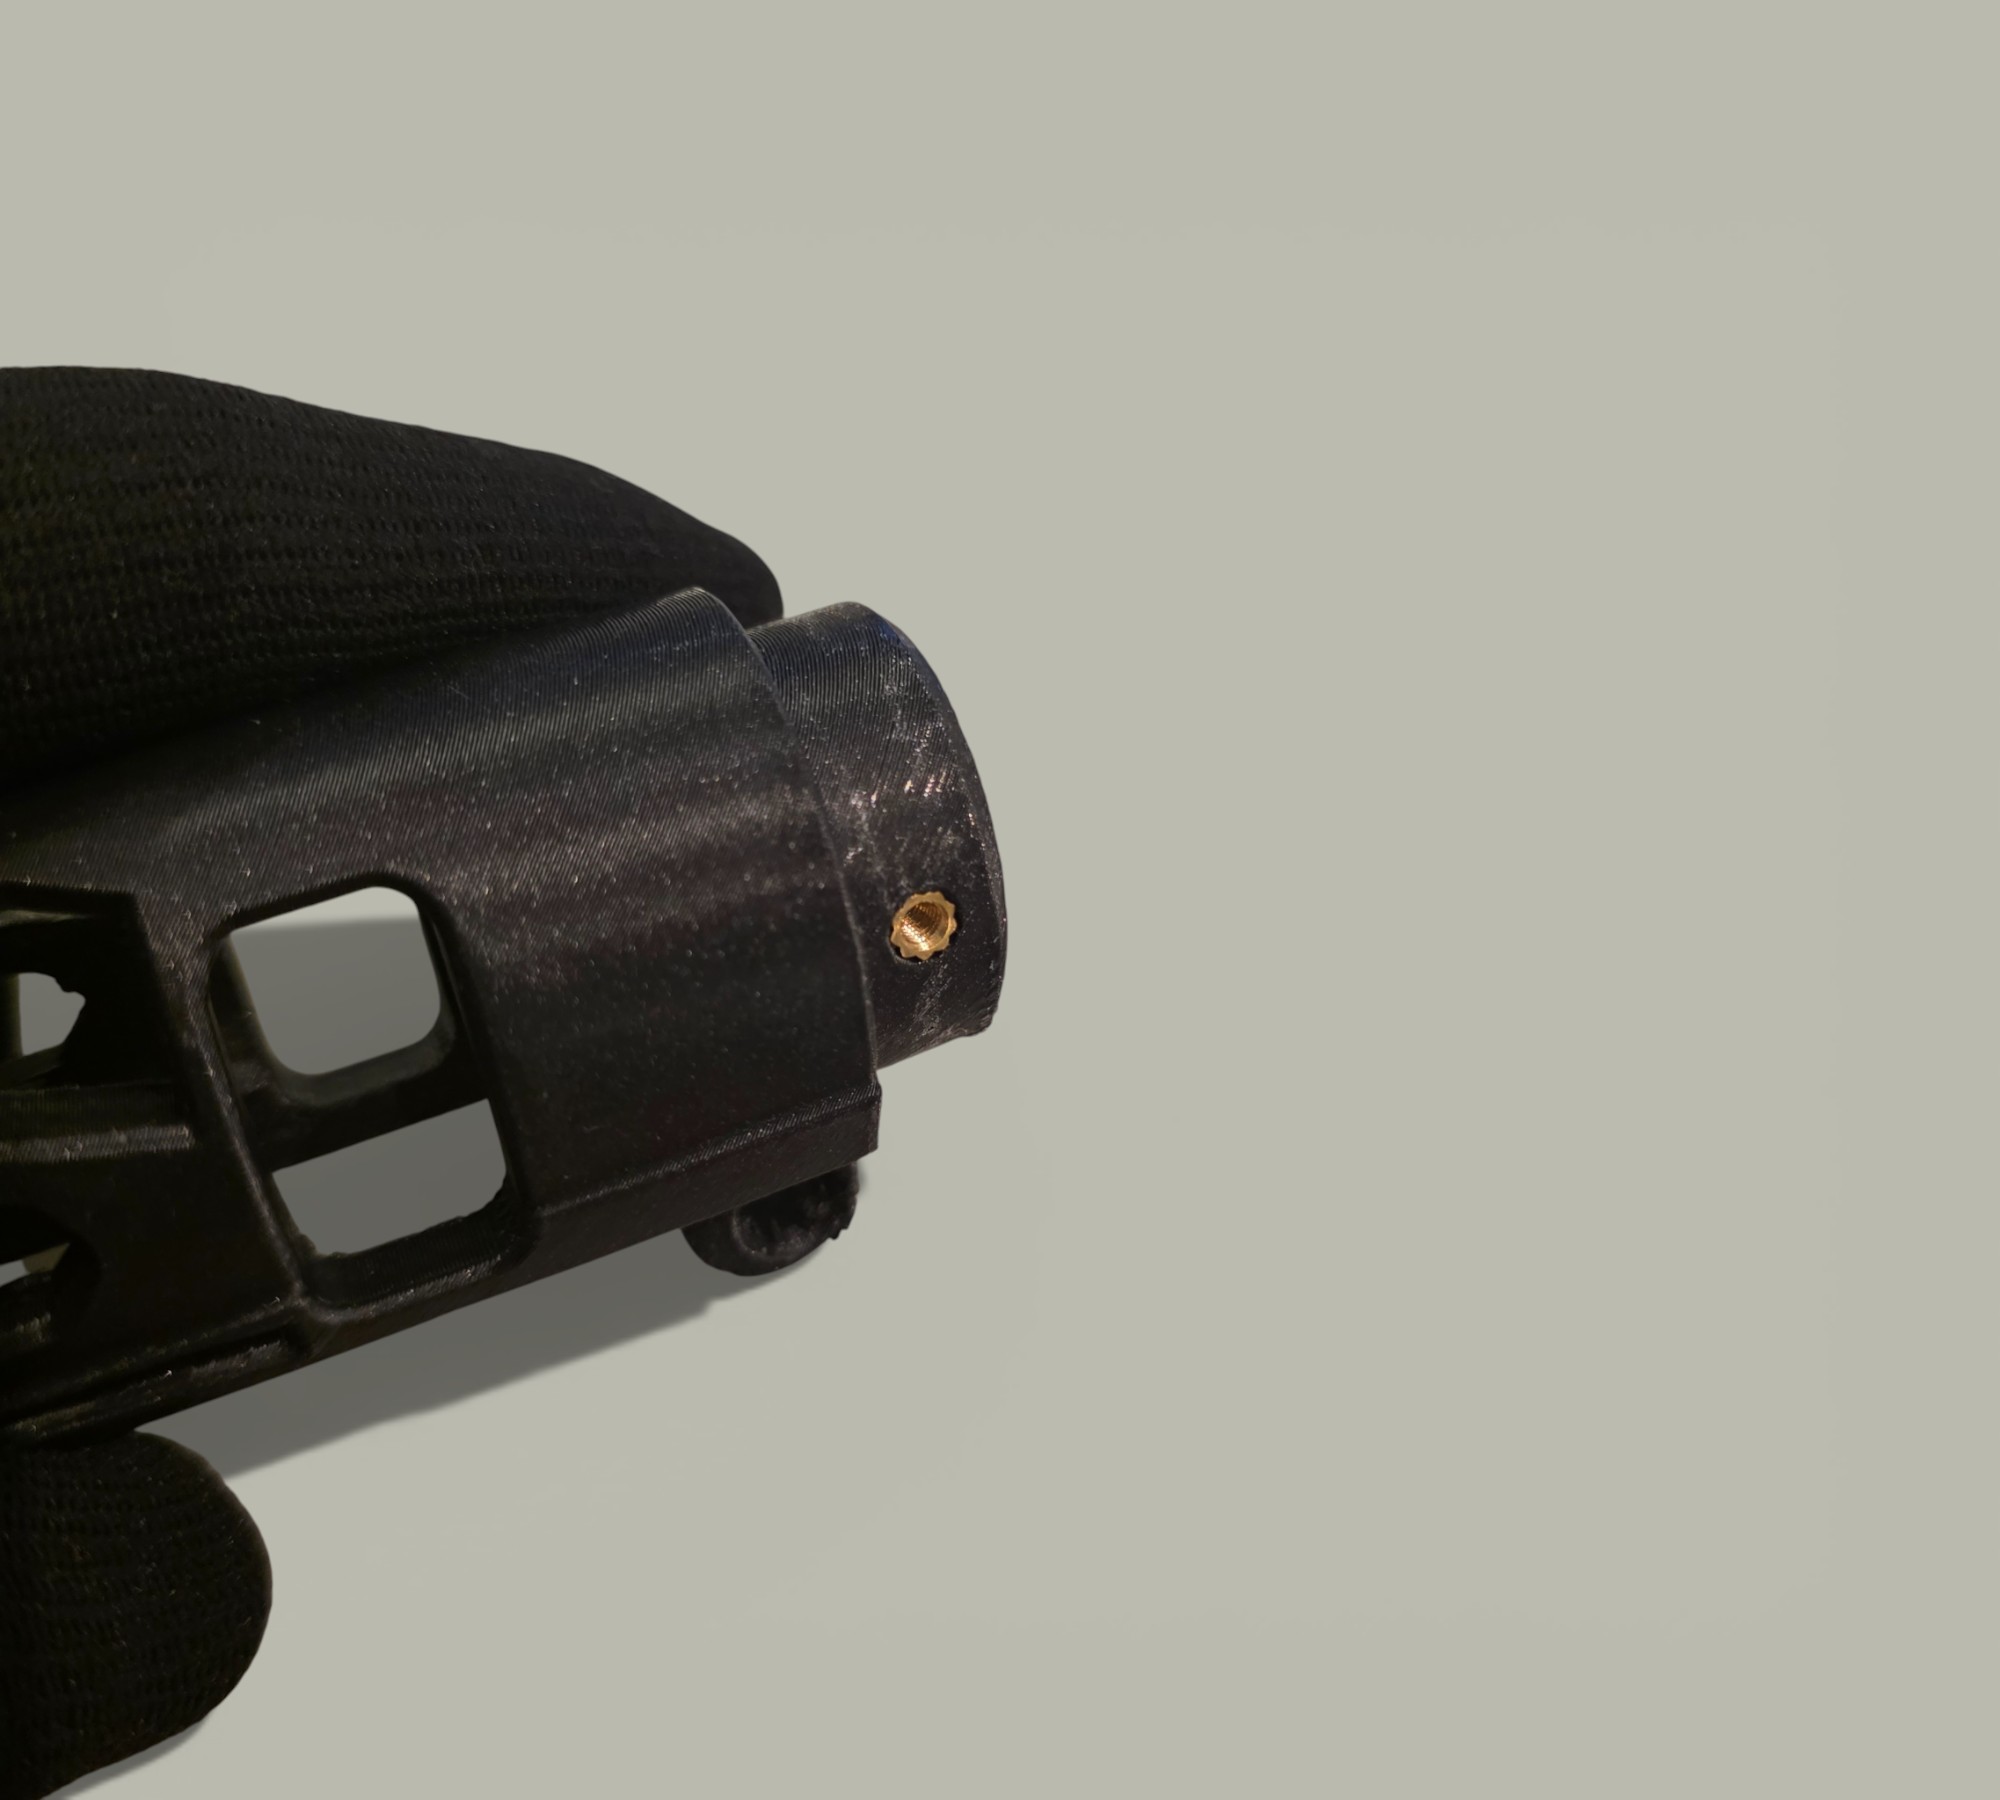
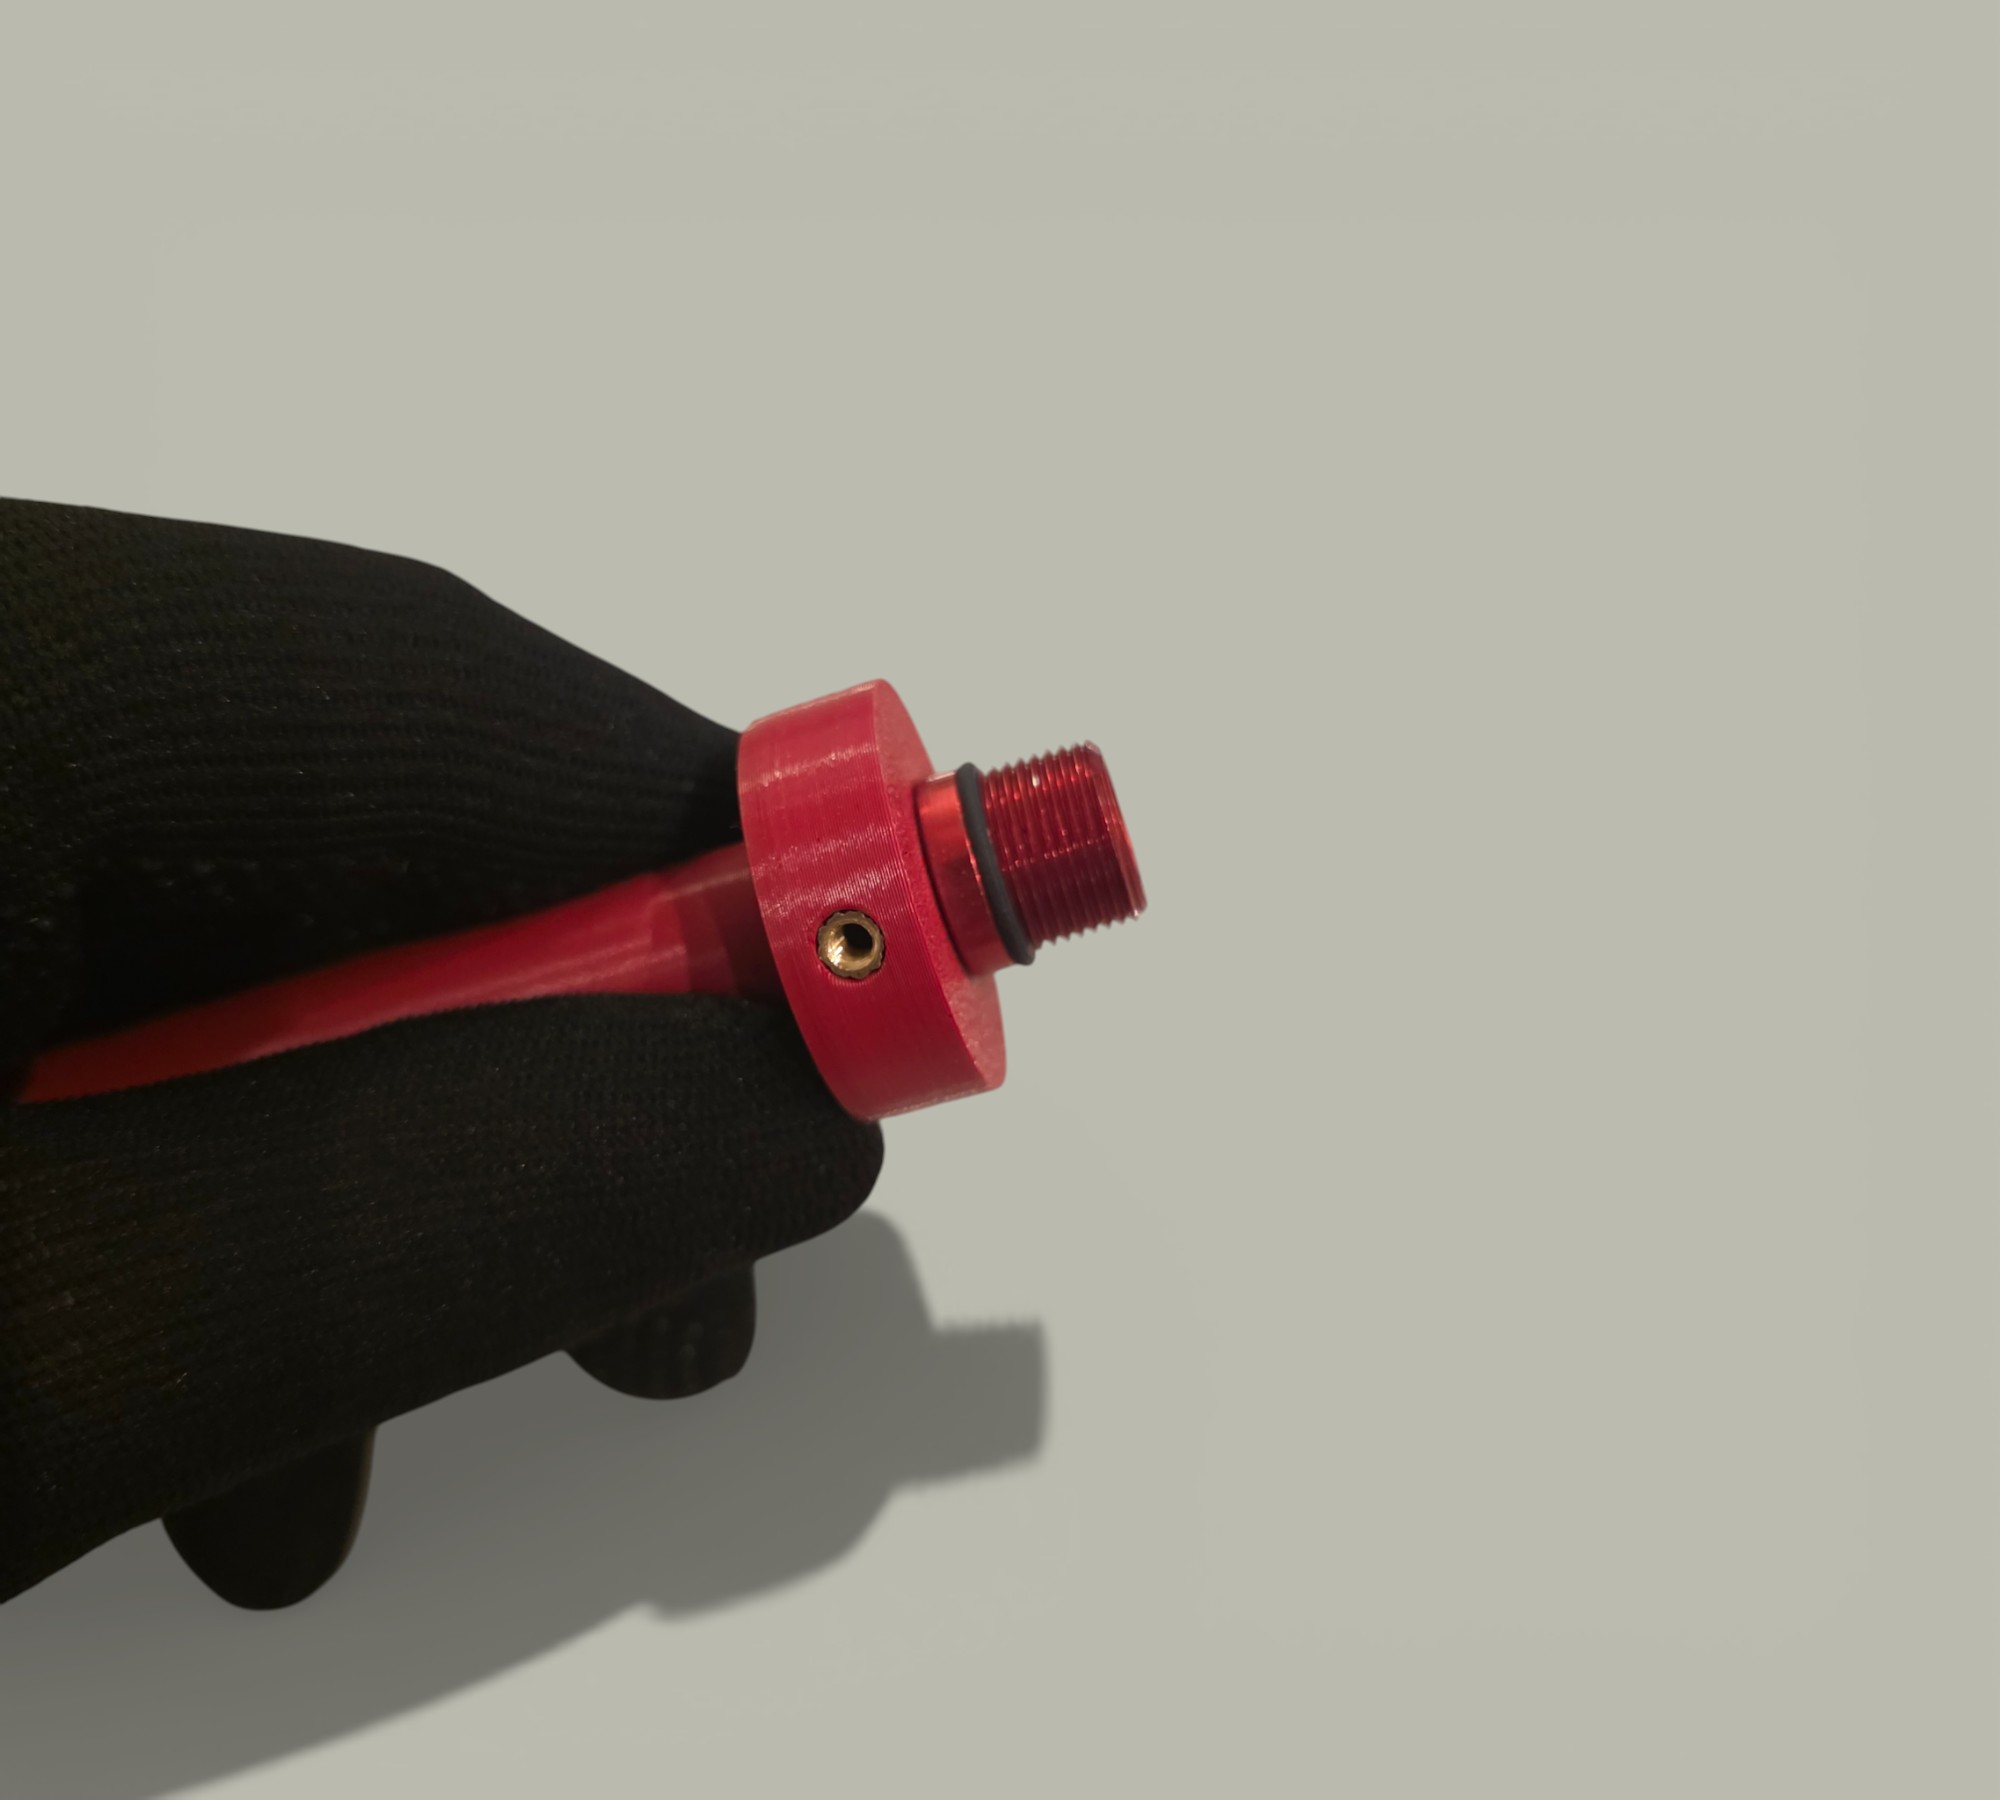
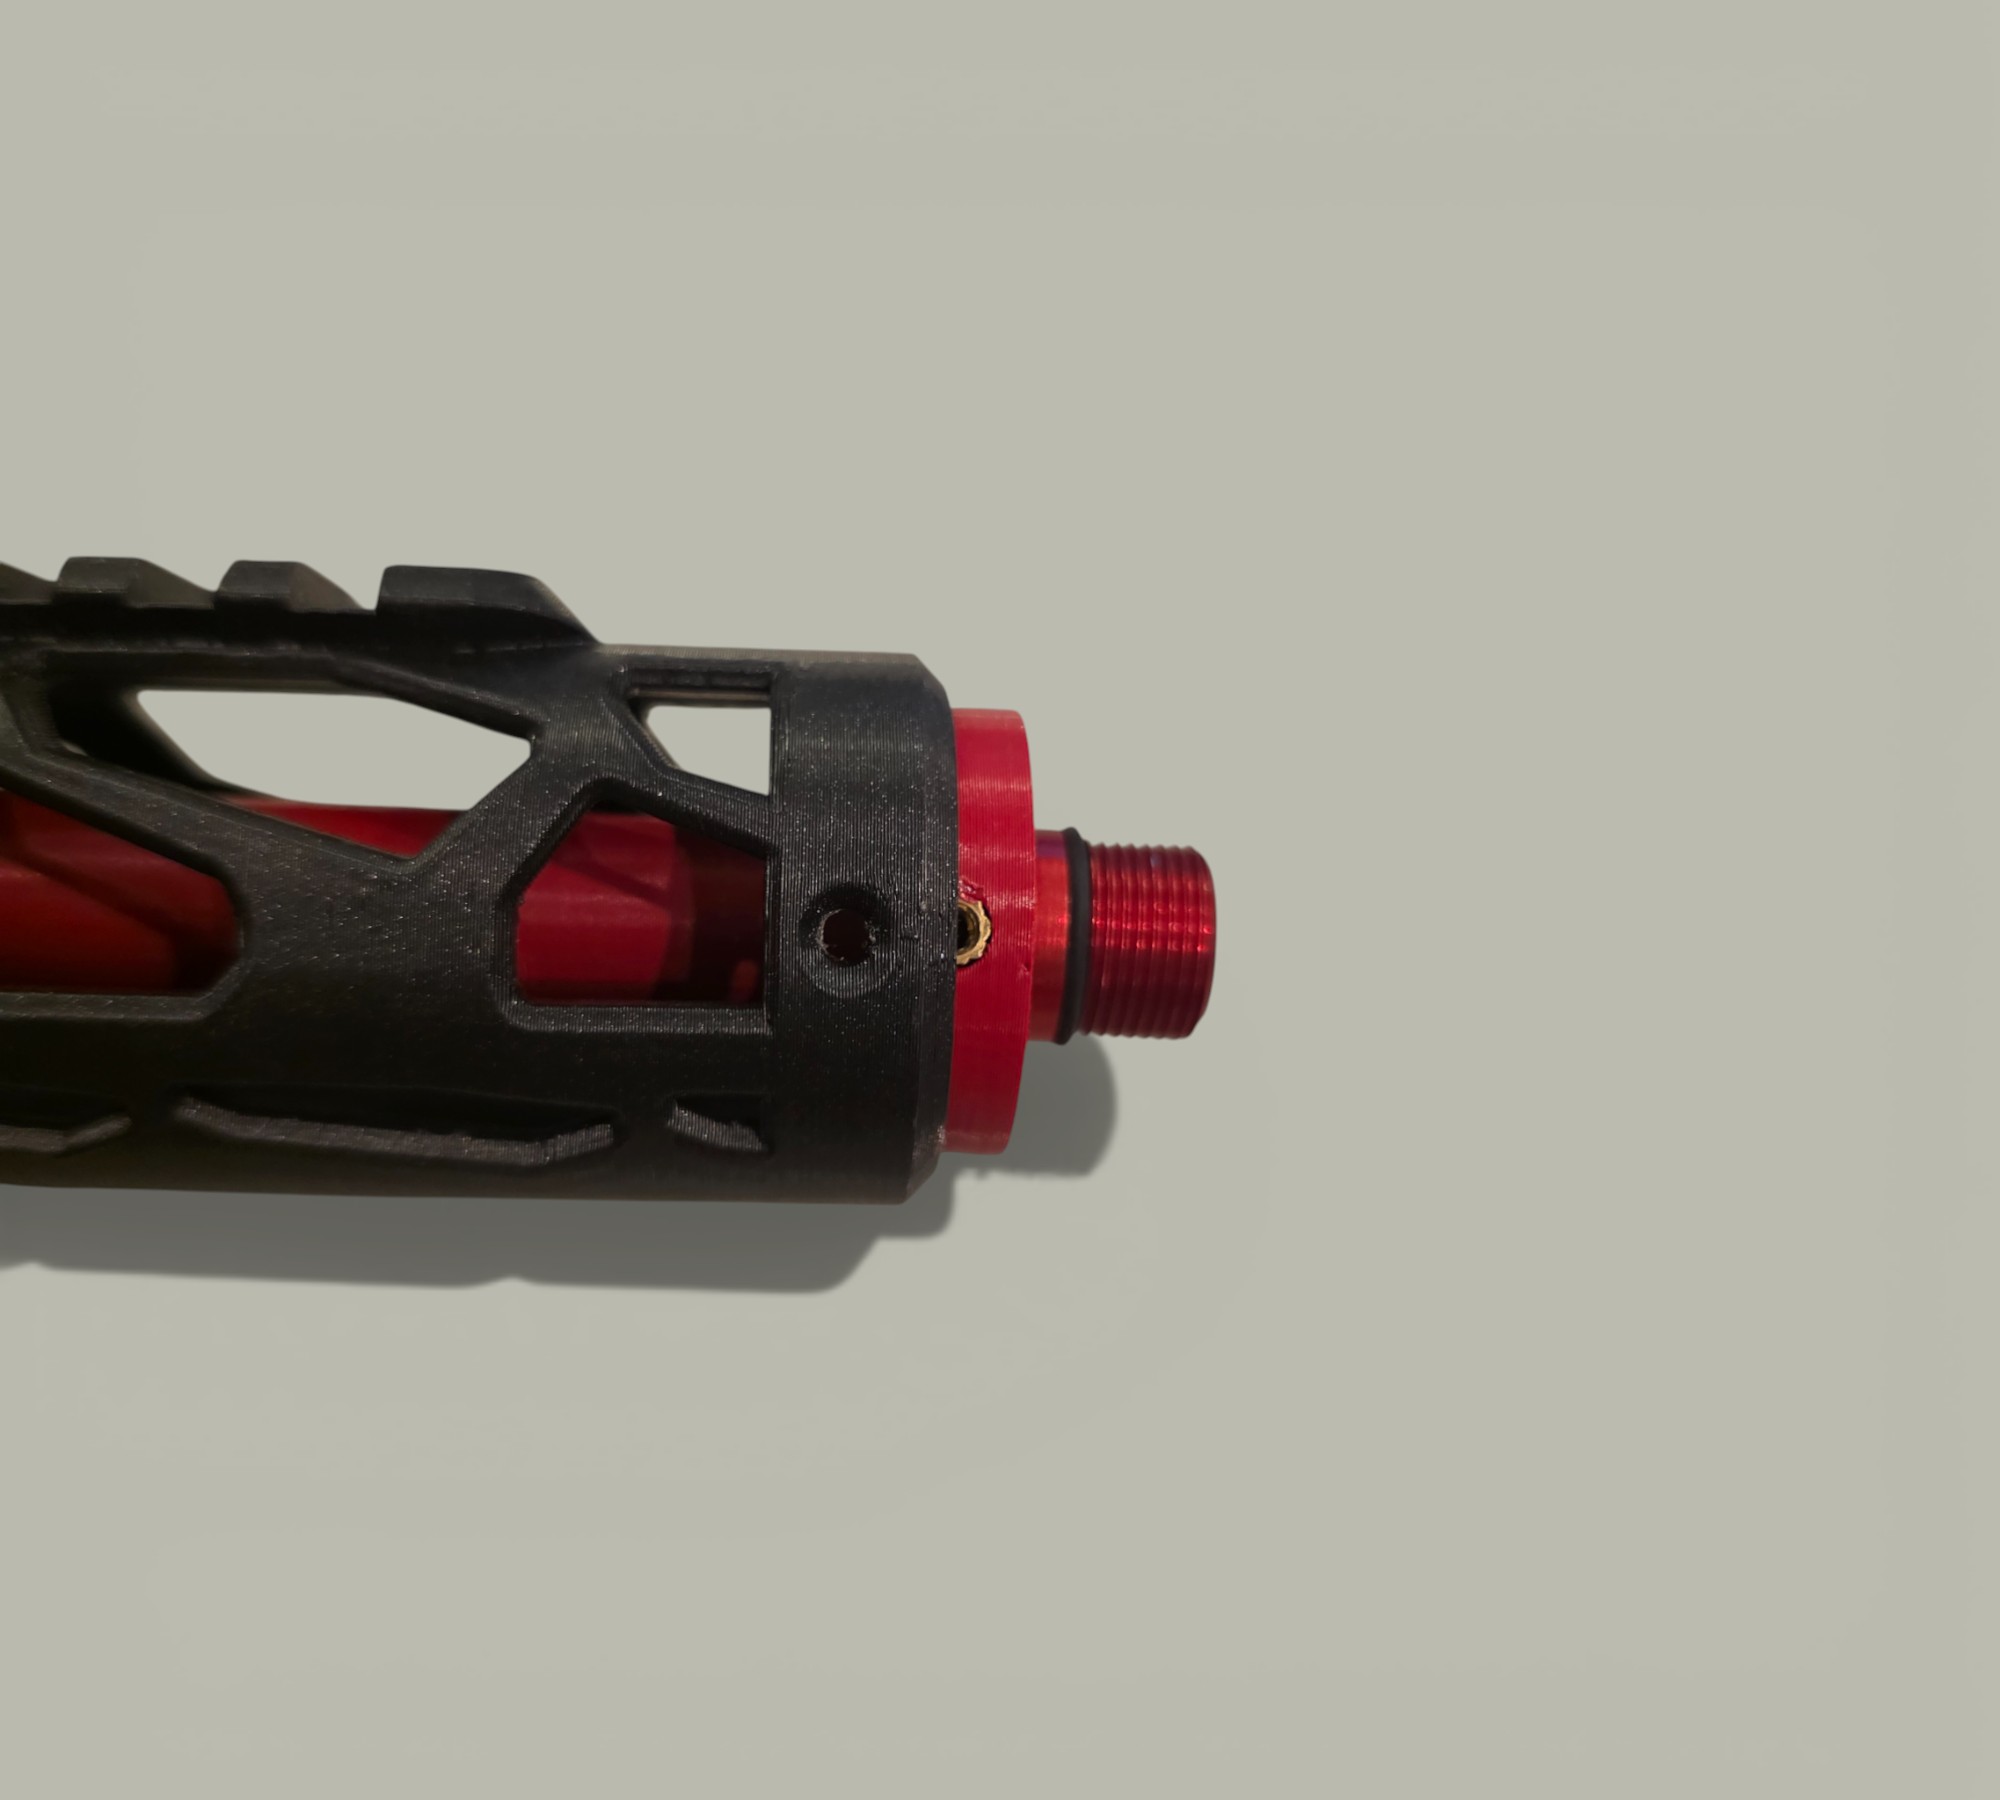
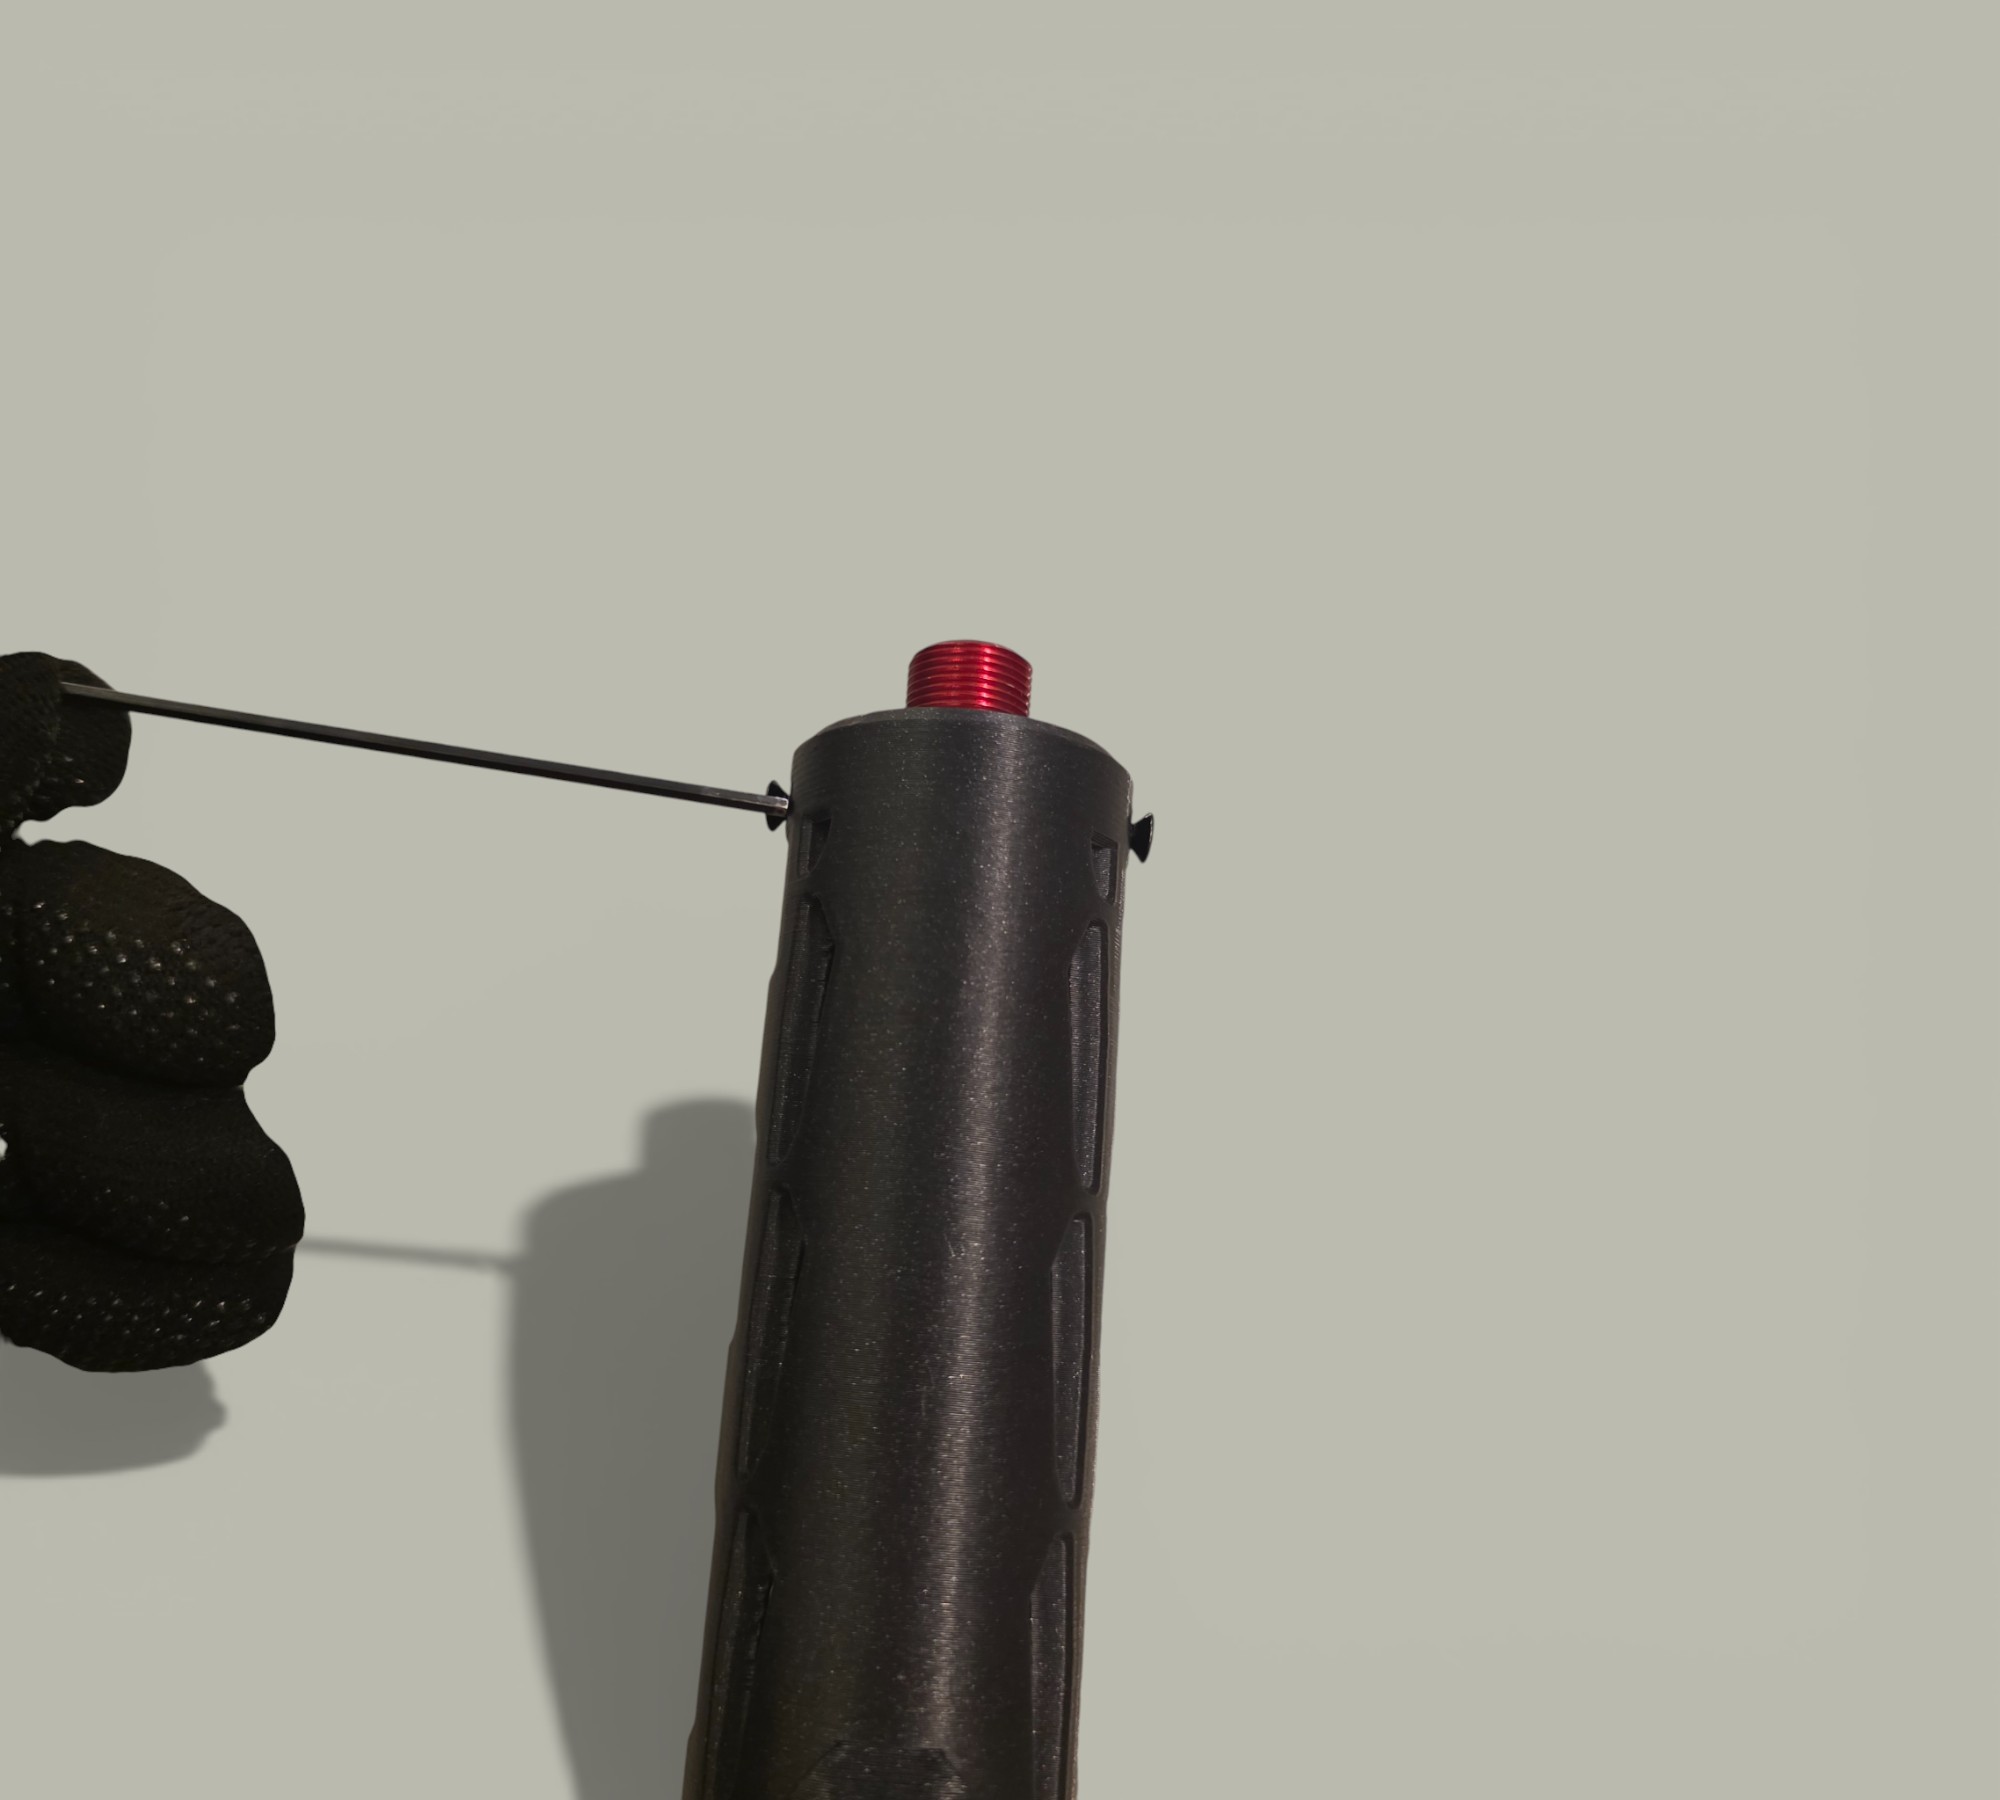
Muzzle
Screw the 14mm CCW adapter onto the Outer Barrel tip.
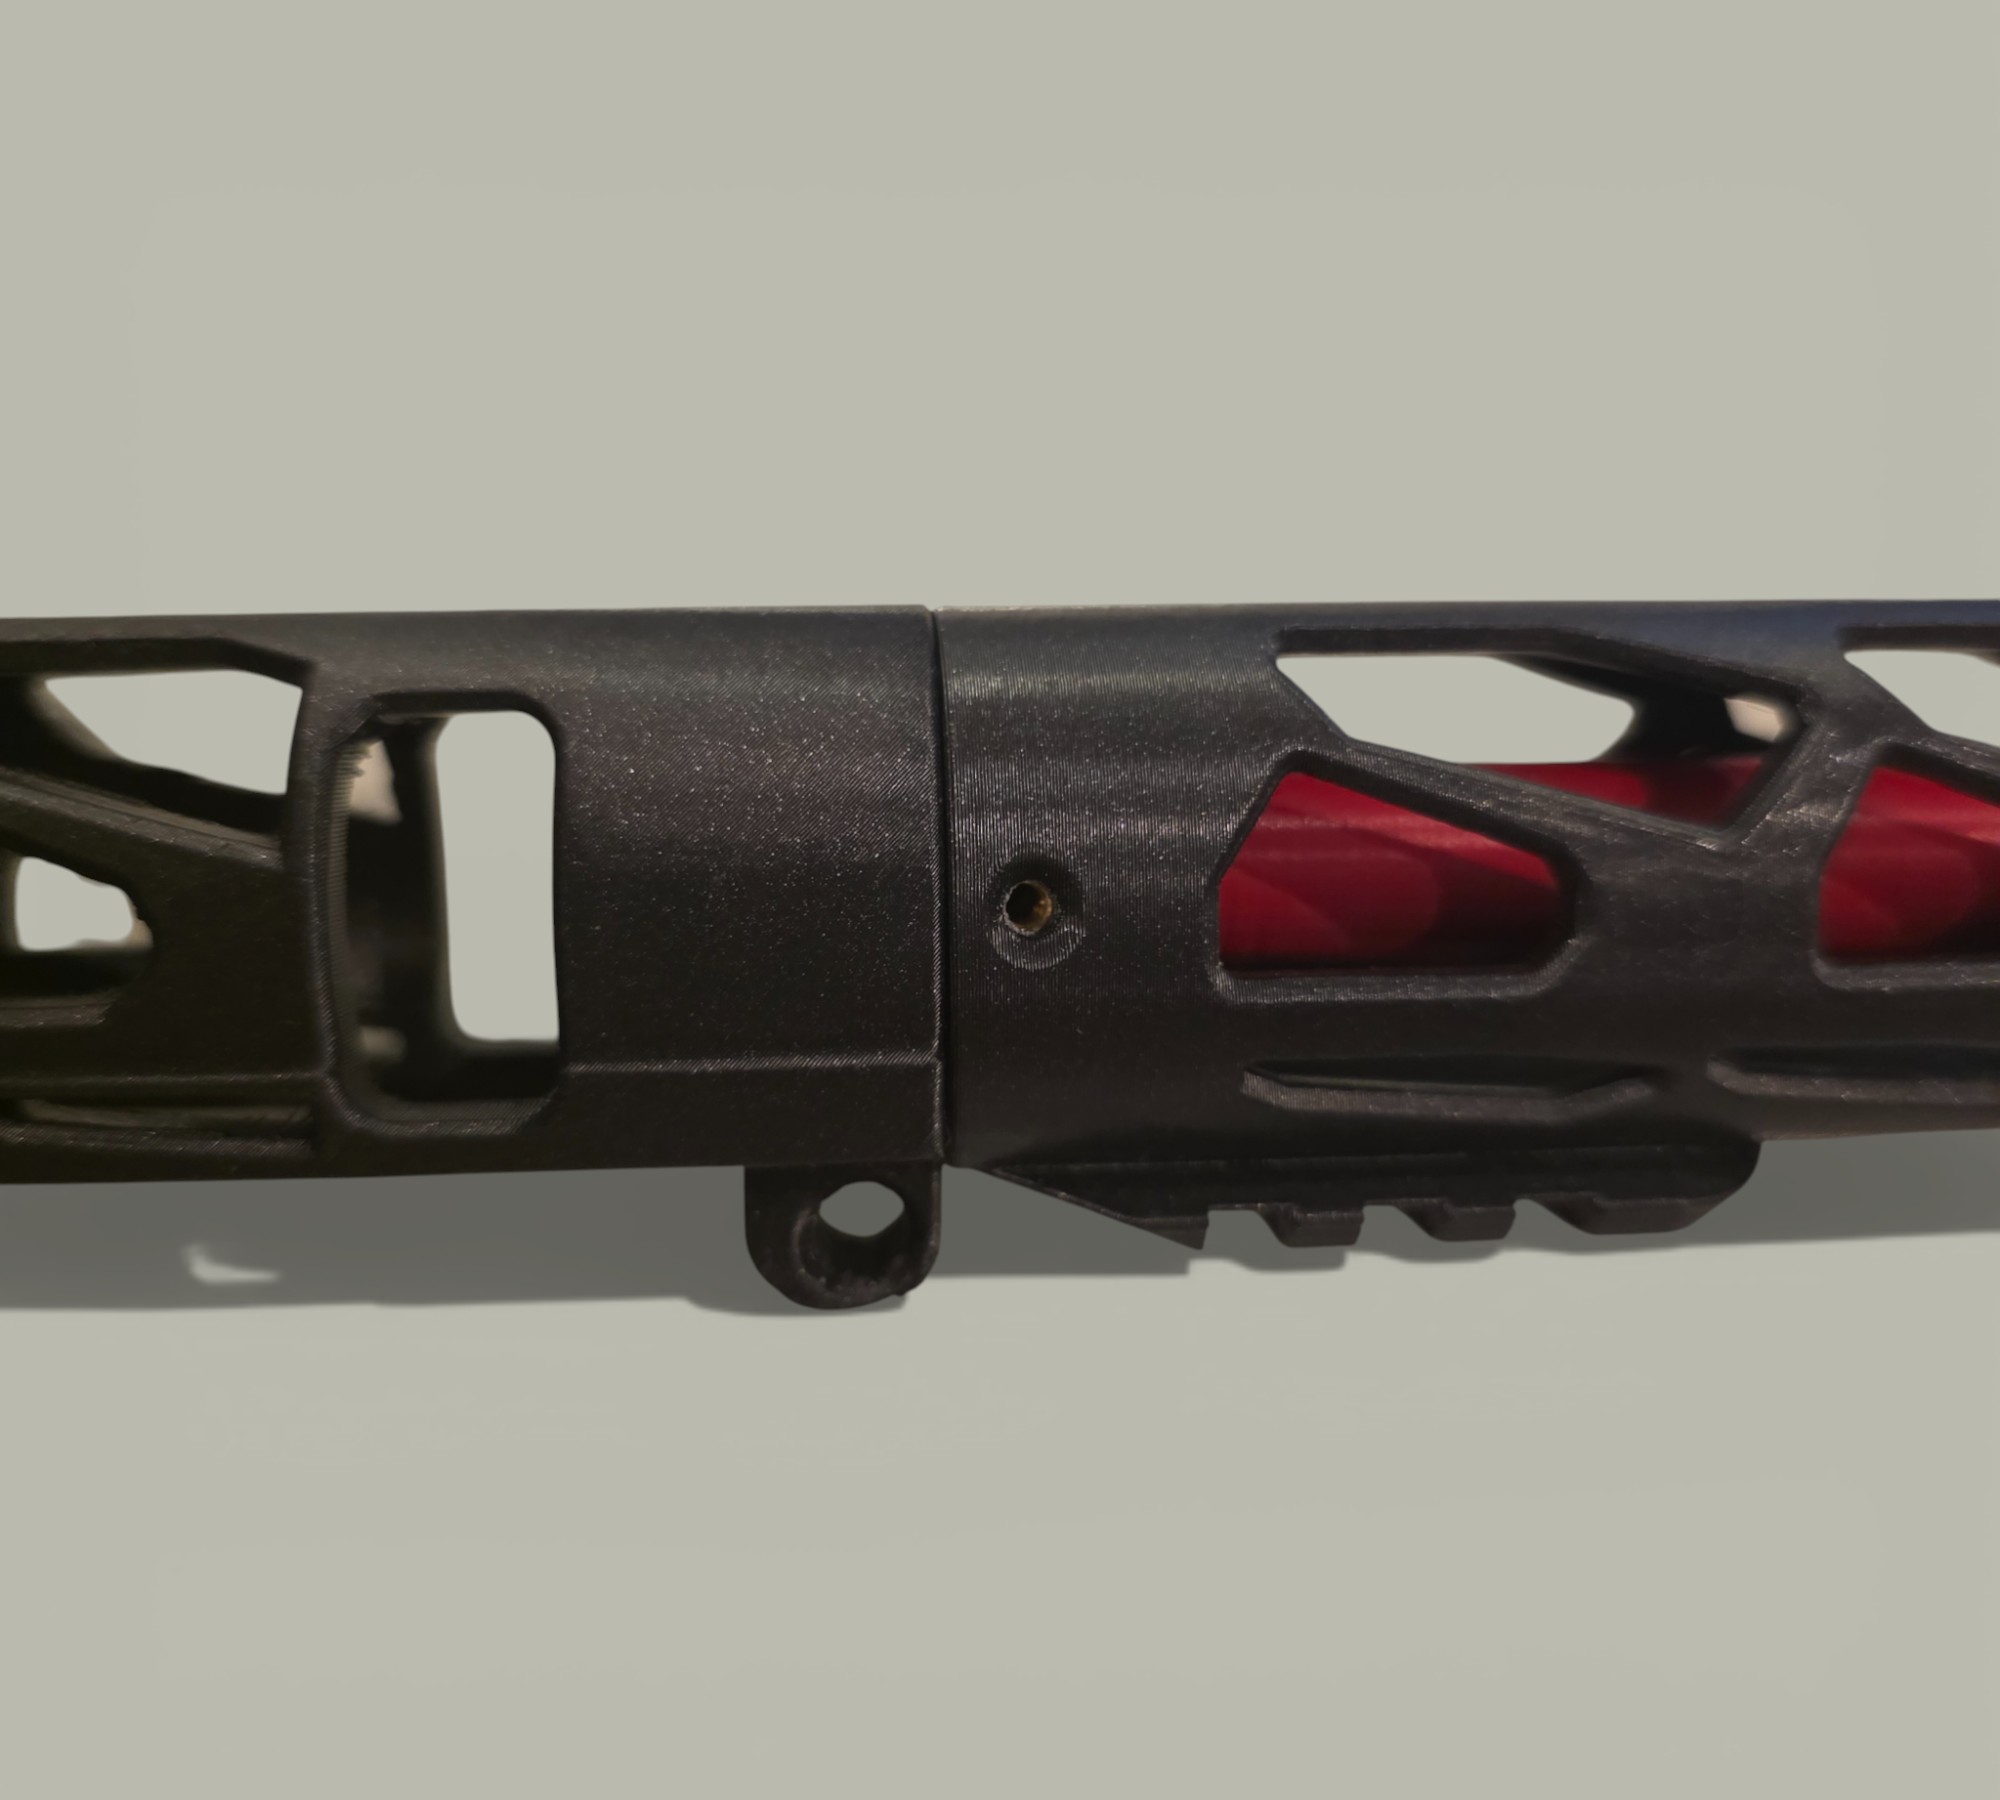
Alignment
Align the Outer Barrel holes with the Handguard. Pay attention to the chamfered side.
 |
 |
Joining
Slide the Upper into the Handguard and secure both sides with M3 screws.
 |
 |
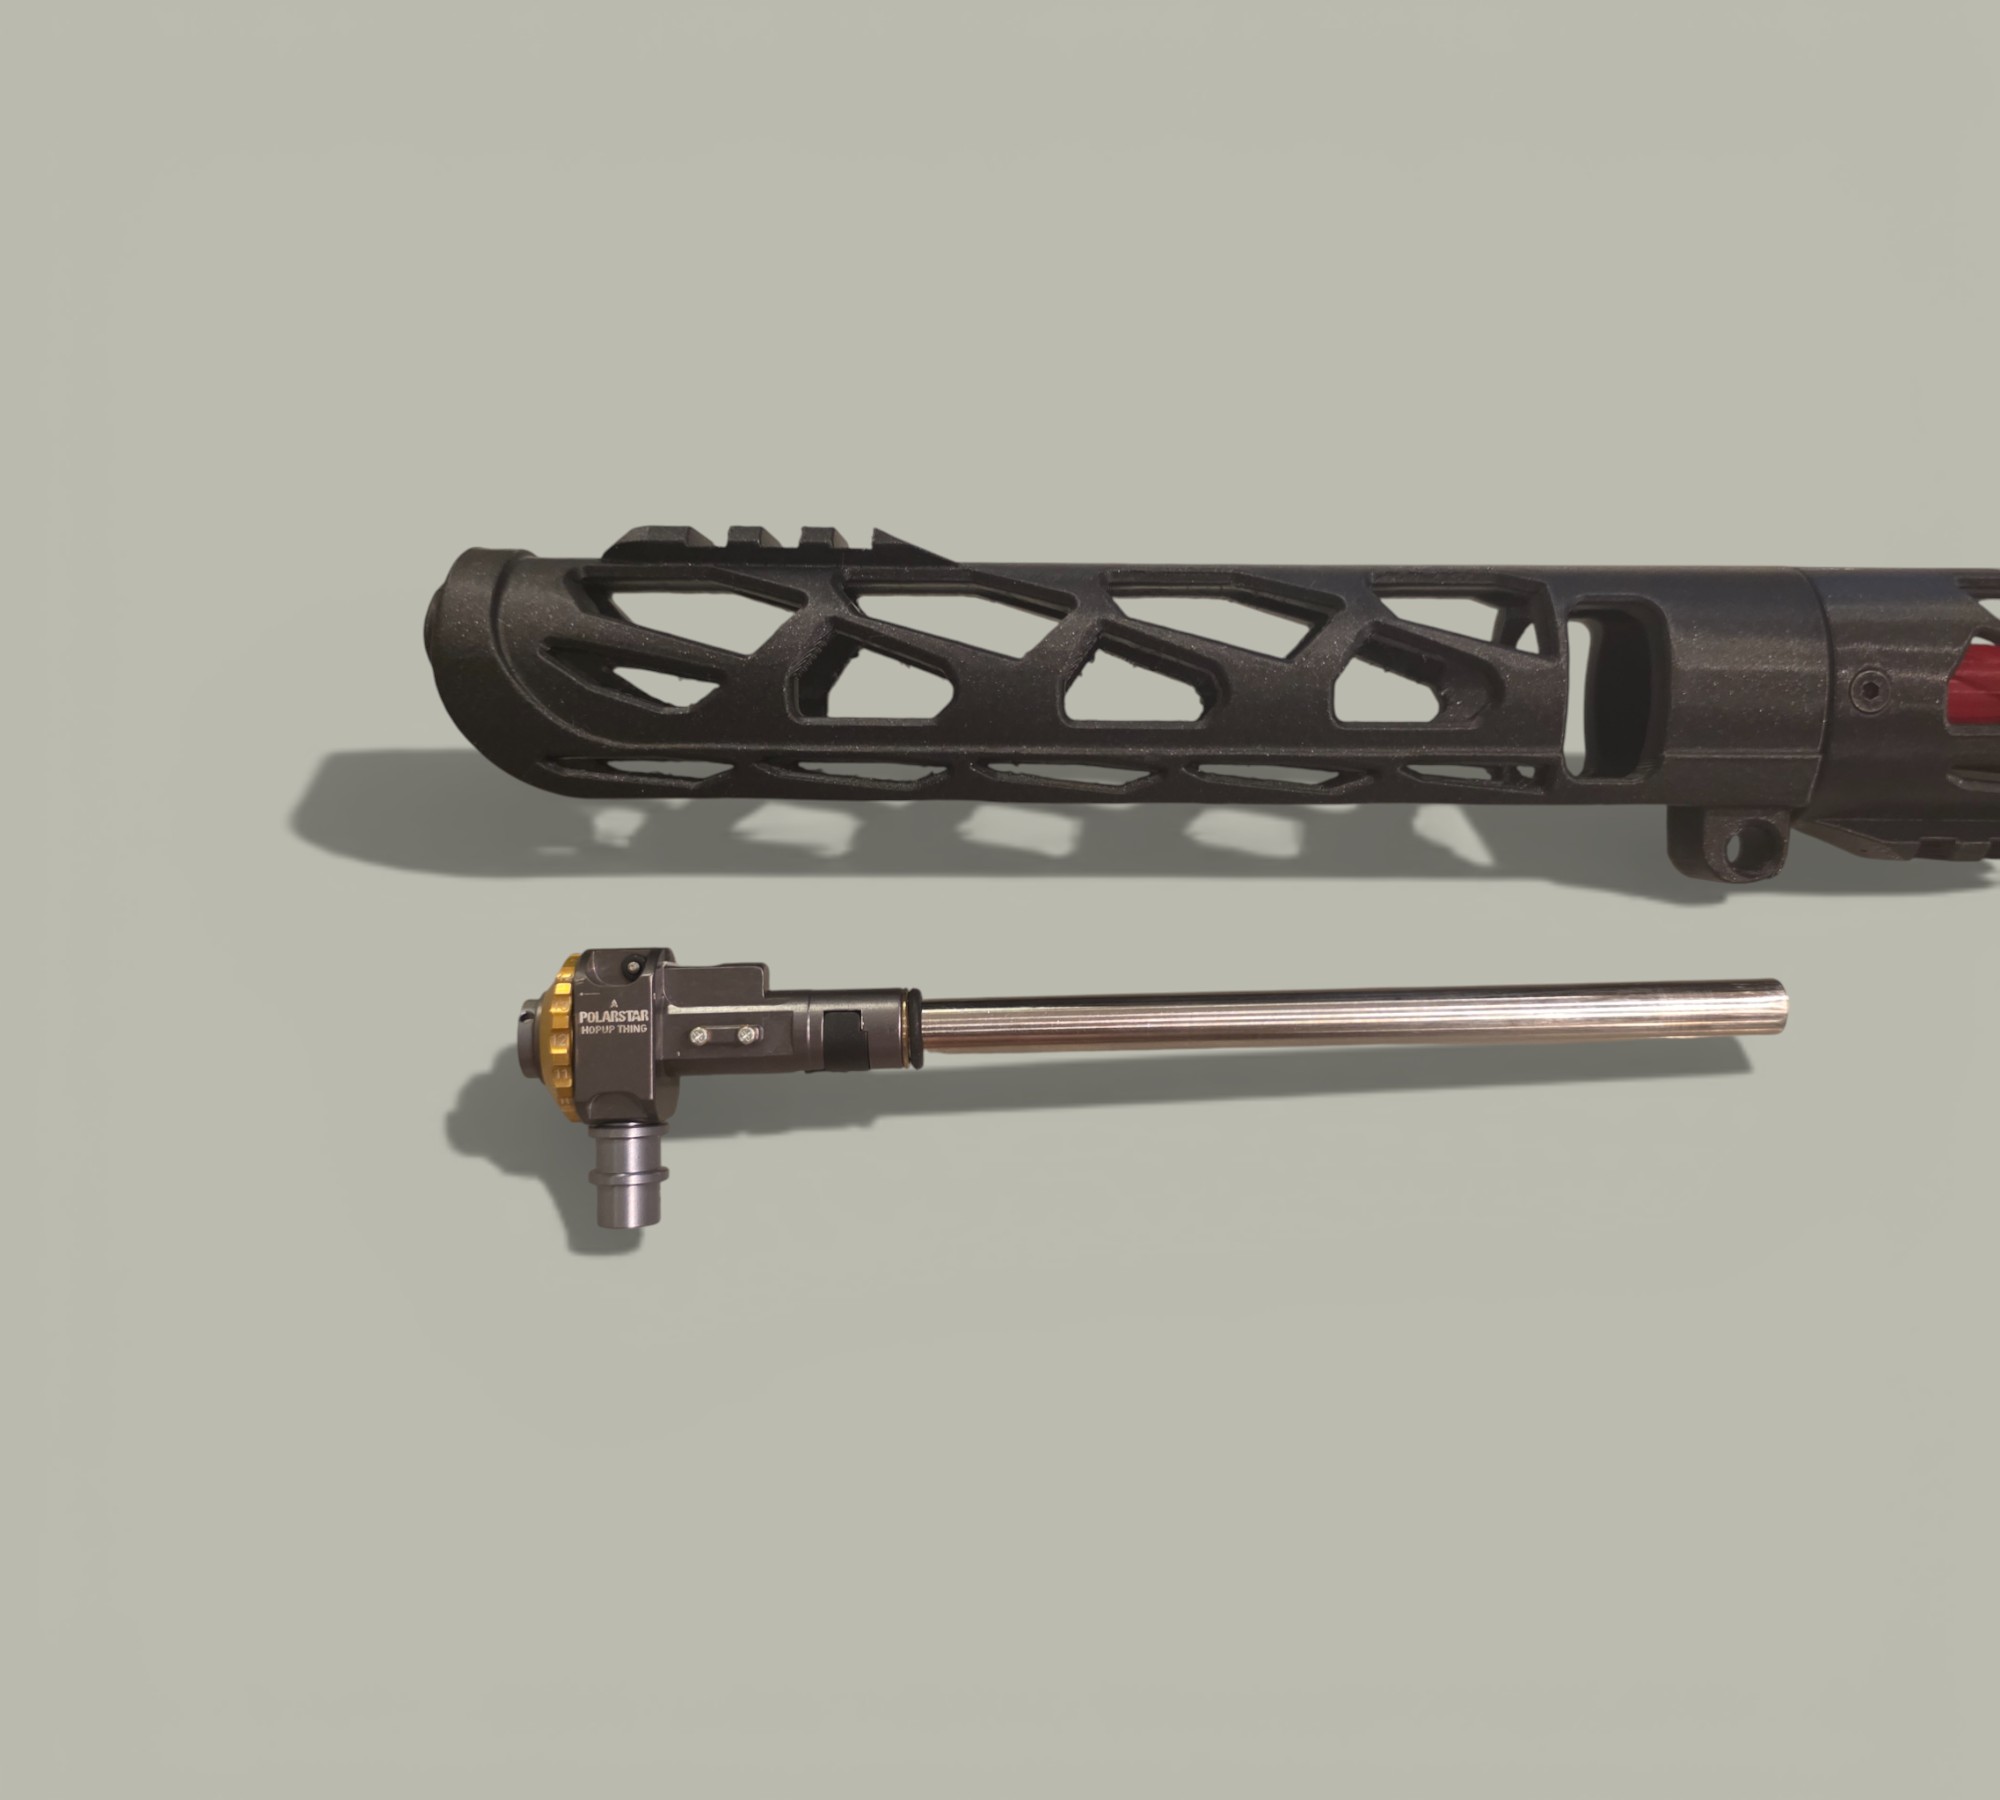
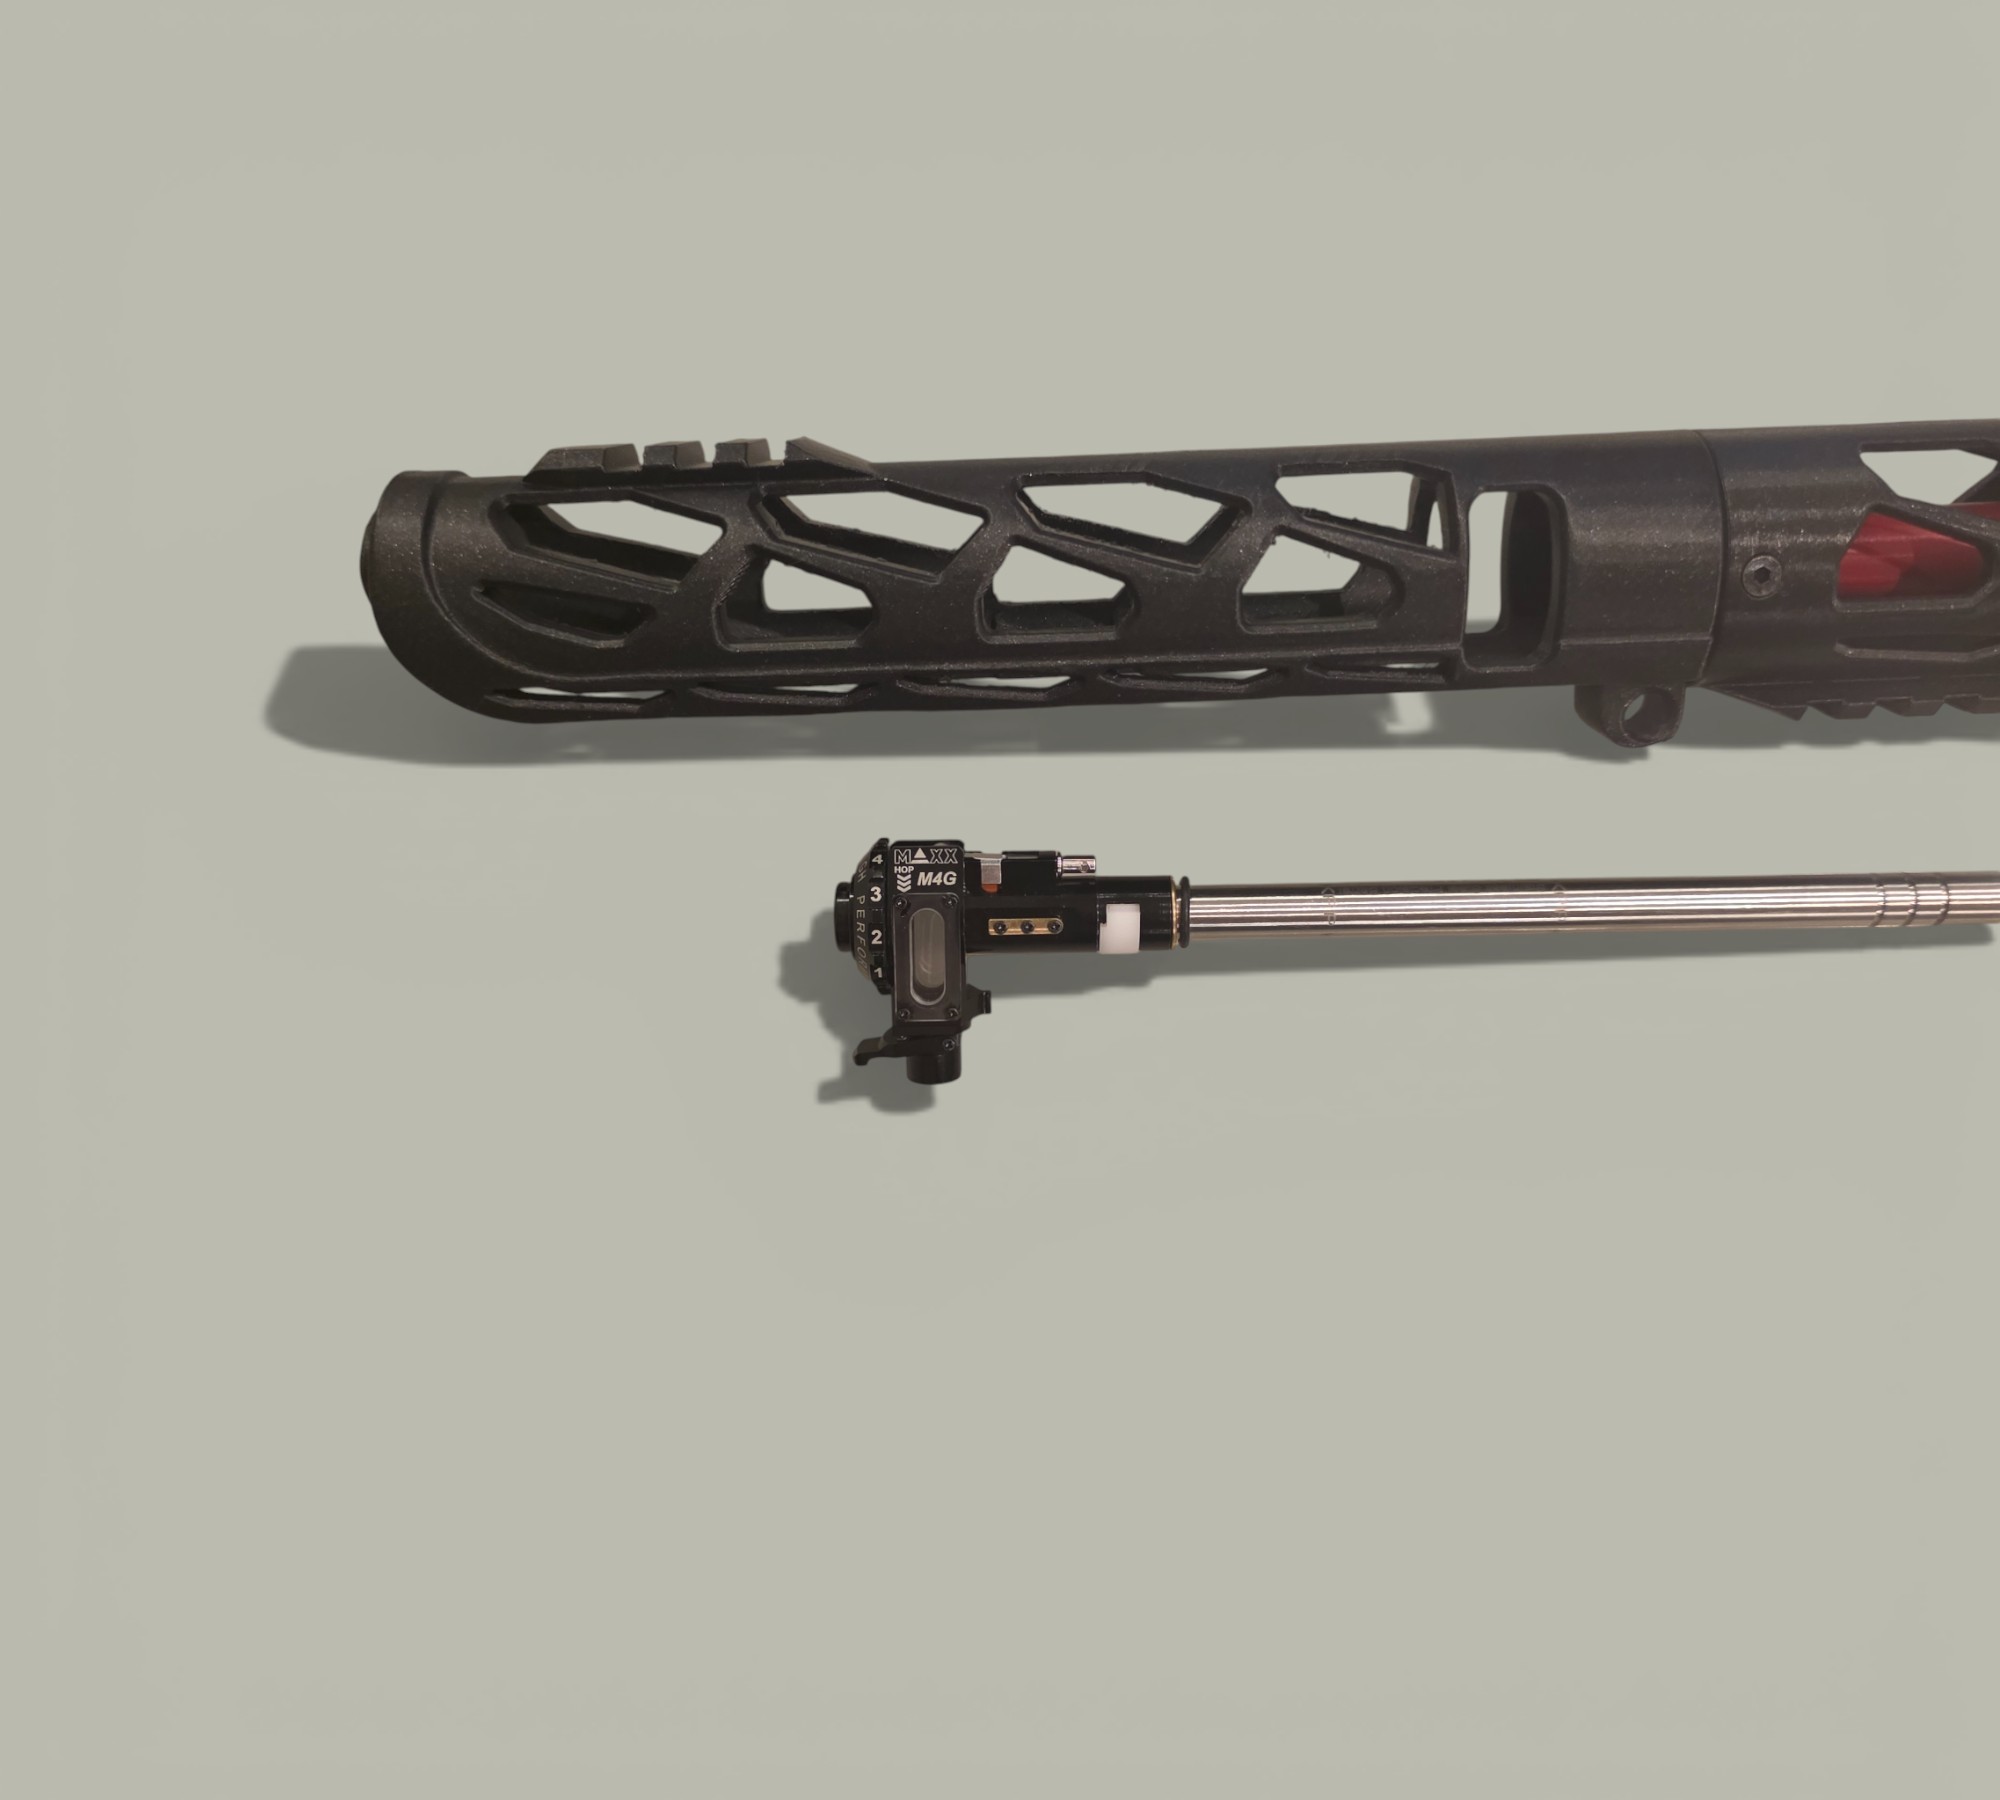
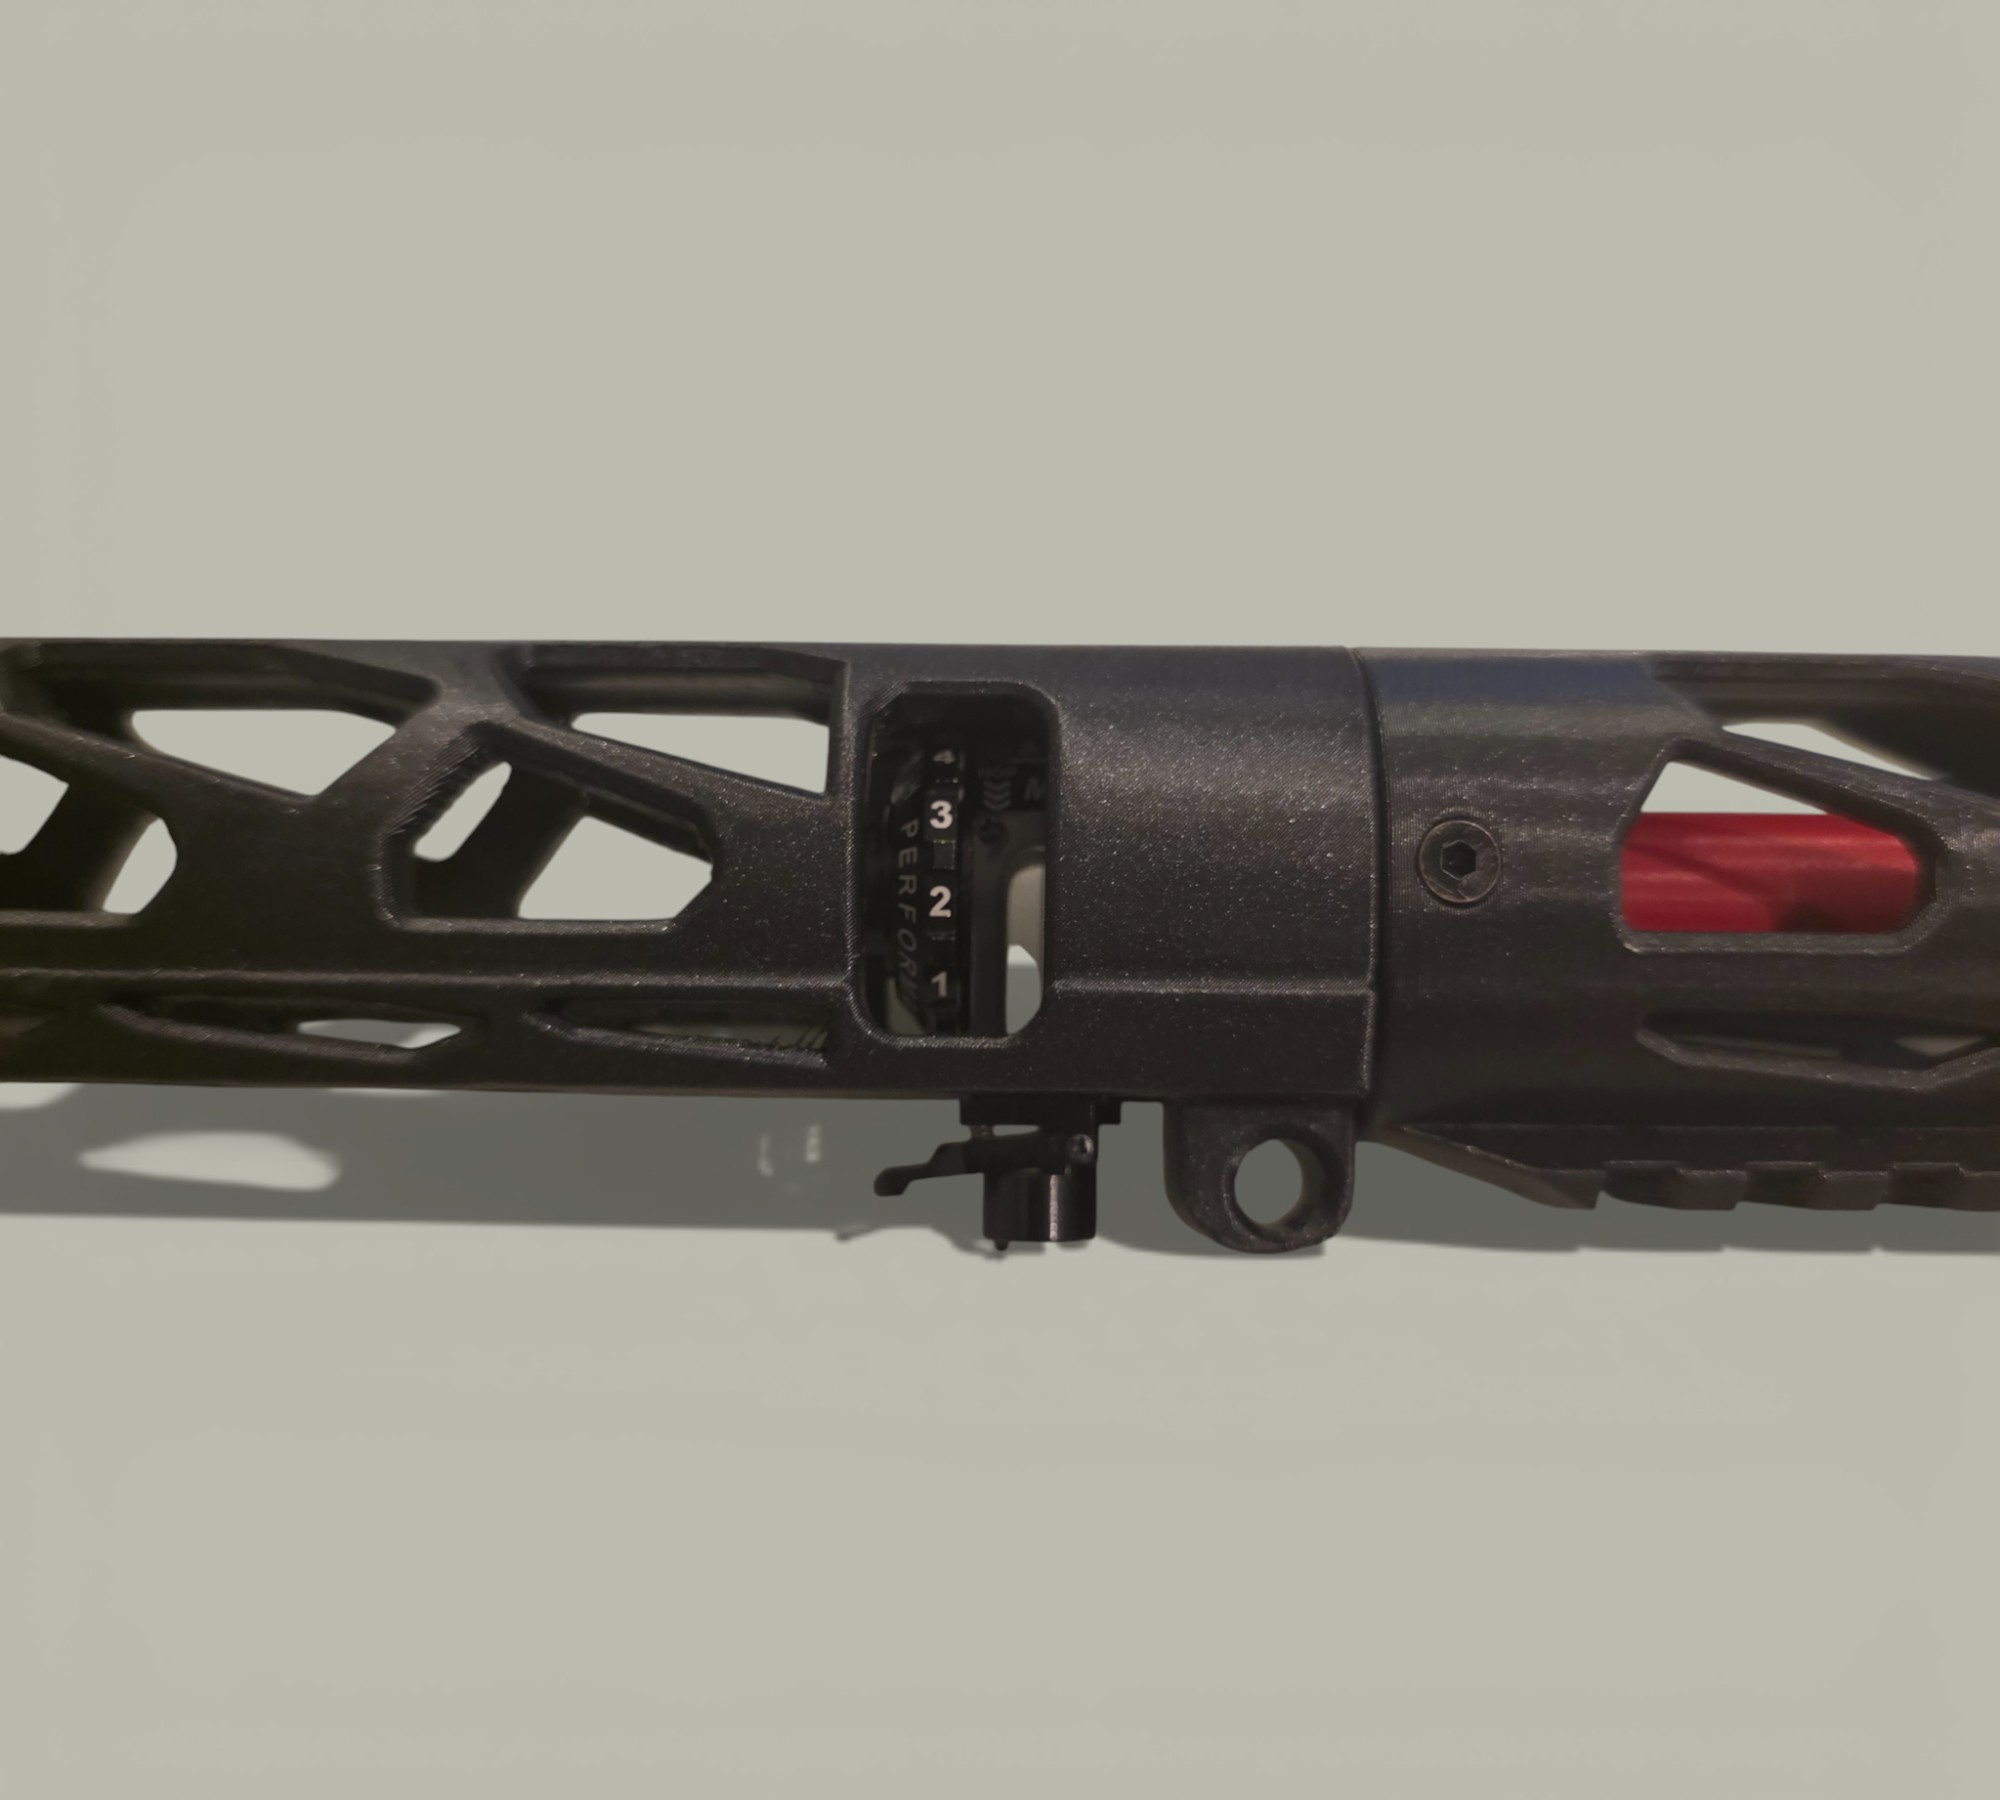
Hopup
Slide the assembled Hopup and inner barrel into the Upper until it hits the internal limiter.
 |
 |
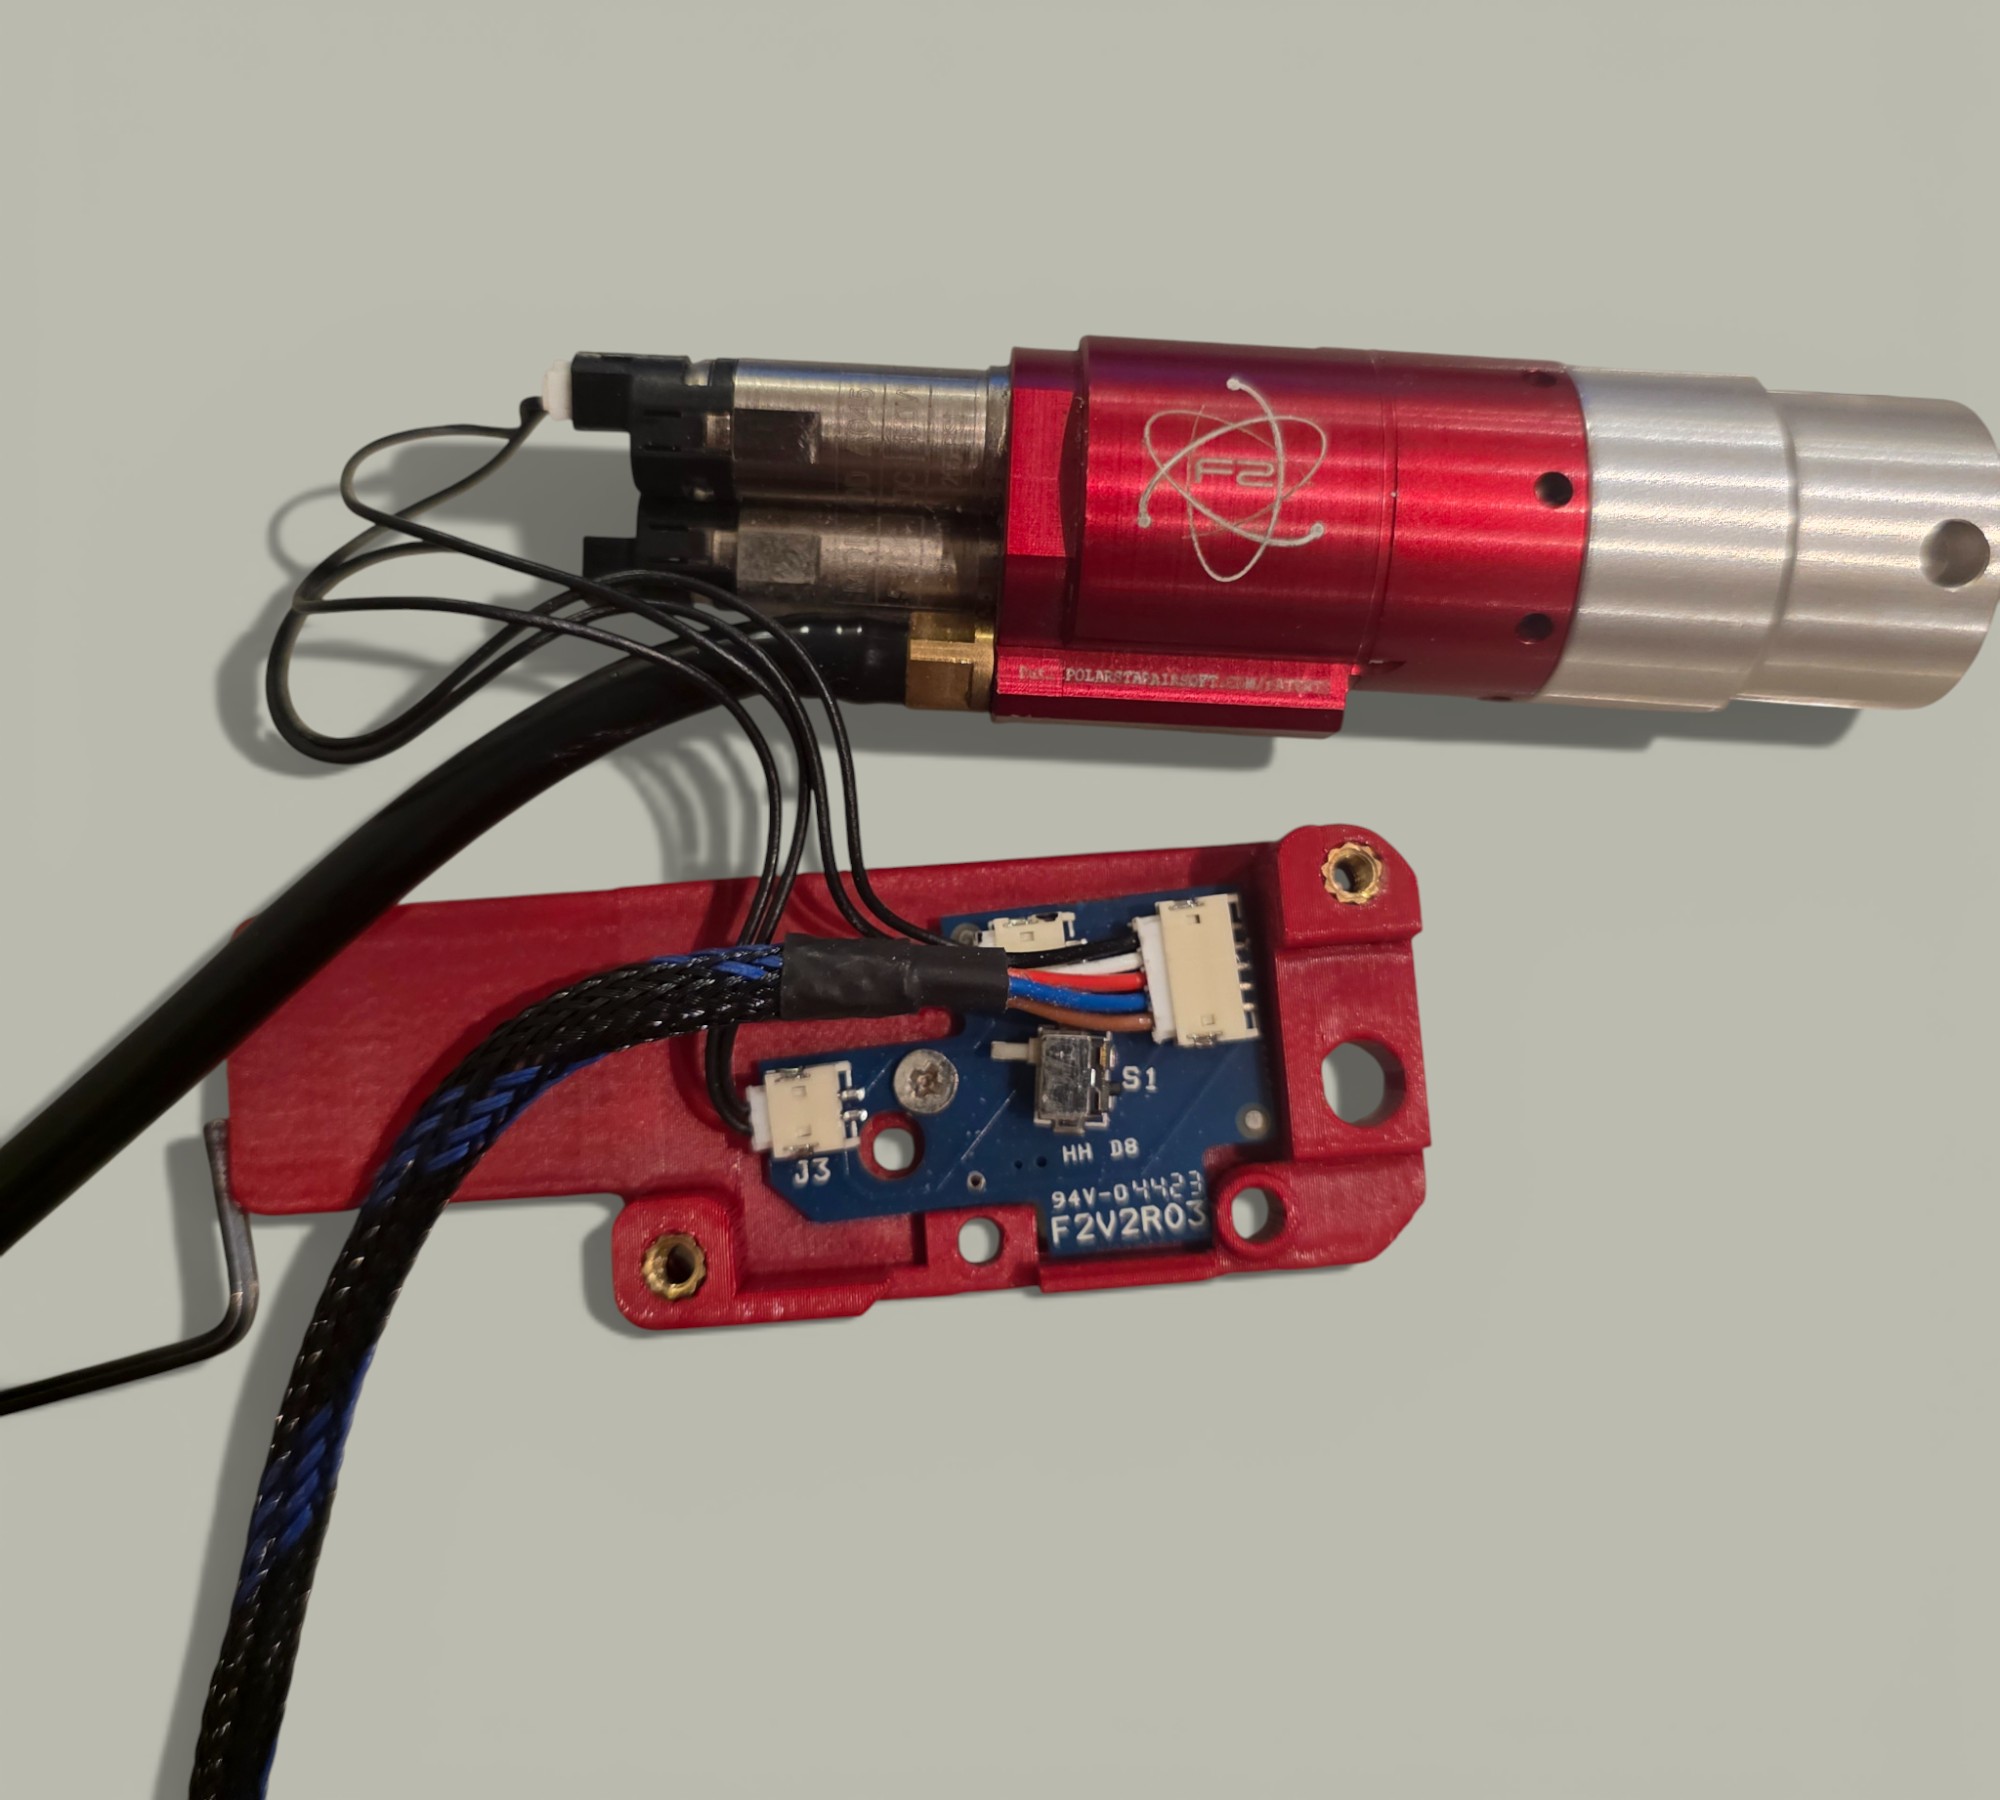
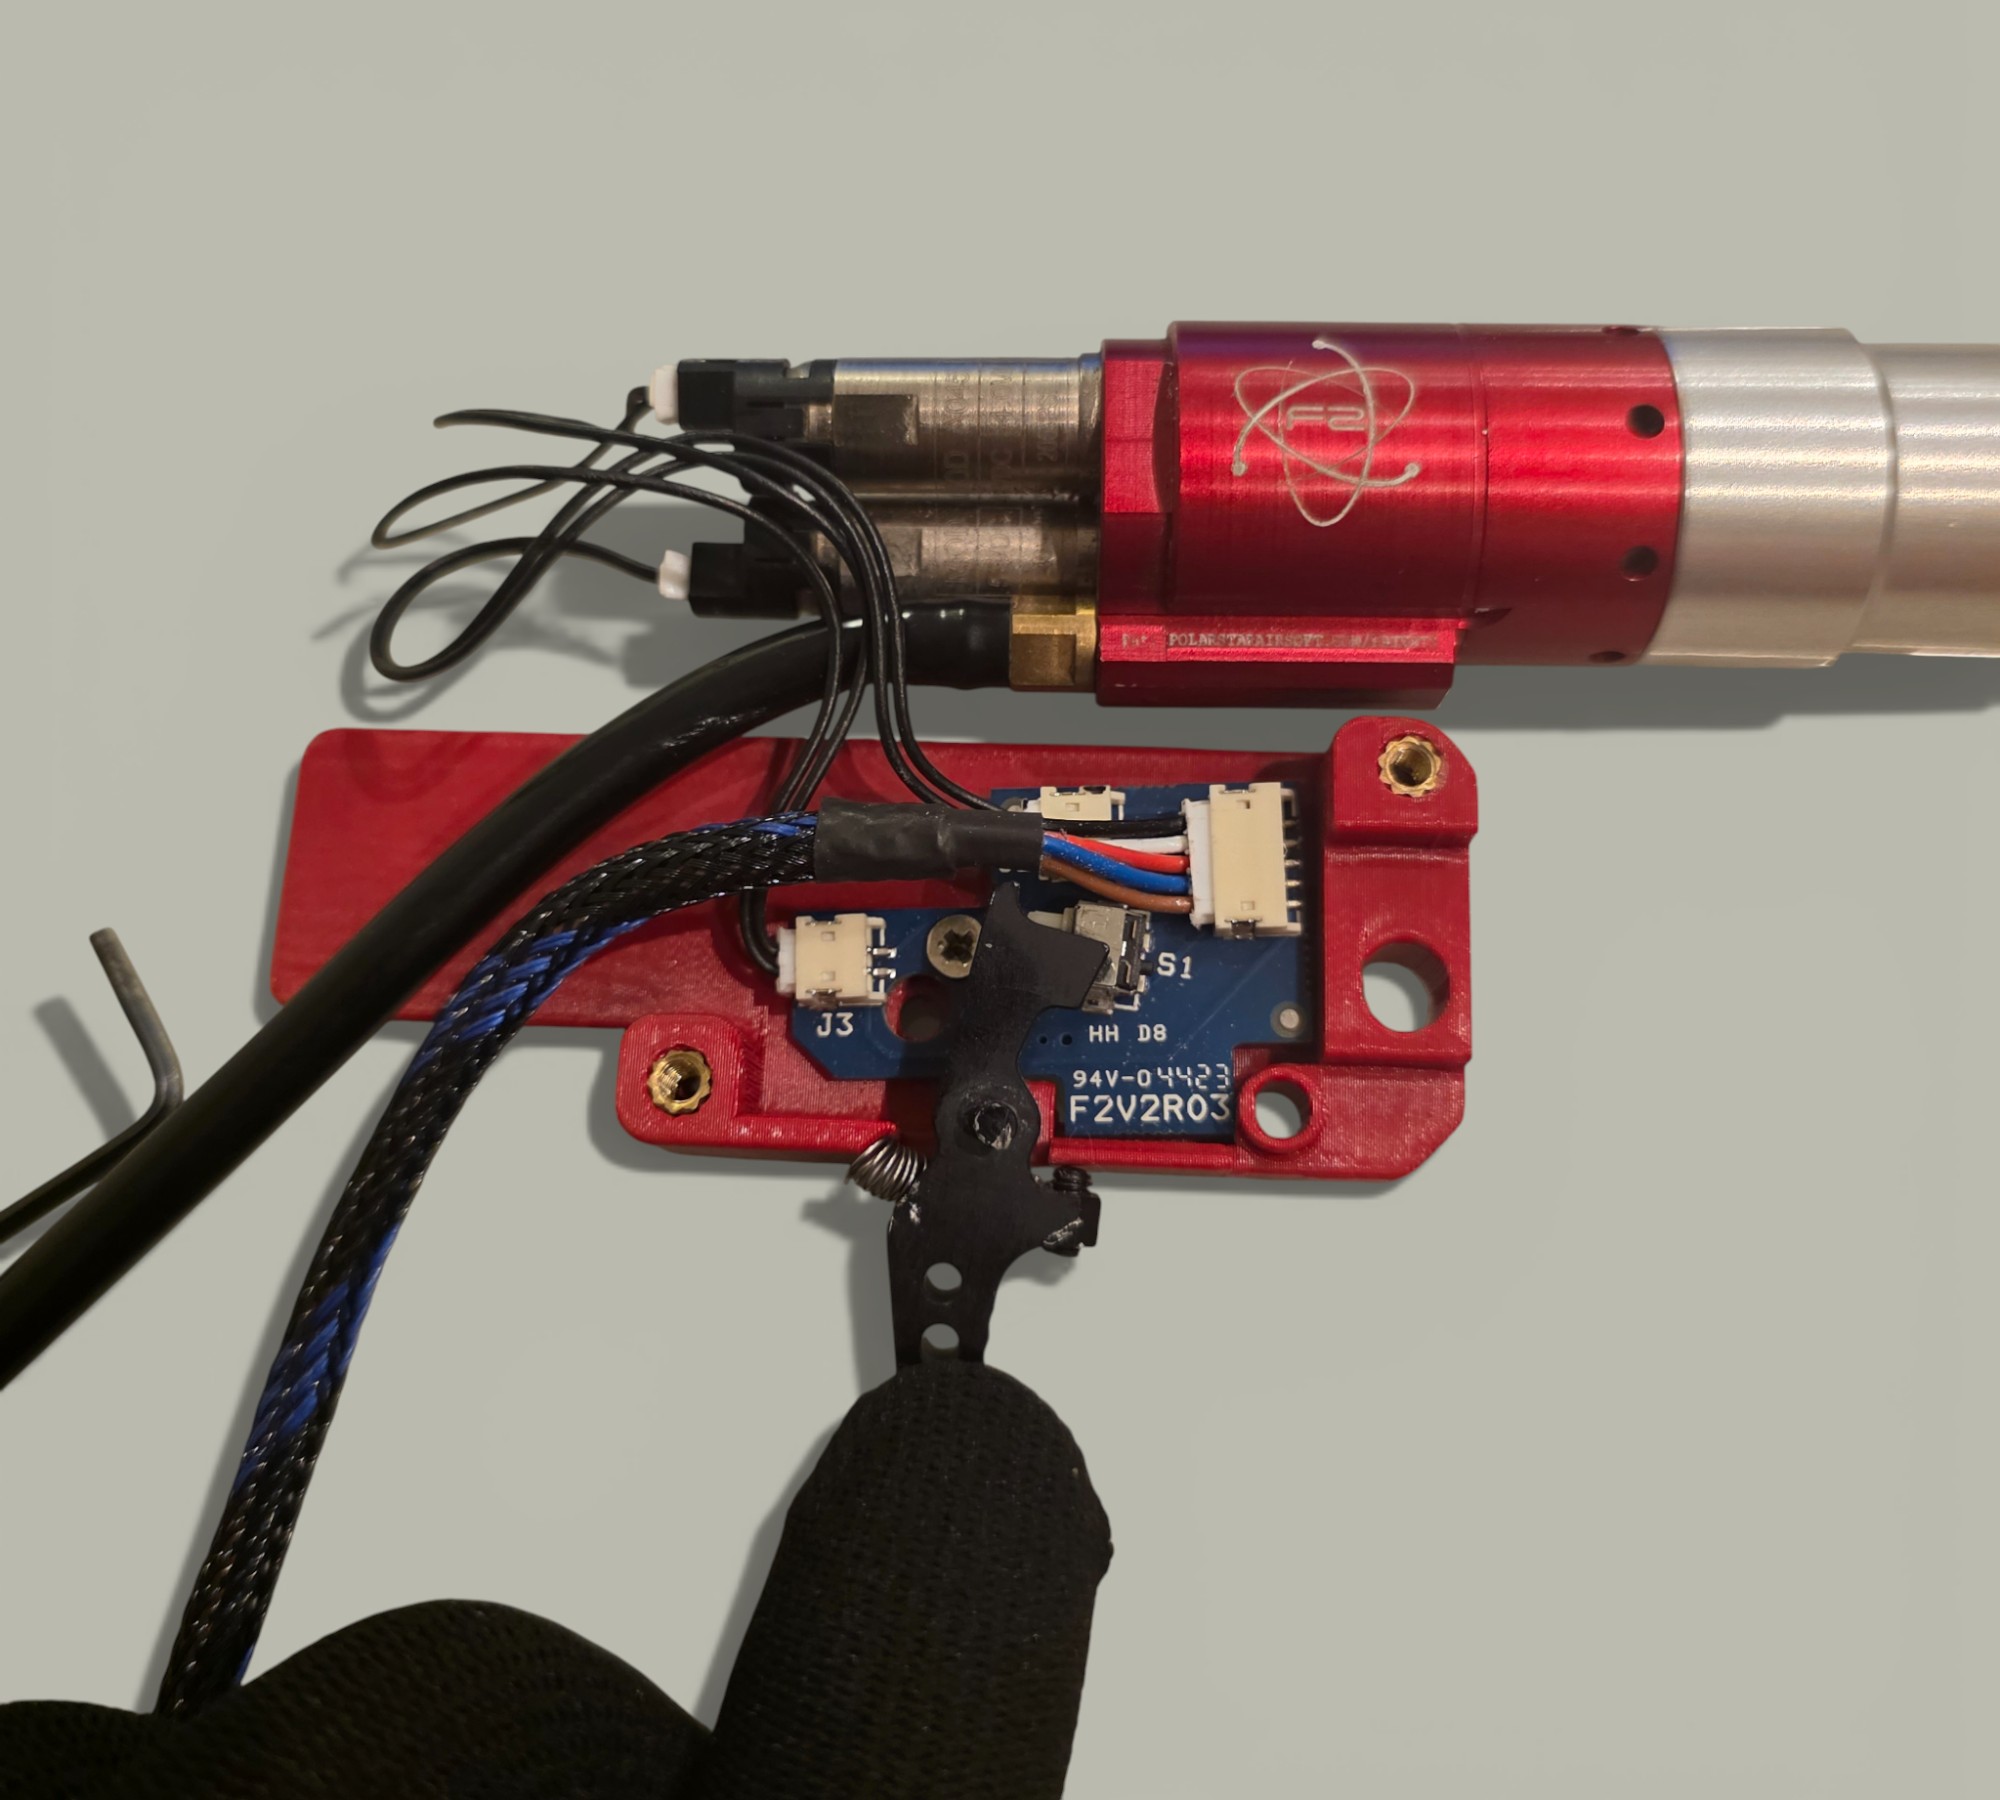
Step 3: Trigger Housing & HPA
Trigger Board
Fix the F2 trigger board to the left side of the Housing using the original small screw.
 |
 |
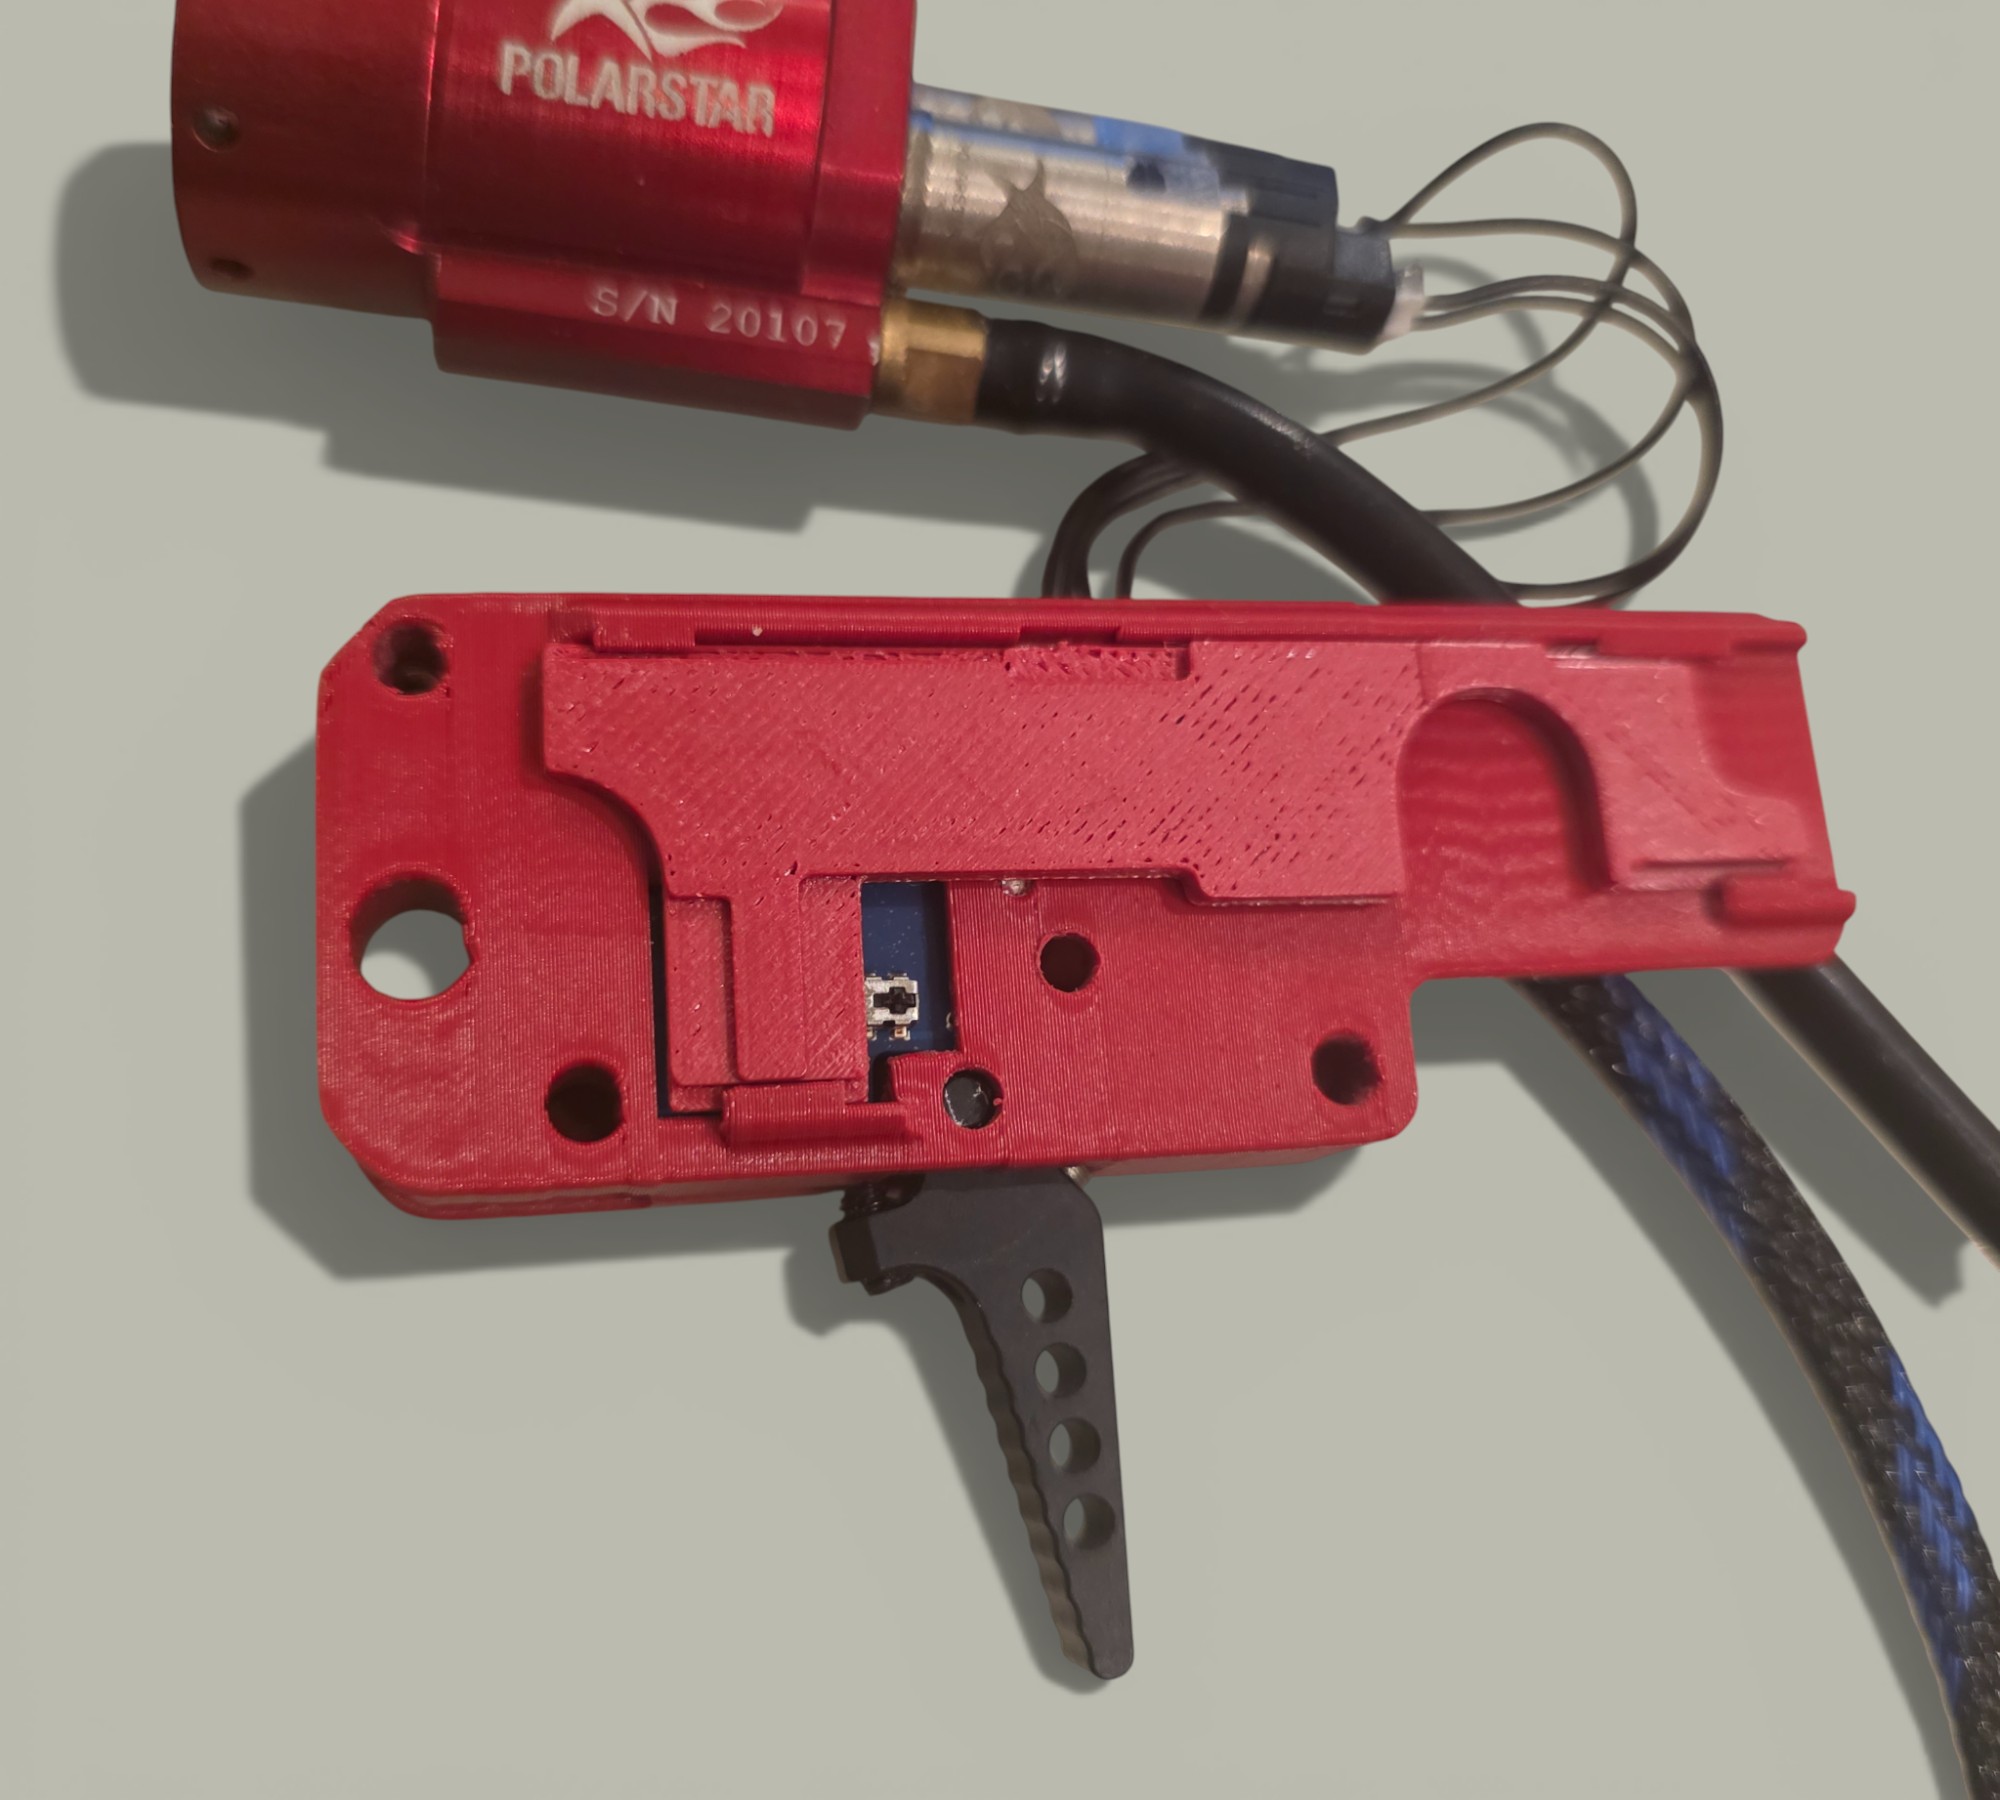
Assembly
Place the trigger blade in its housing, close it with the right side, and secure with M3 screws.
 |
 |
Selector
Snap the Selector Plate into place.
Step 4: Stock Adapter
Nut Setup
Place the M5 nut inside the specific slot within the Lower Receiver.
Fixation
Install the Stock Adapter before the HPA system and secure it with the M5 screw.

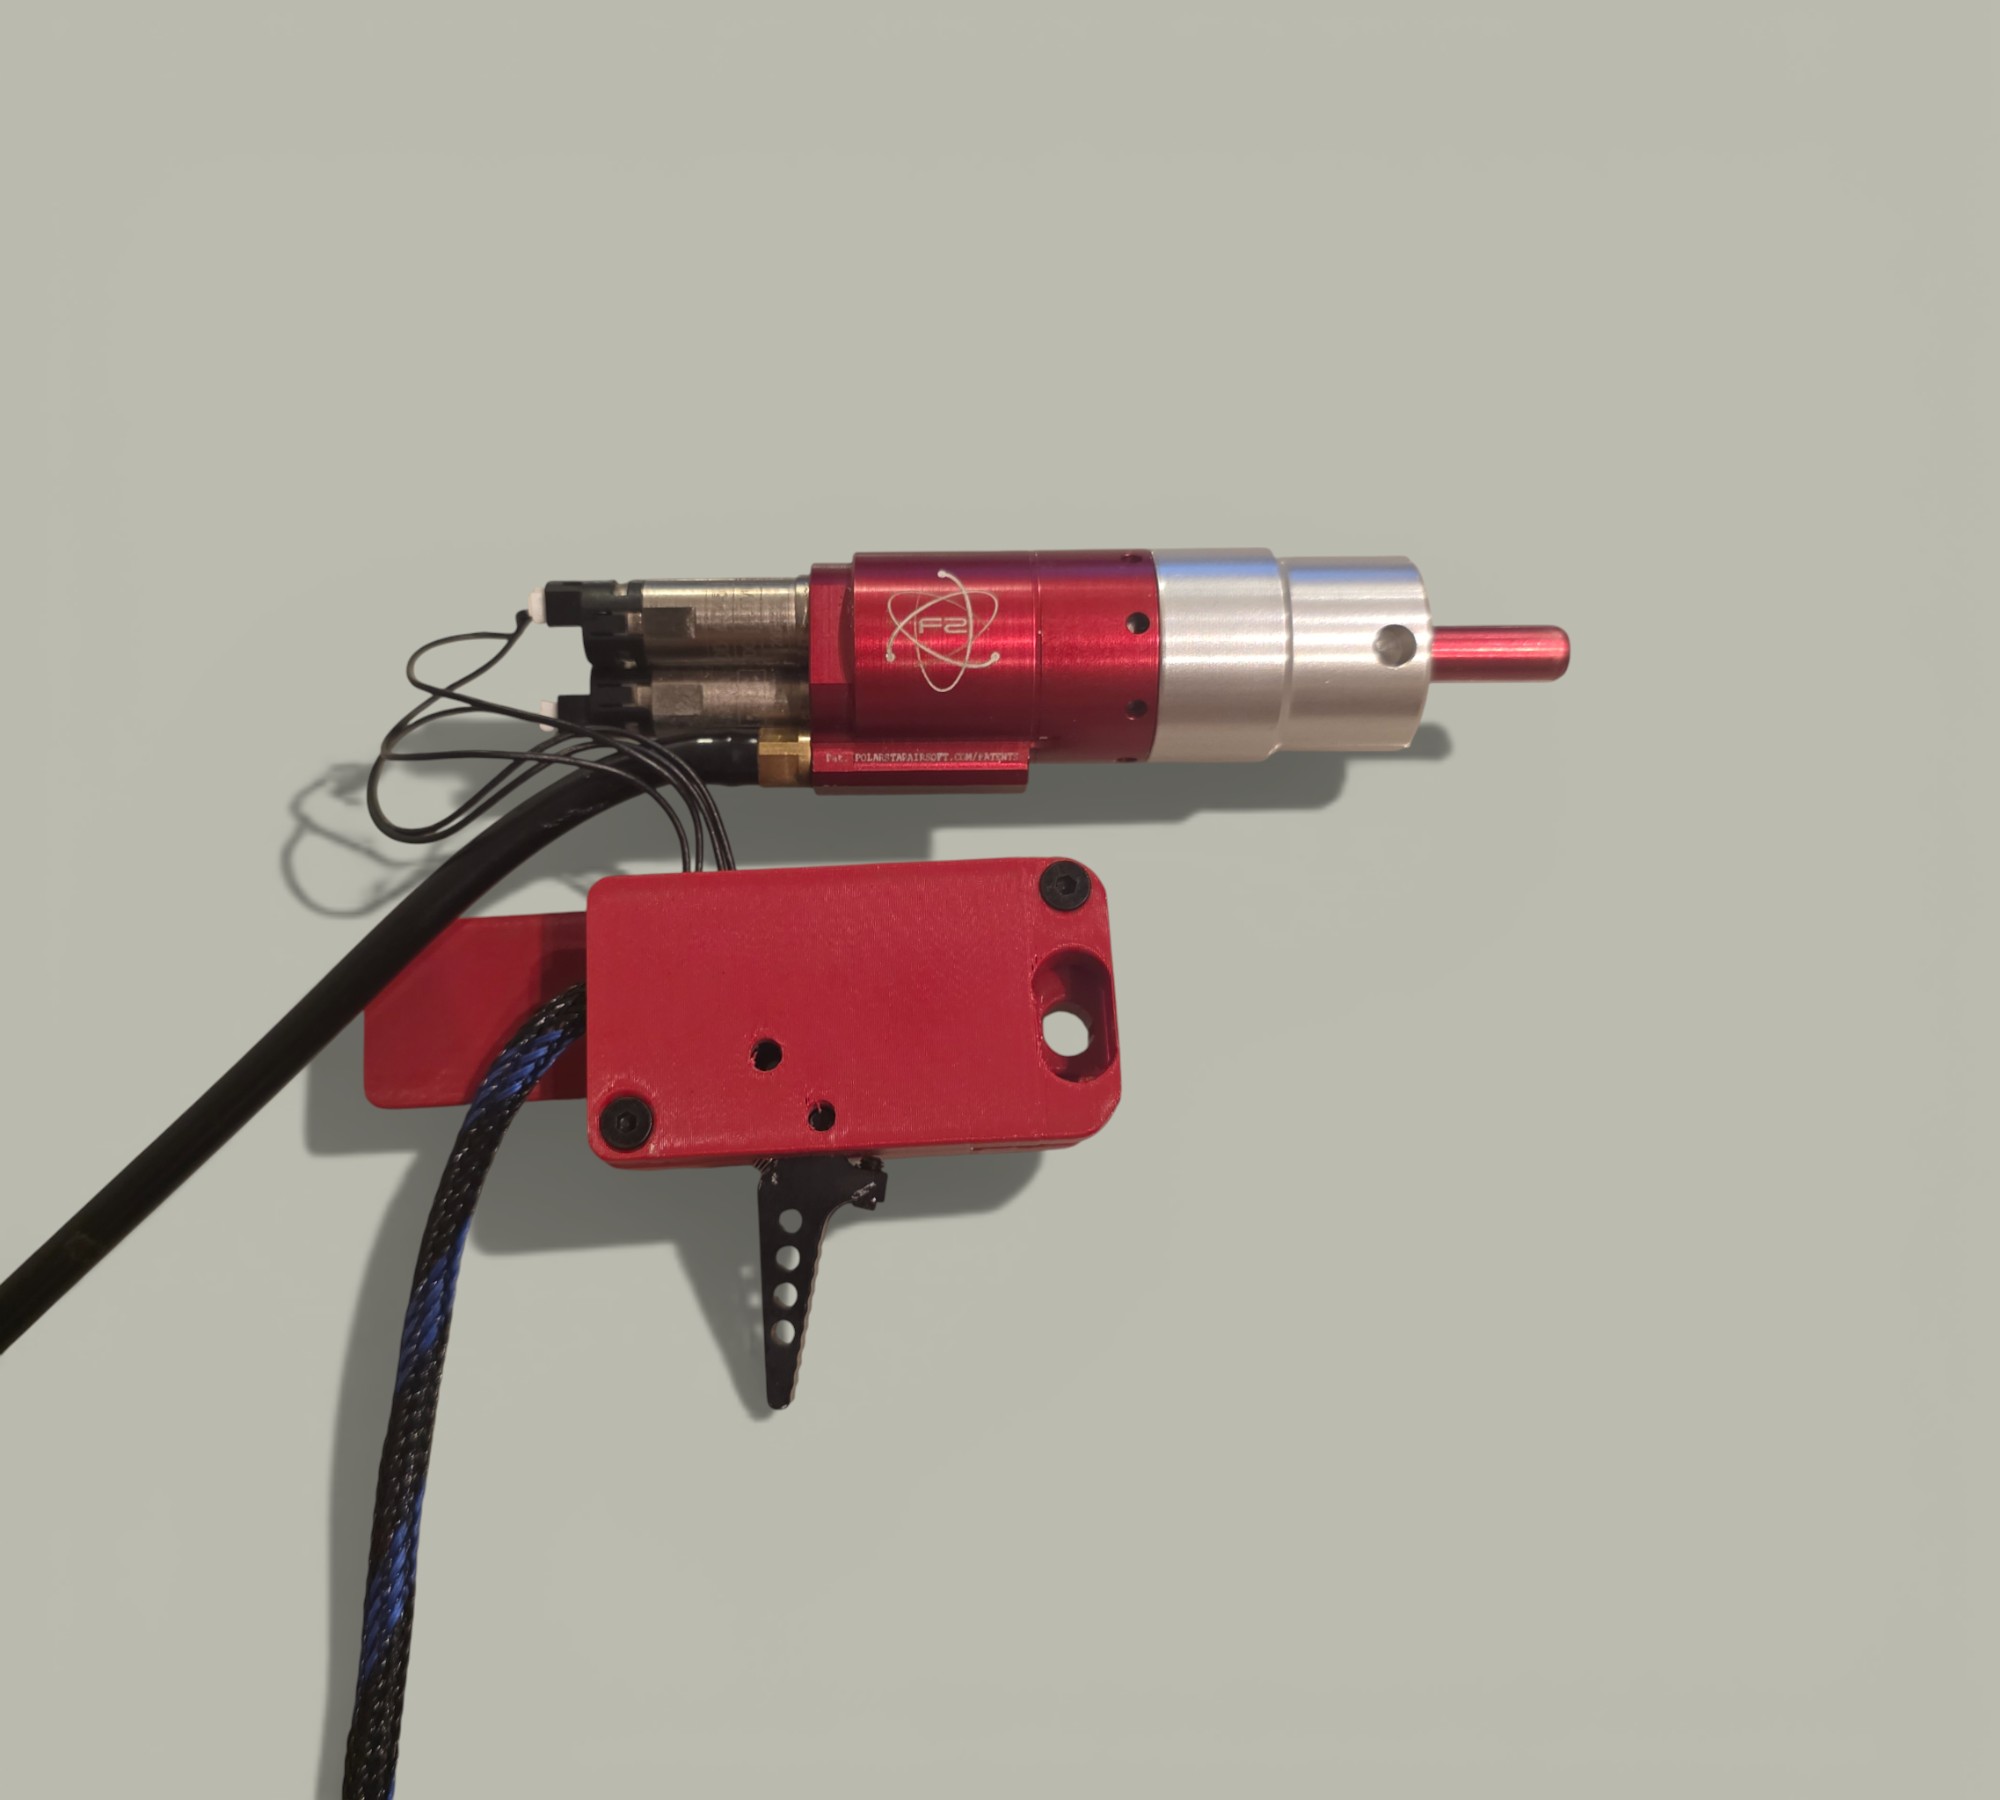
Step 5: Final System Assembly
Wiring
Route the FCU wires through the Stock Adapter and the air line through the Pistol Grip hole.
Trigger Box
Slide the Trigger Housing into the Lower and lock it with the Lower Pin.
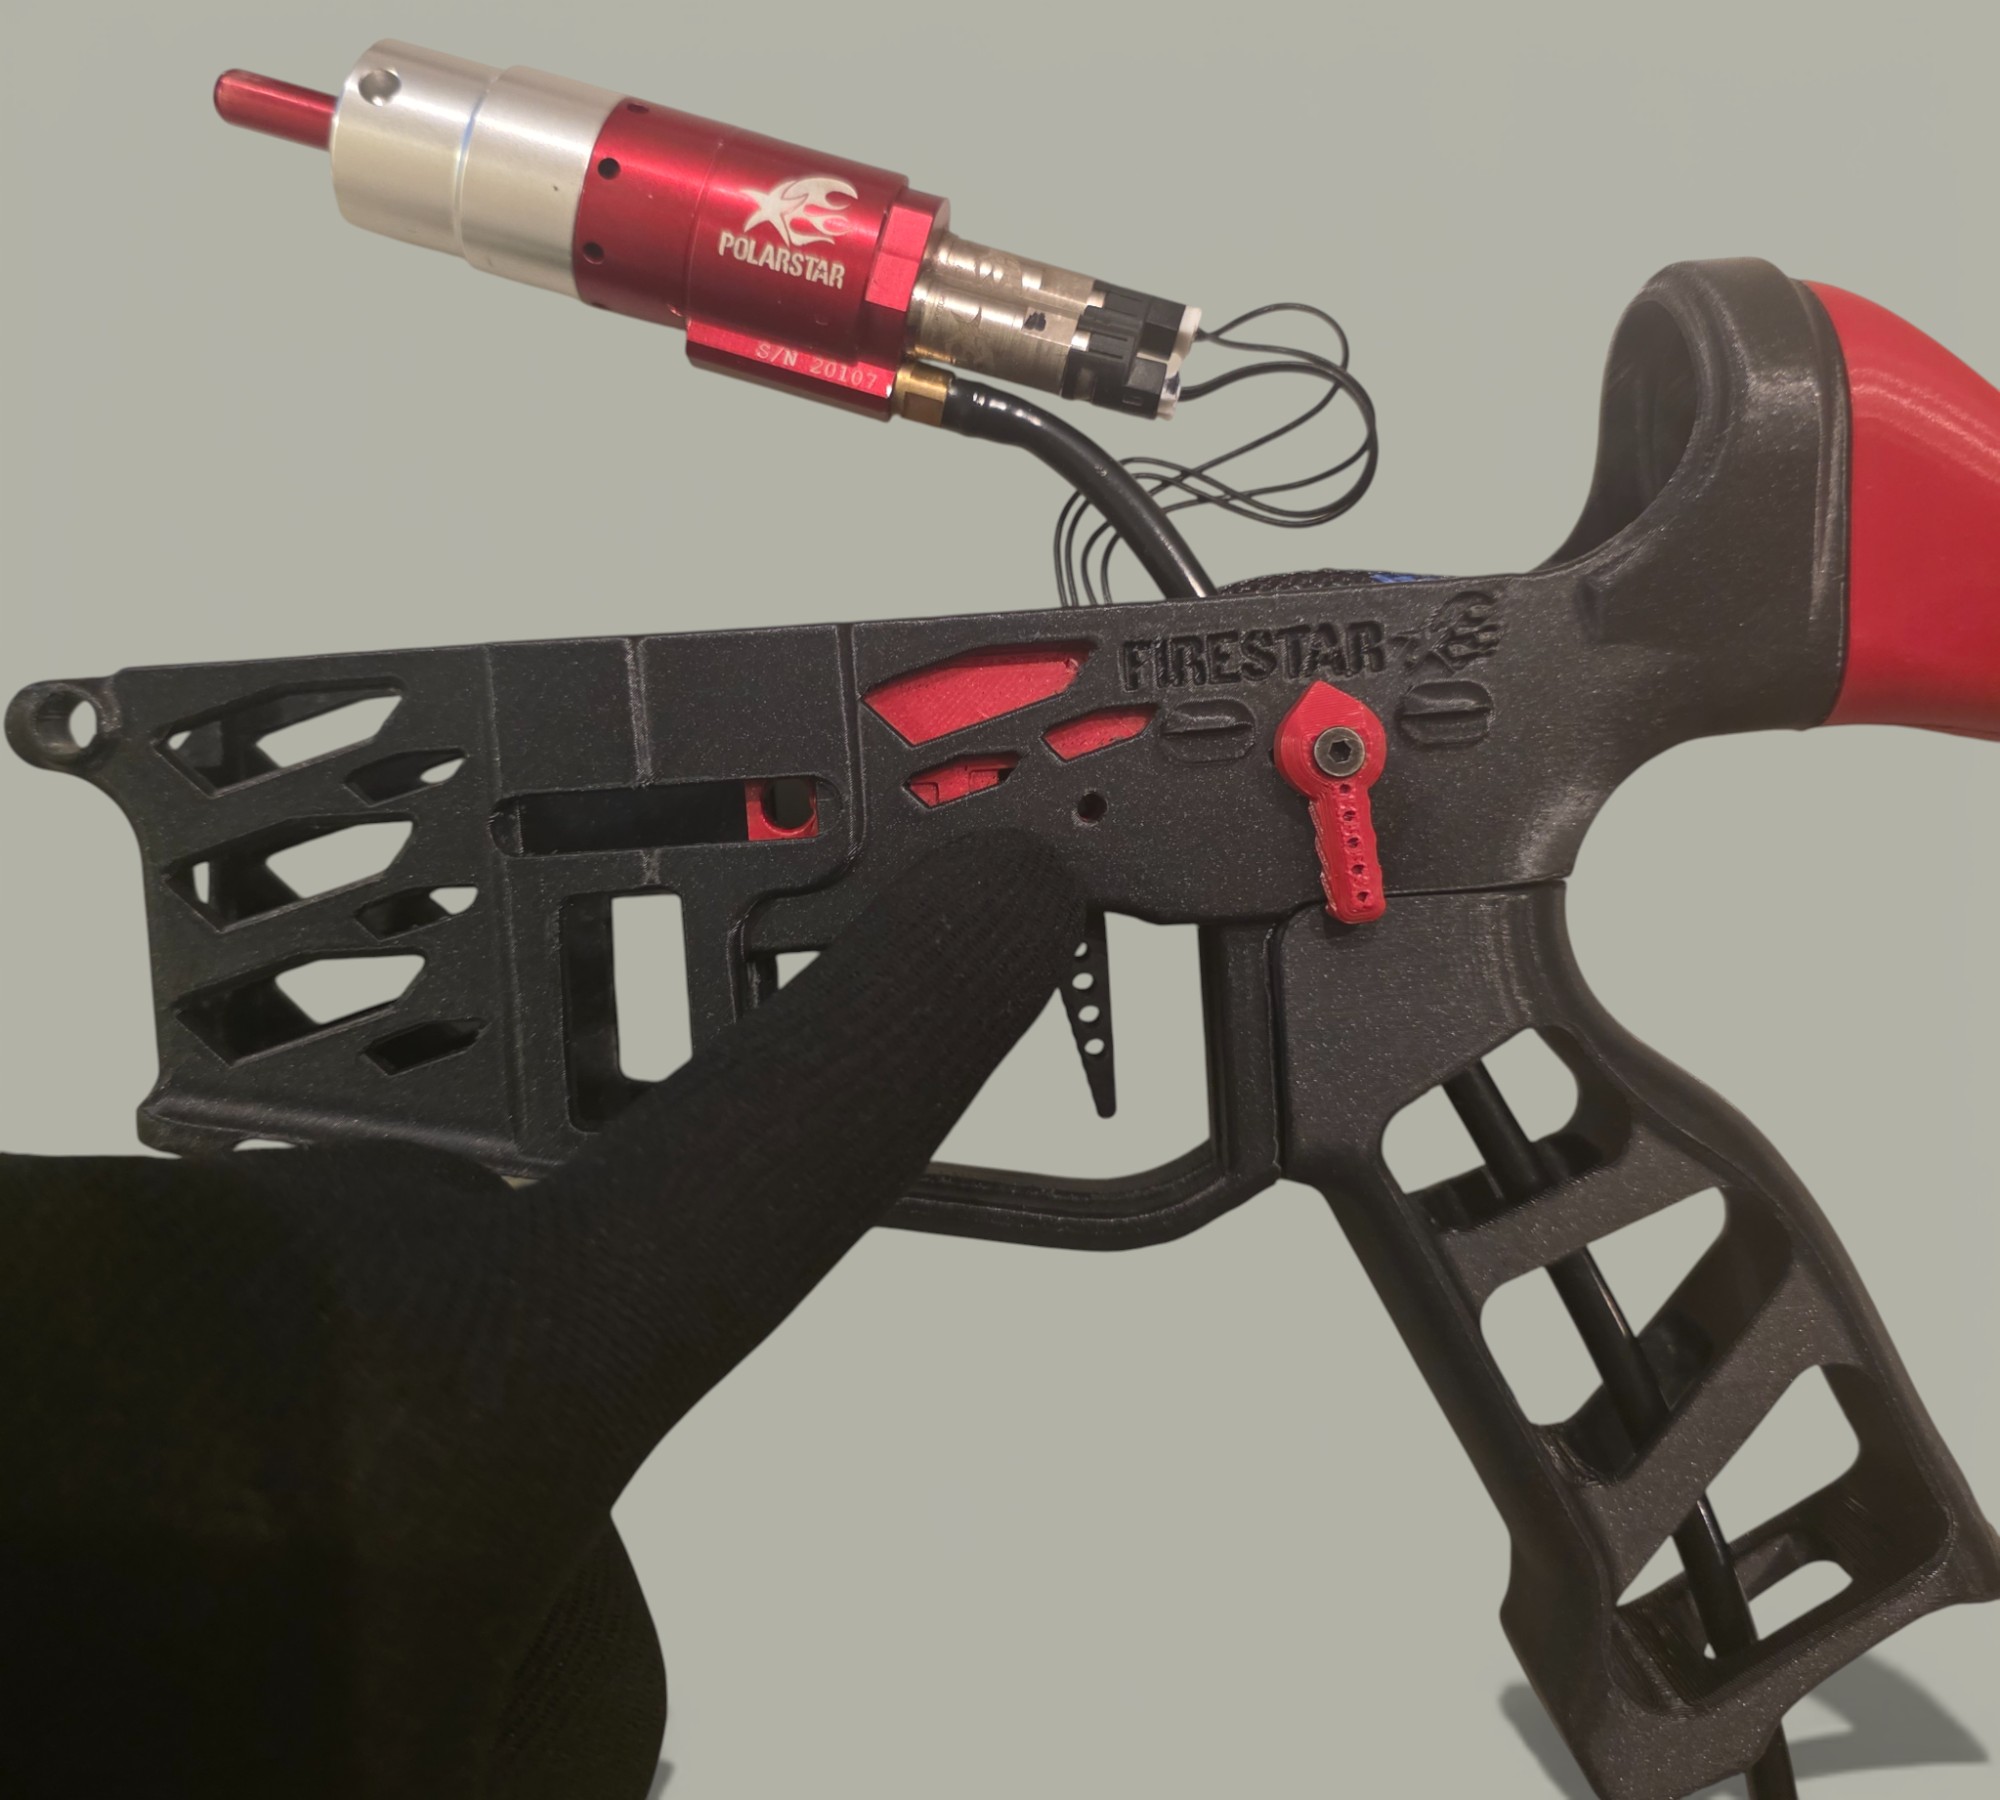
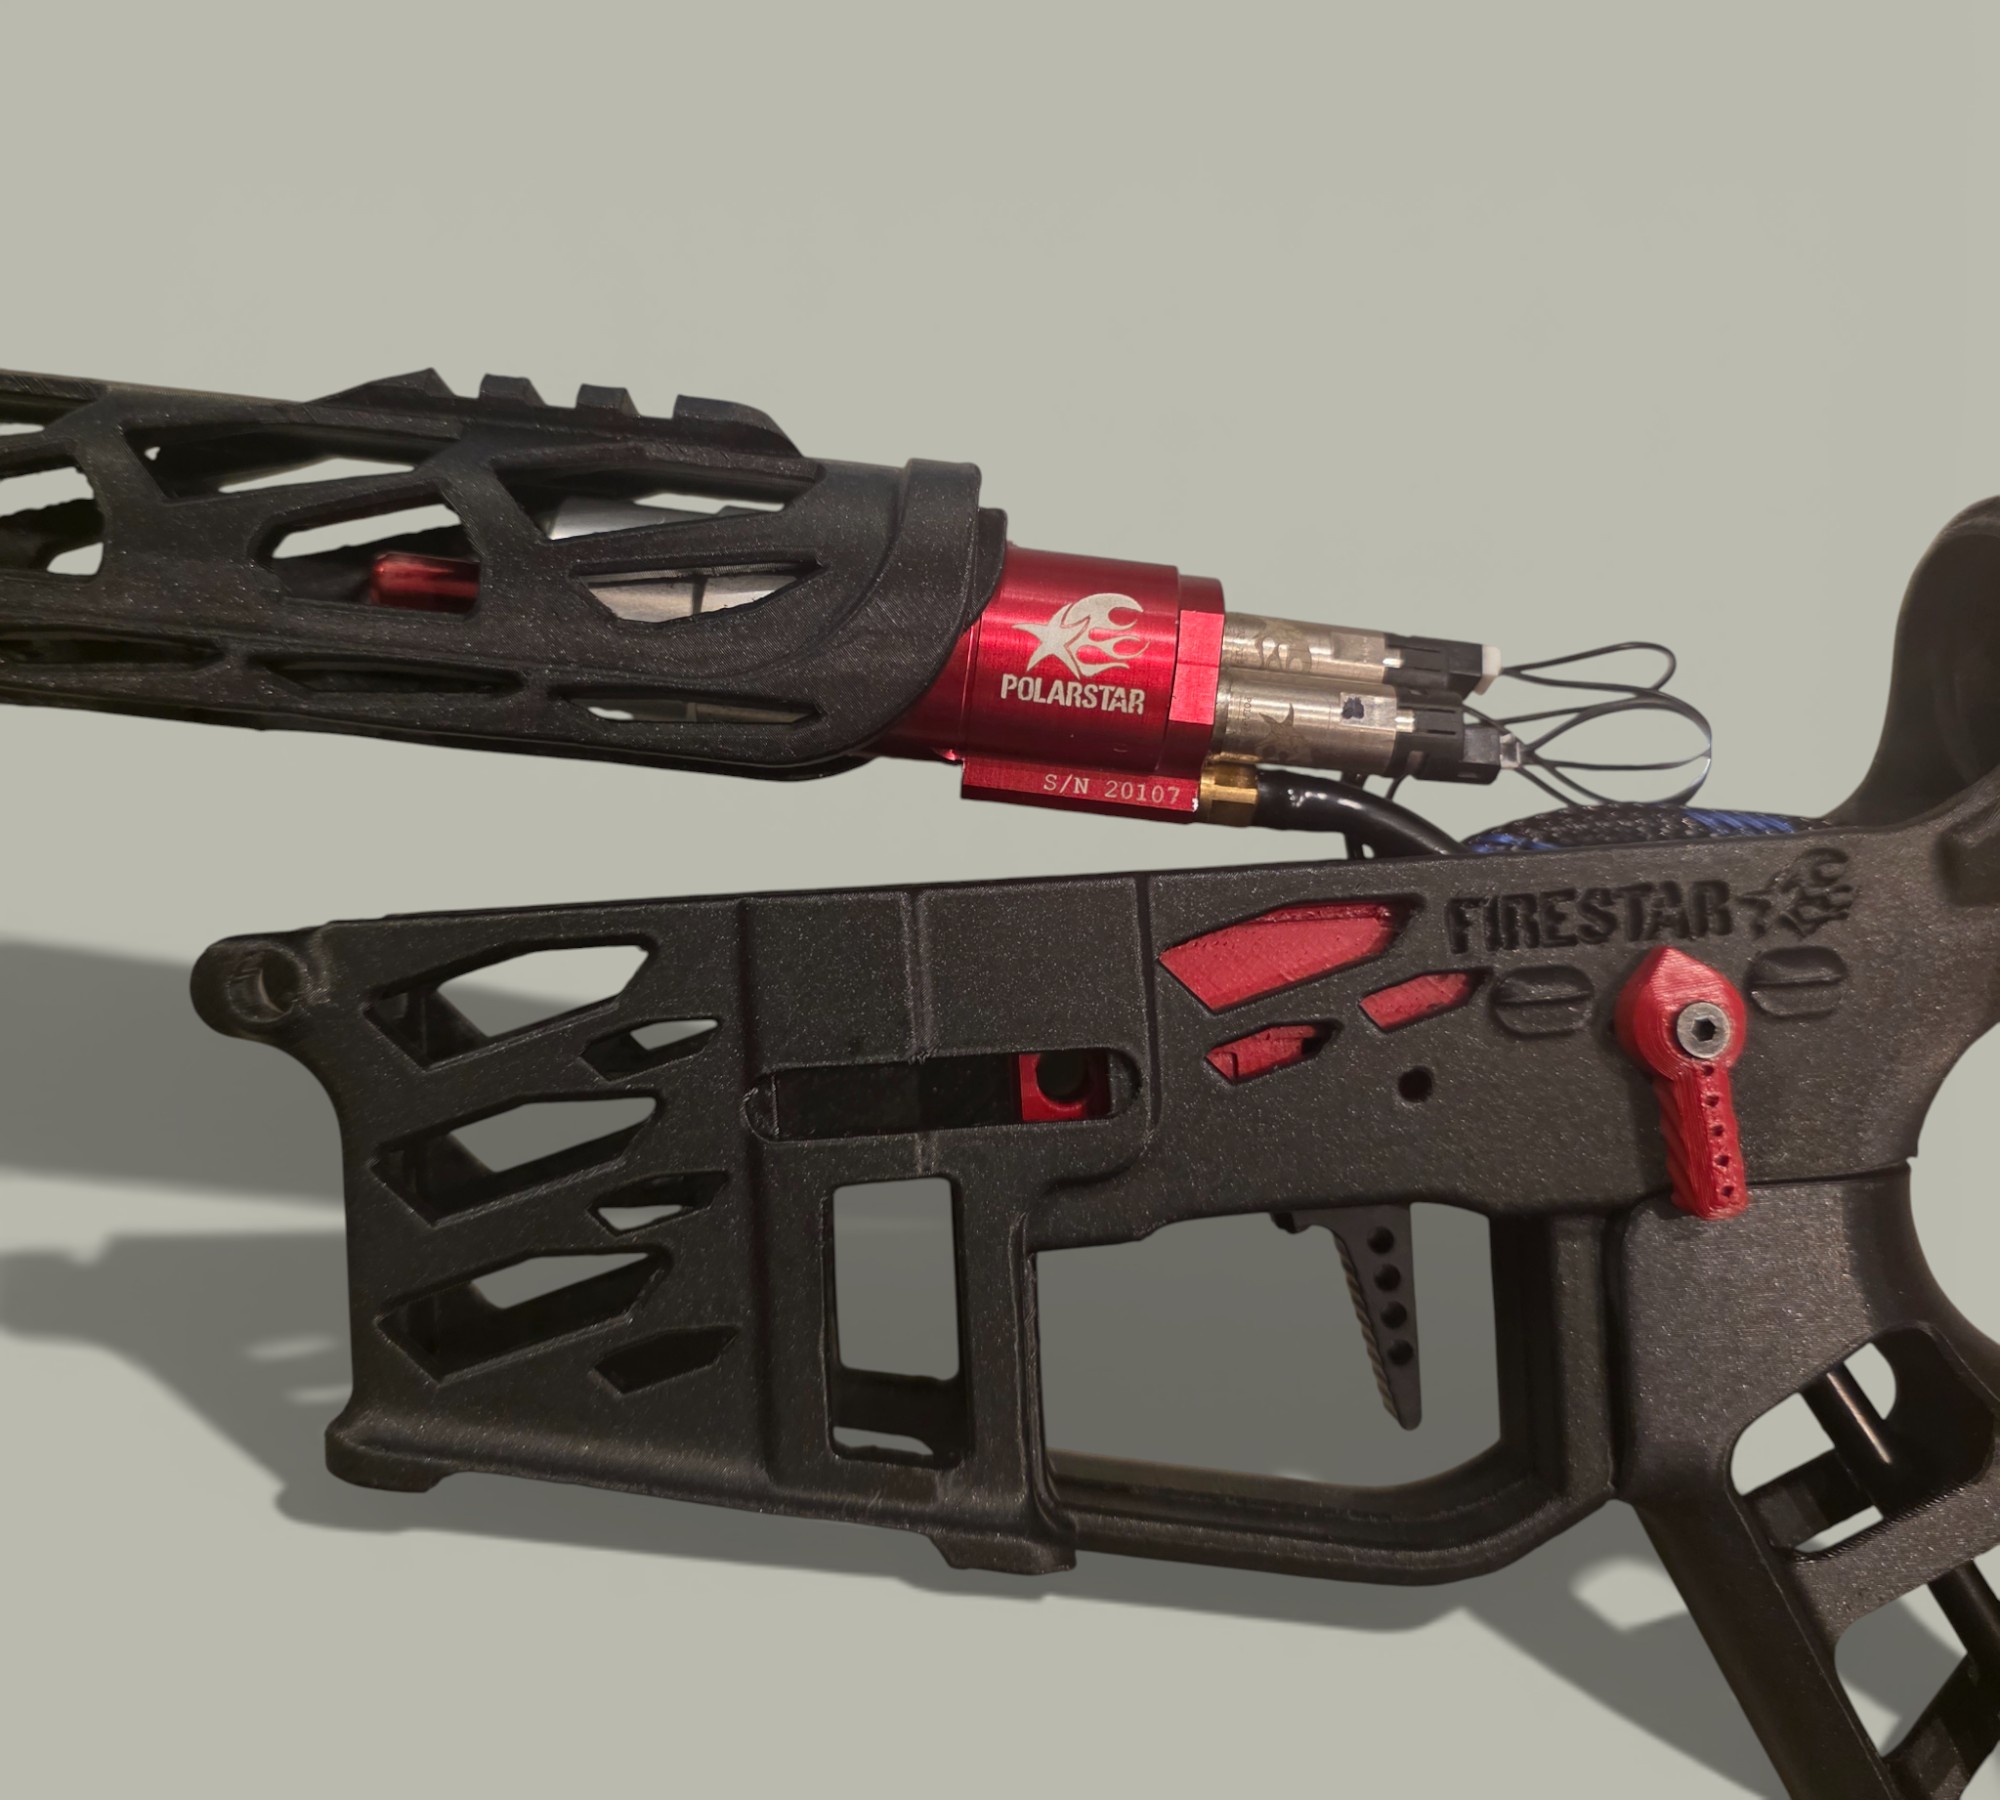
Engine
Slide the F2 engine into the Upper until it seats into the Hopup.
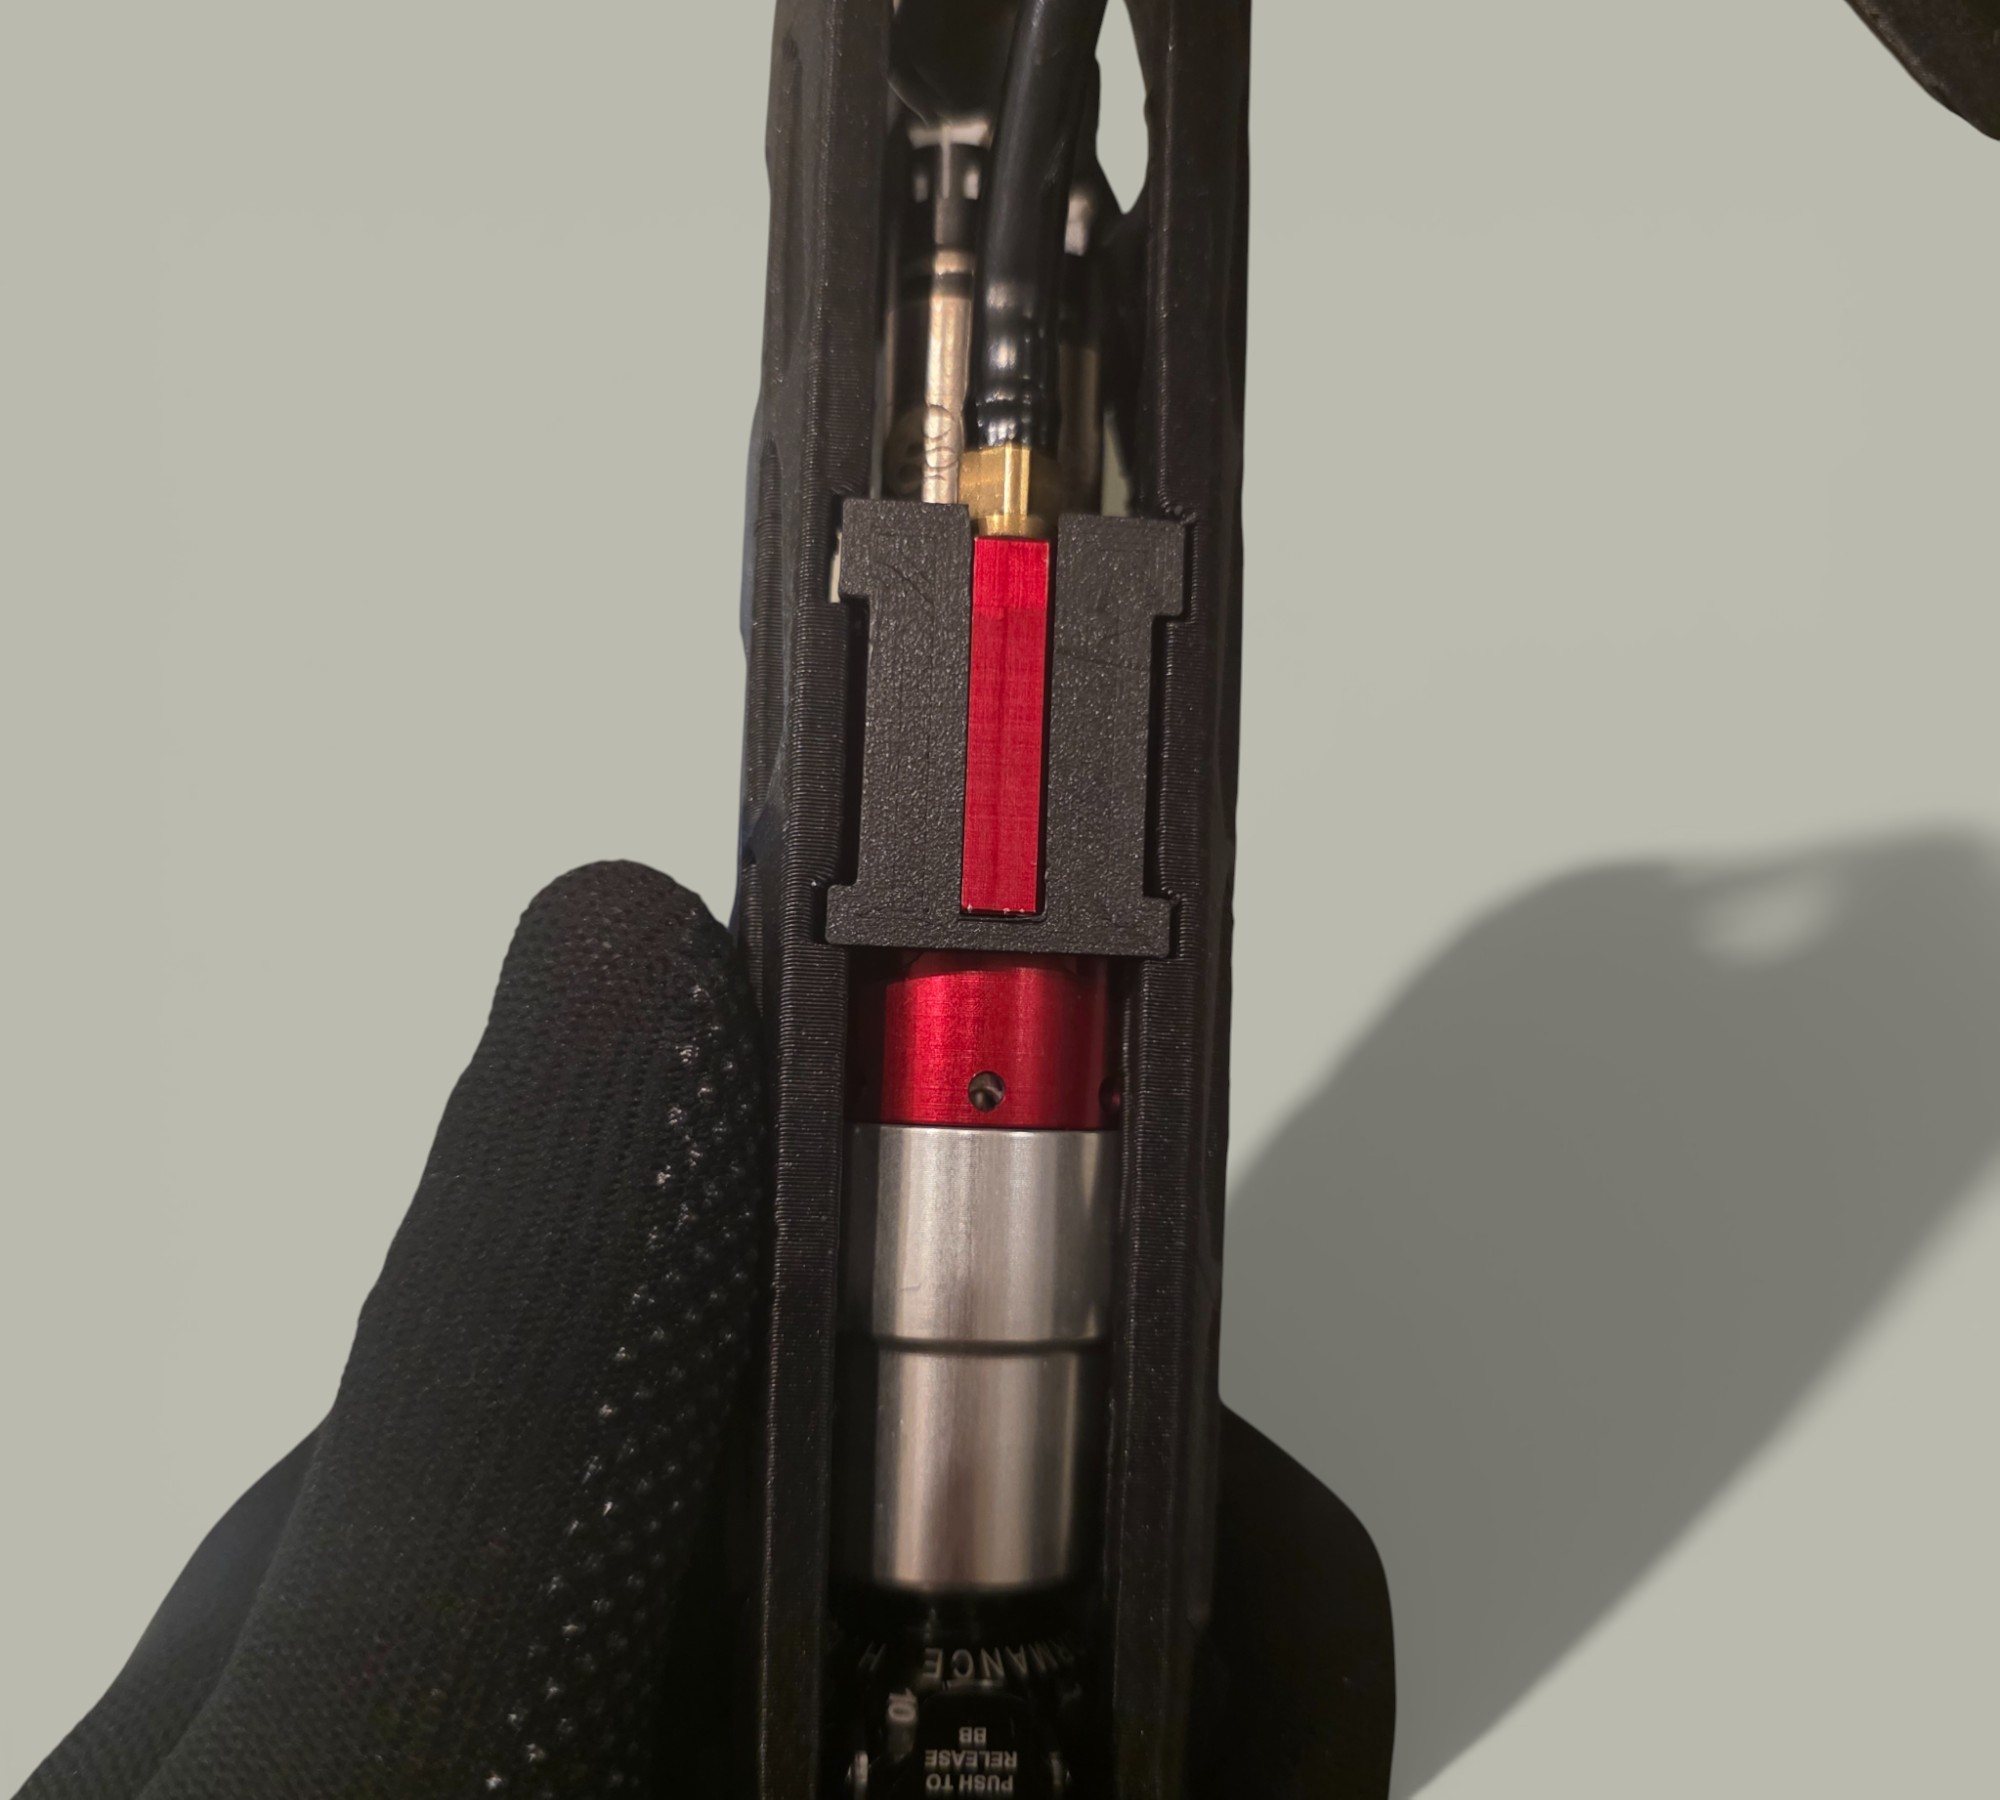
Lock
Install the F2 Lock to prevent the engine from moving during shots.
Closing
Join the Upper and Lower receivers and lock with the front pin.
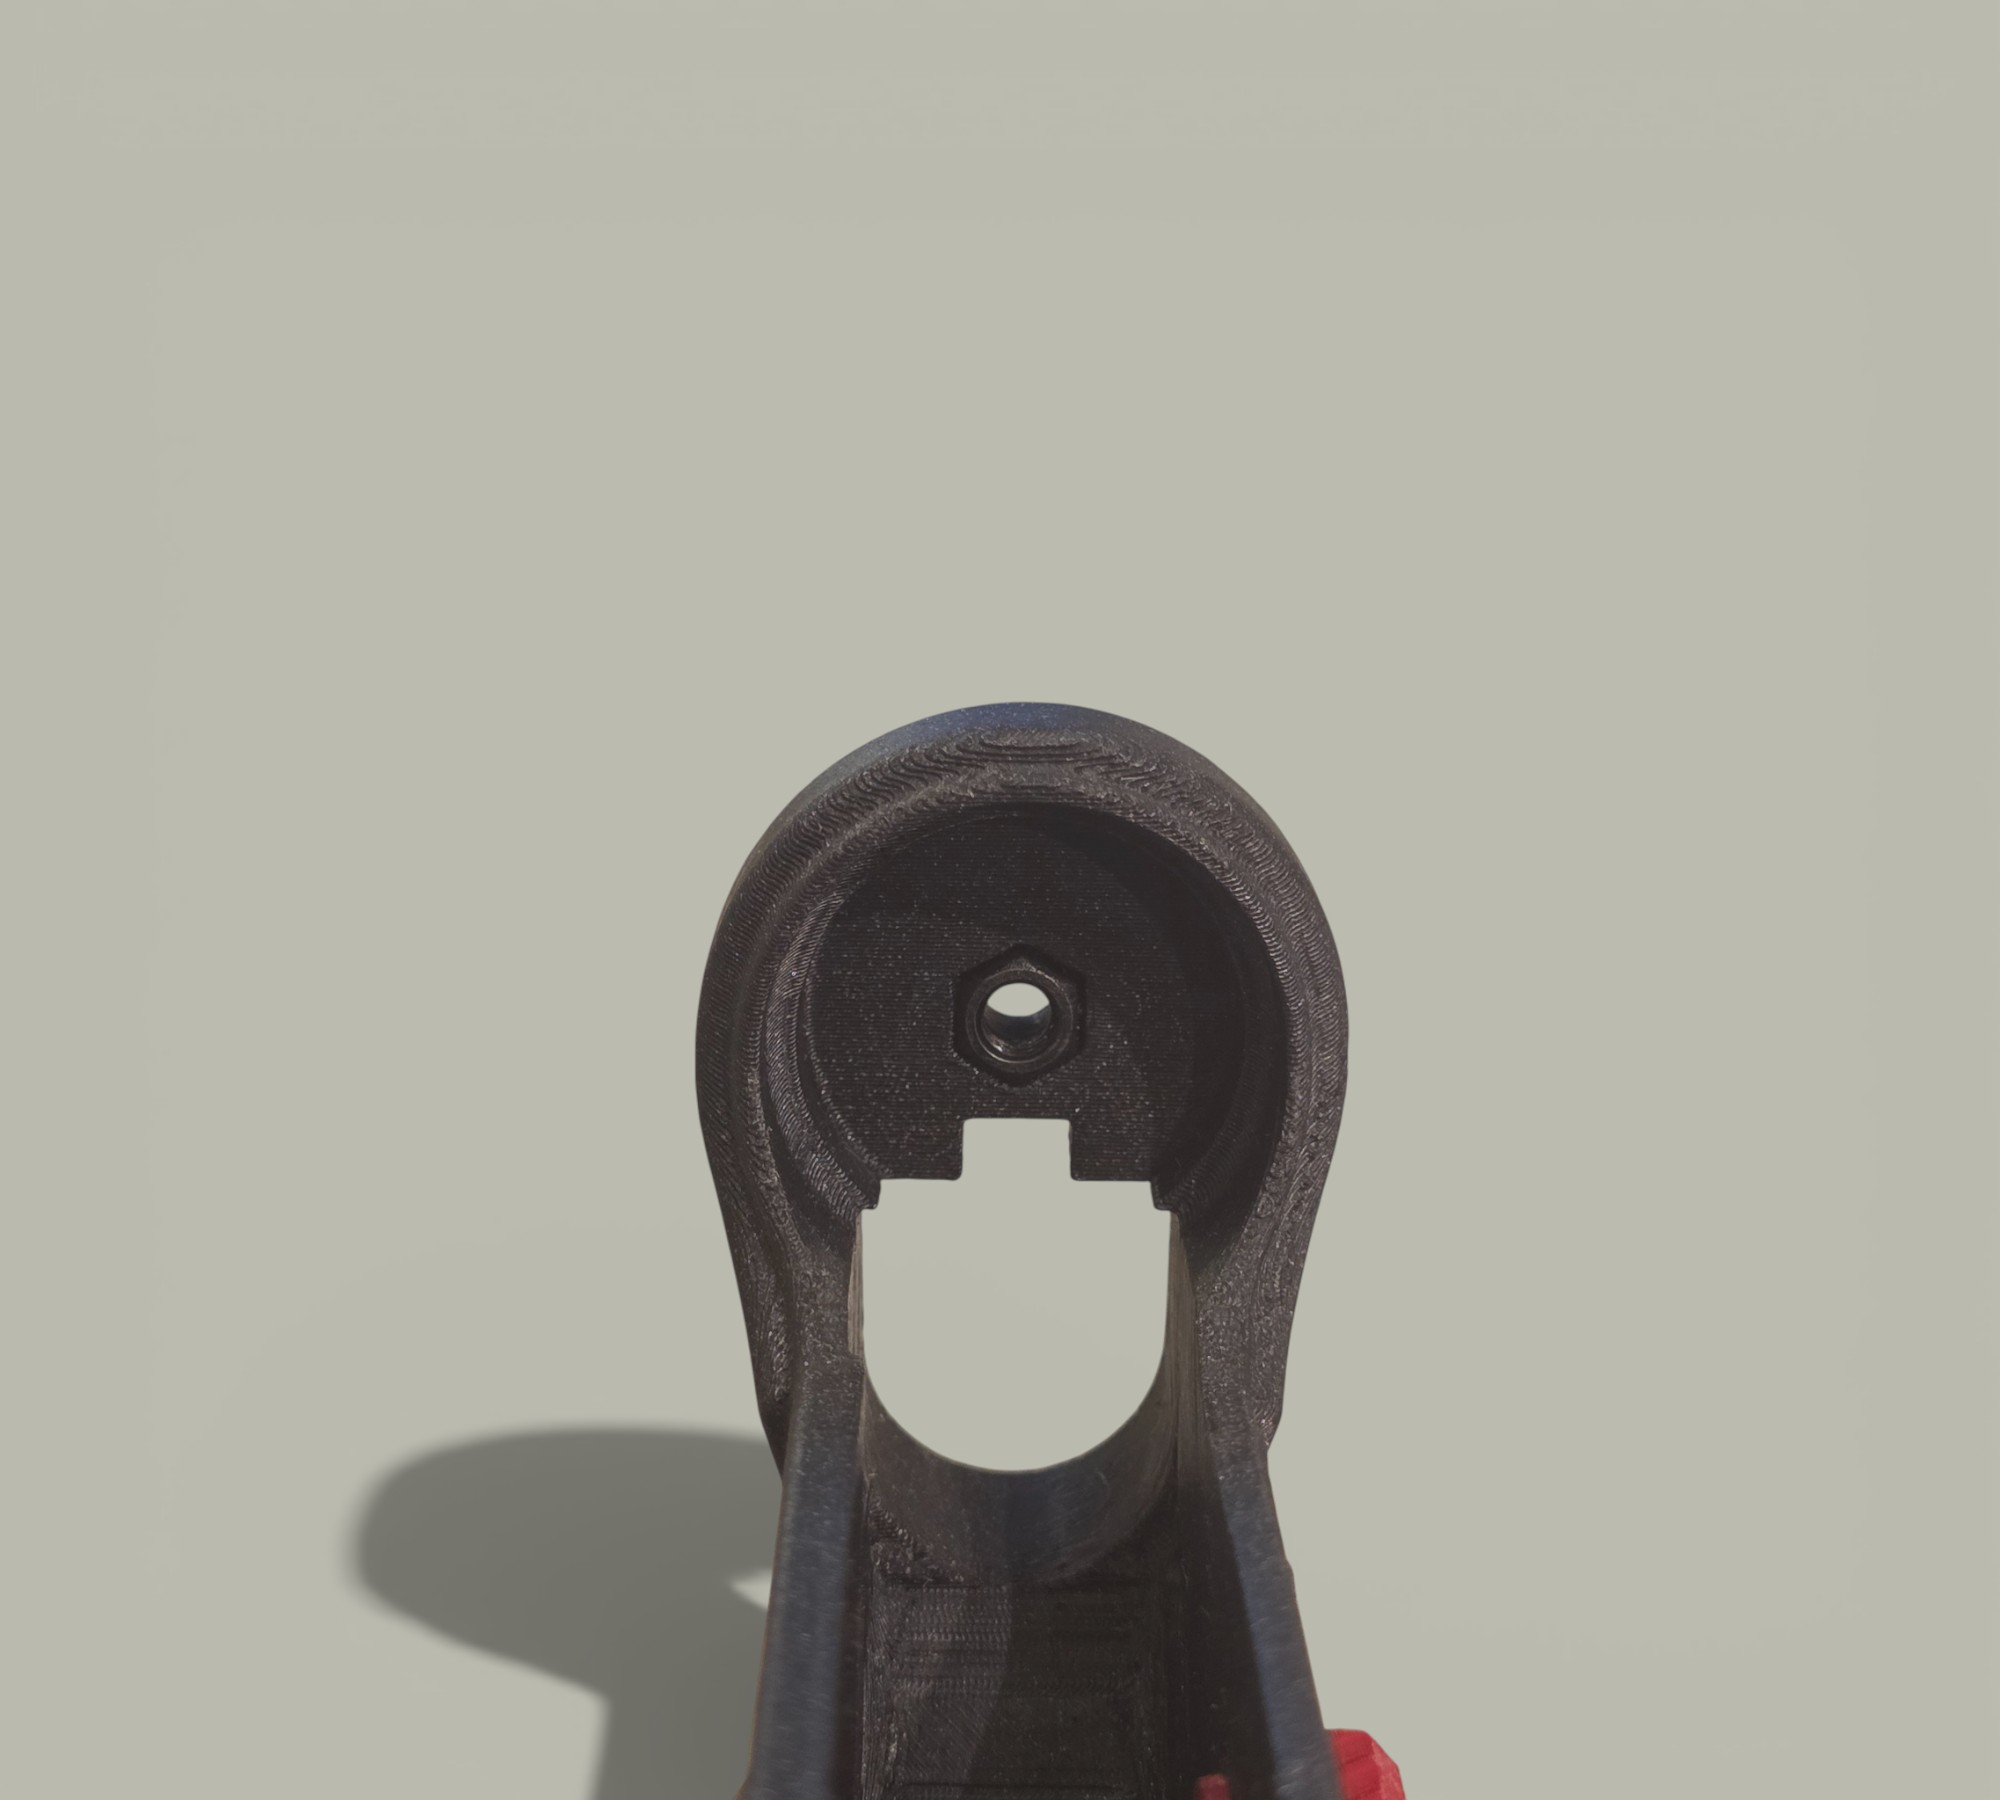
Mag Release
Install the printed (or aftermarket M4) Mag Release with the spring. Ensure smooth movement.
Step 6: Stock
Carbon Tube
Cut the carbon fiber tube to length and drill the mounting holes.
Stock
Install M3 inserts into the printed Stock part and bolt it to the tube.
Finalize
Connect the FCU and battery, tuck the wires into the tube, and slide it onto the Adapter.
 |
 |